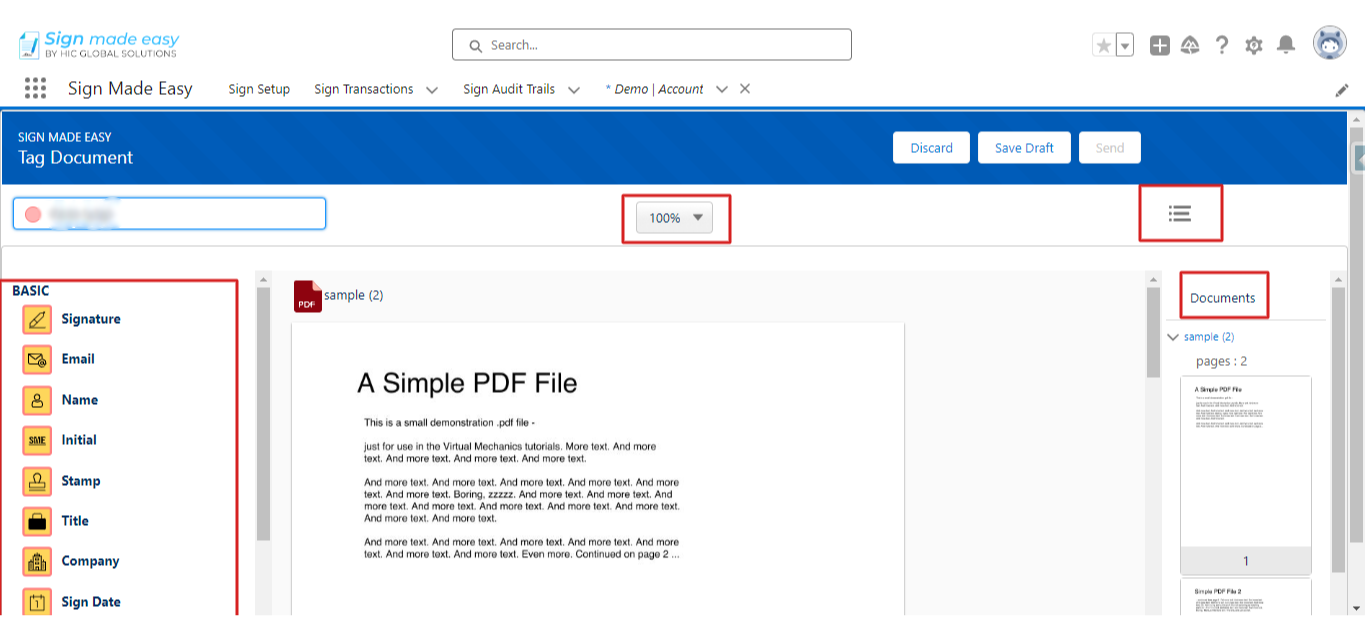
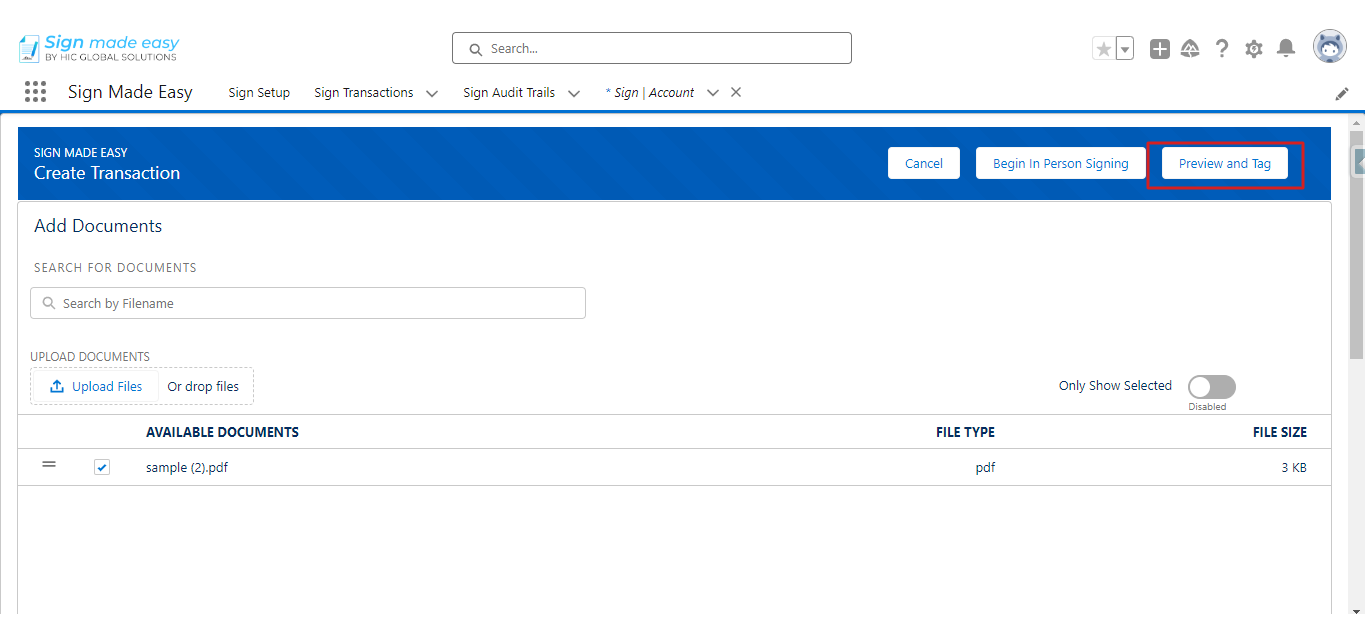
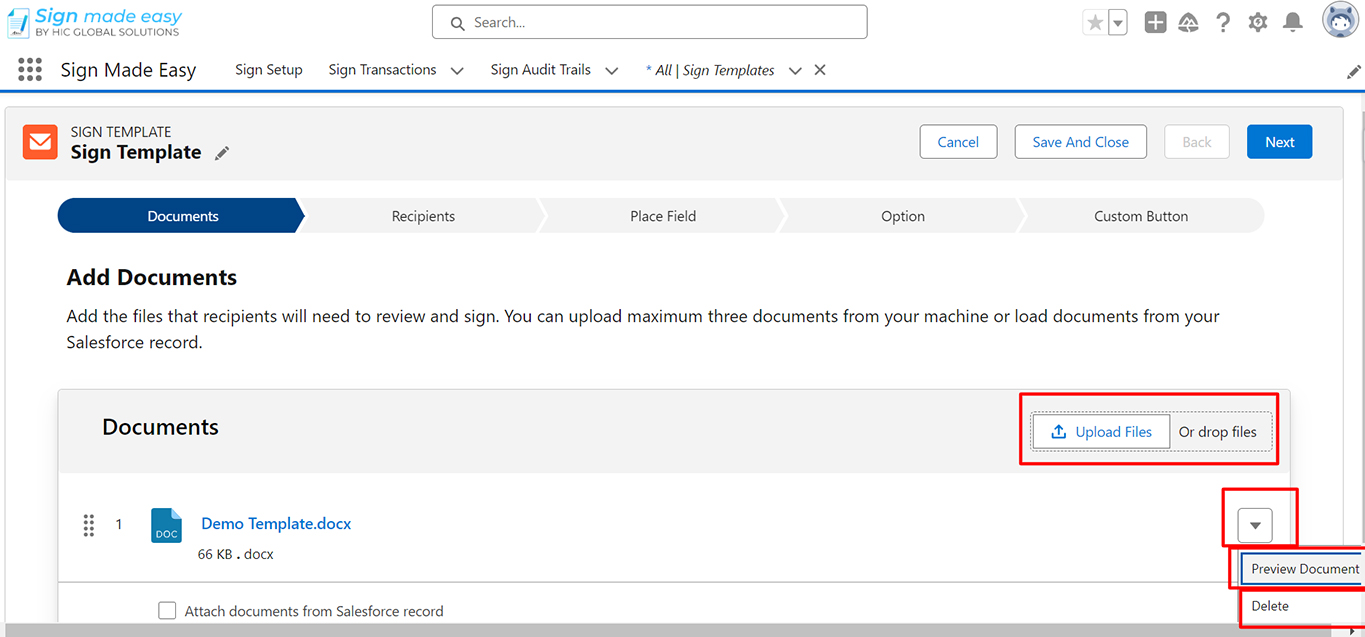
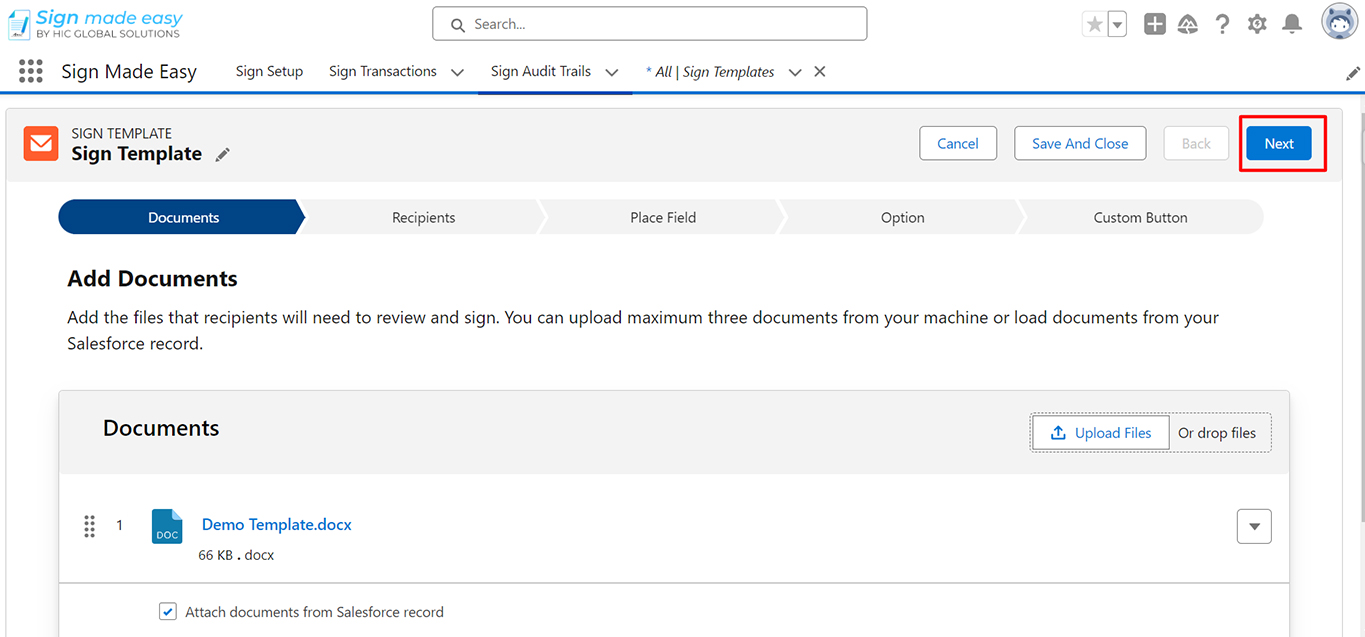
Step 17 : At this step, you should be on the Add Document page. You will see the Document and Recipient.
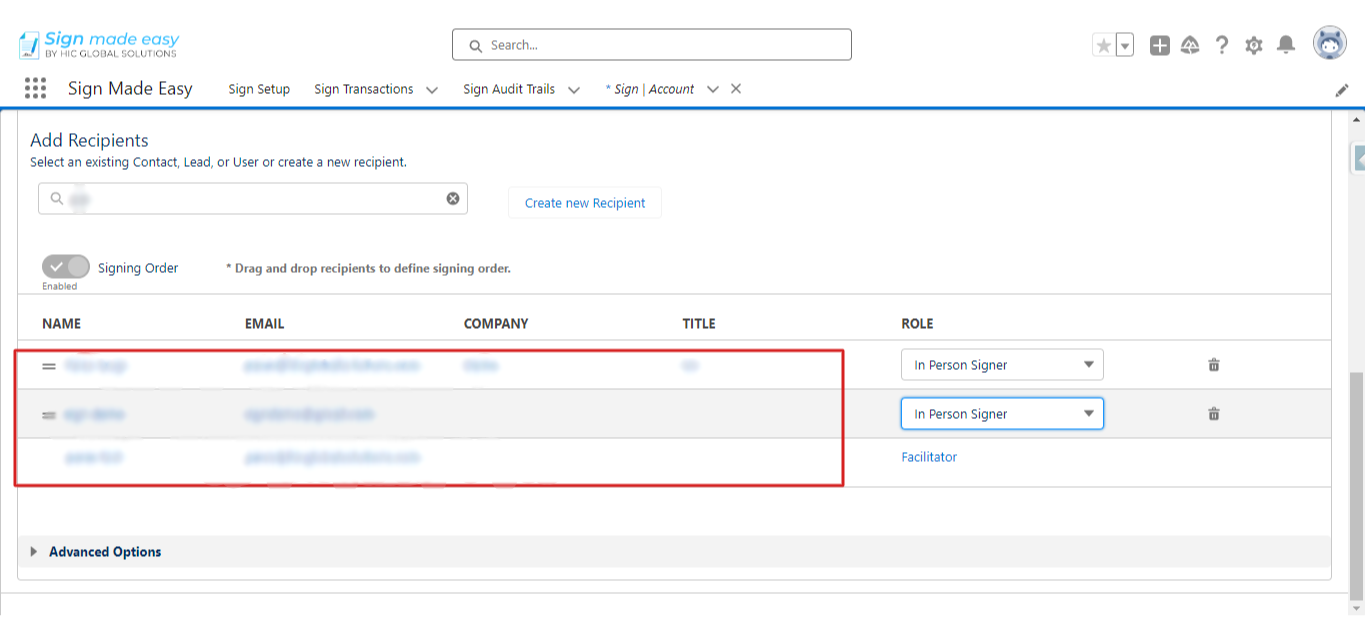
In the Recipient, the Role has three Options.
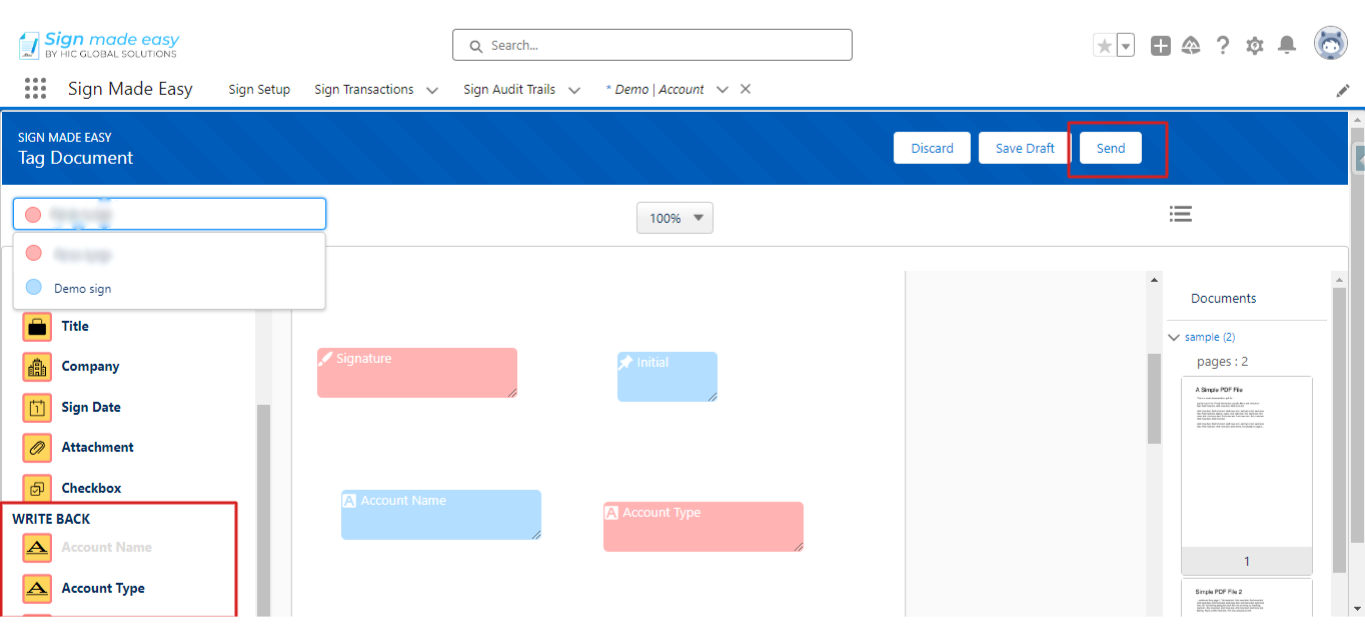
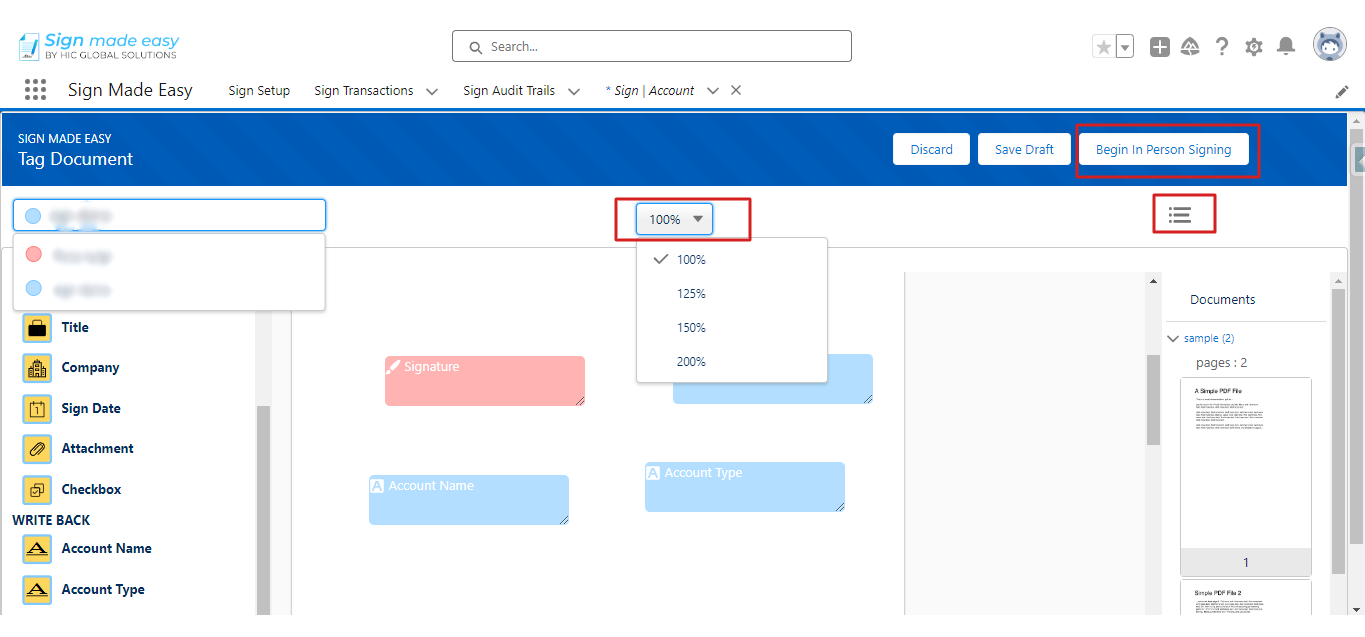
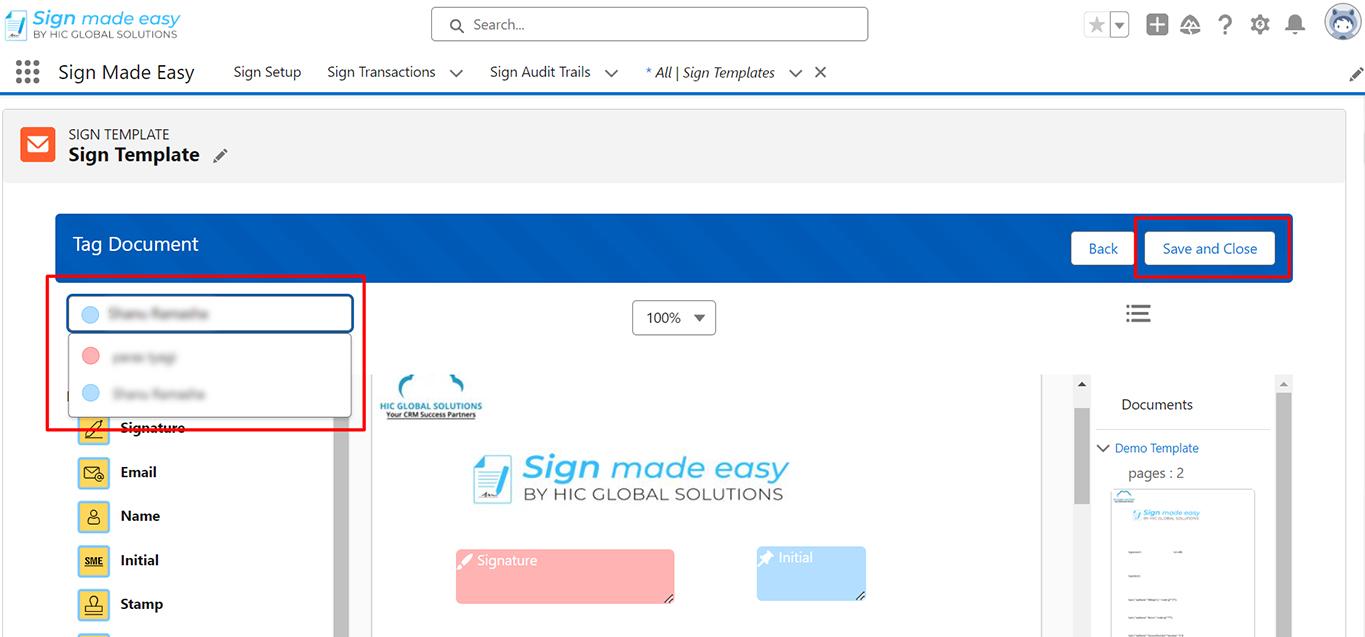
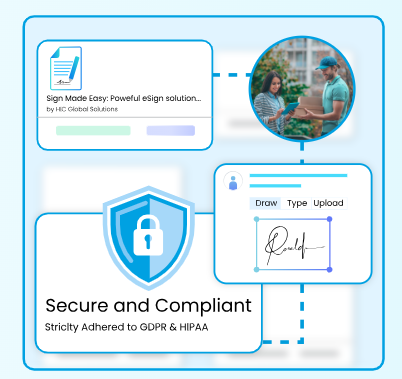
Signer : You can choose multiple signers. Click on the preview tag, proceed to the next page, and add the necessary signature tags to the document.
Afterward, click the ‘send’ button. The document will then be displayed in the email of the recipient you have added.
If you have not added the tags you can directly send the document in the Email from the add document page and click on the send button.
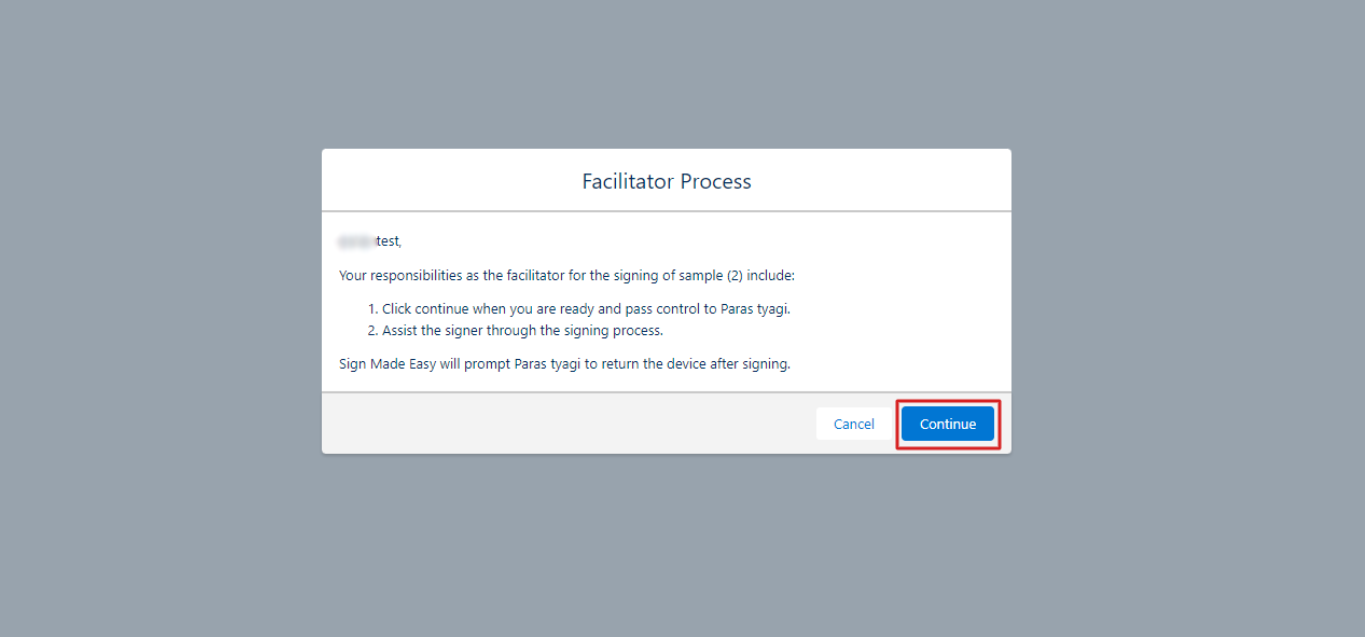
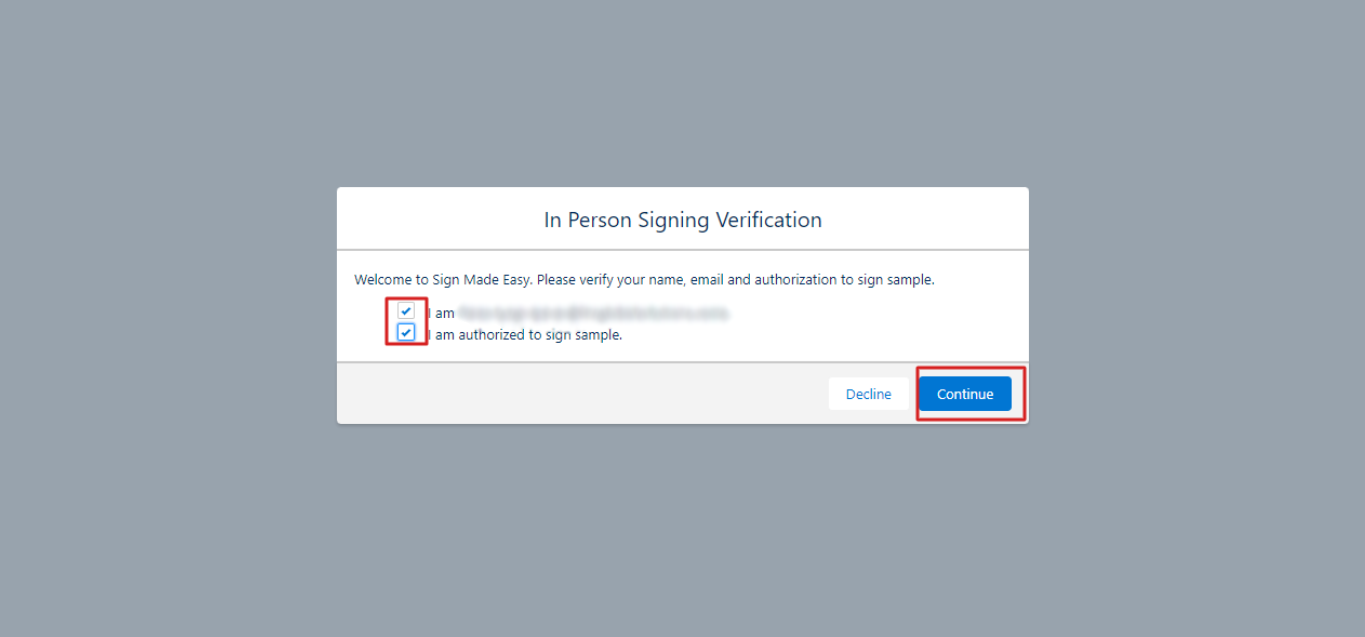
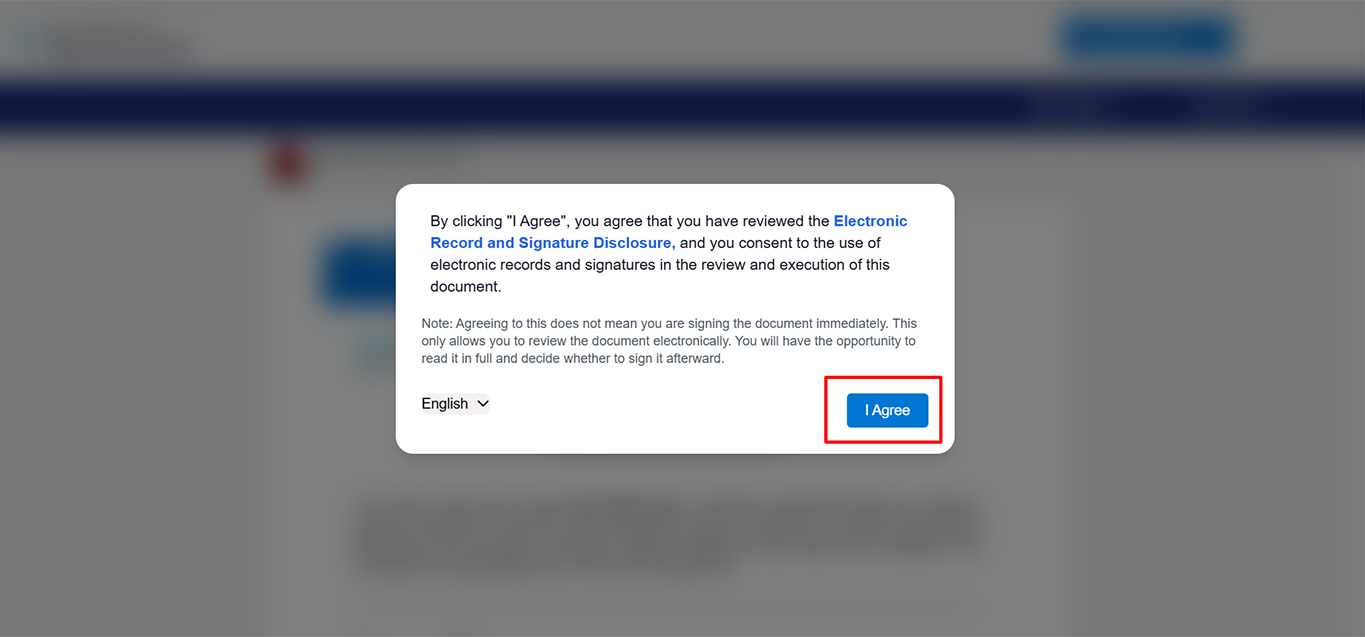
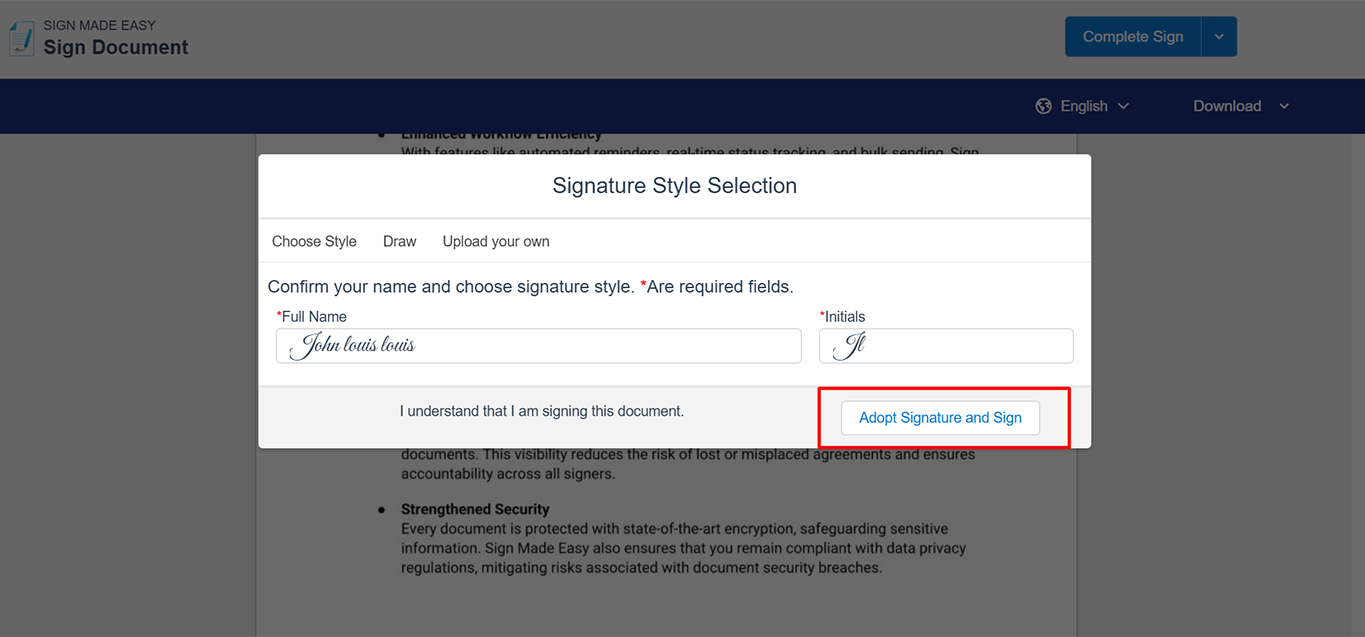
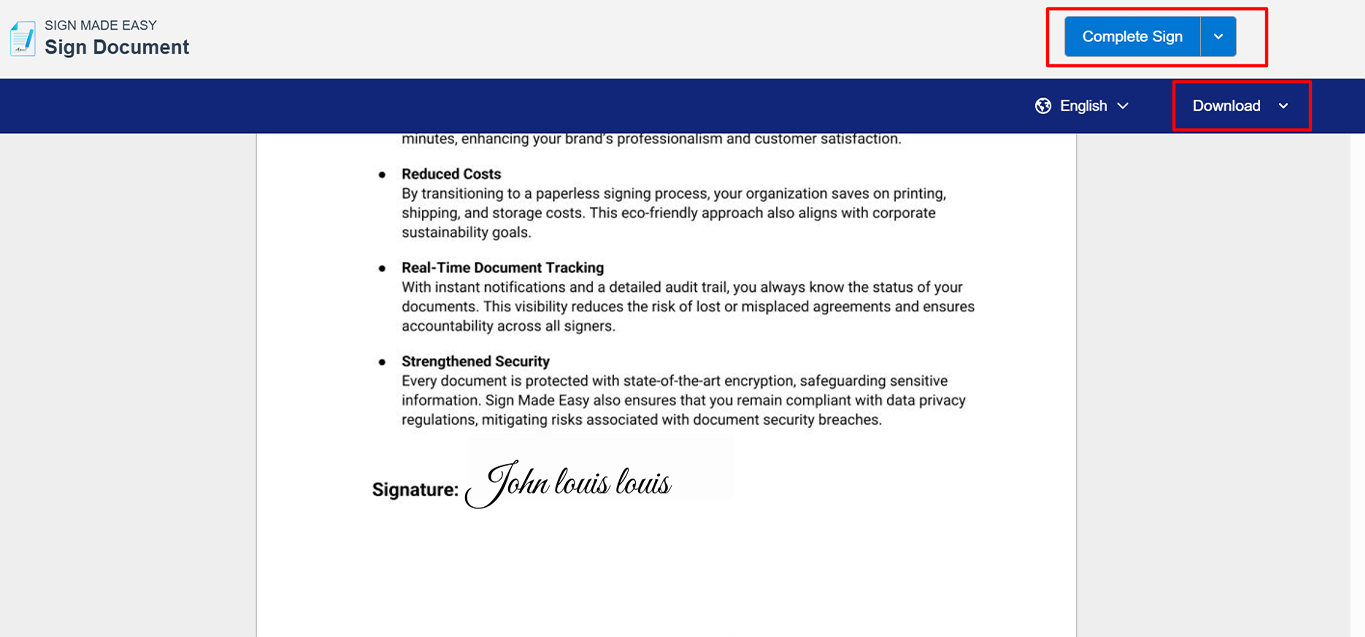
In Person Signing : You can choose the InPersonsigner, click on the preview tag,proceed to the next page and add the necessary signature tags to the document. After clicking on the Being In Person button. The document will be displayed on the next page and you have to complete the signing. Now the complete sign Email is sent to your email of the recipient you have added.
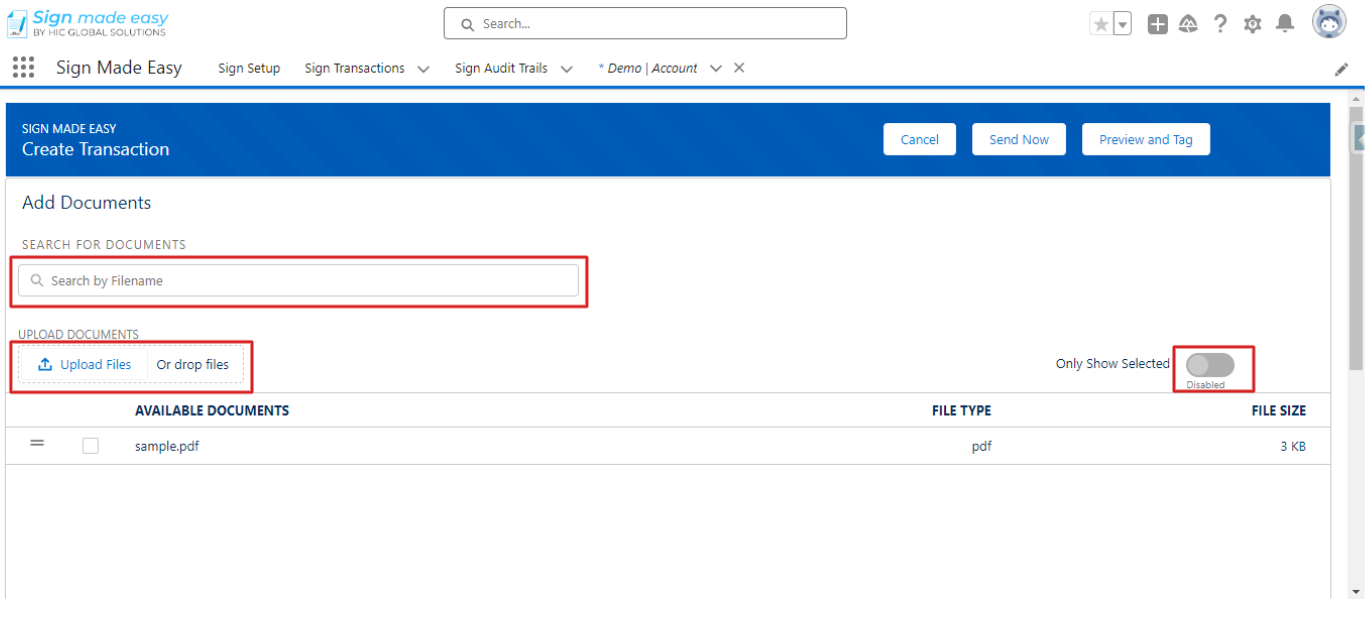
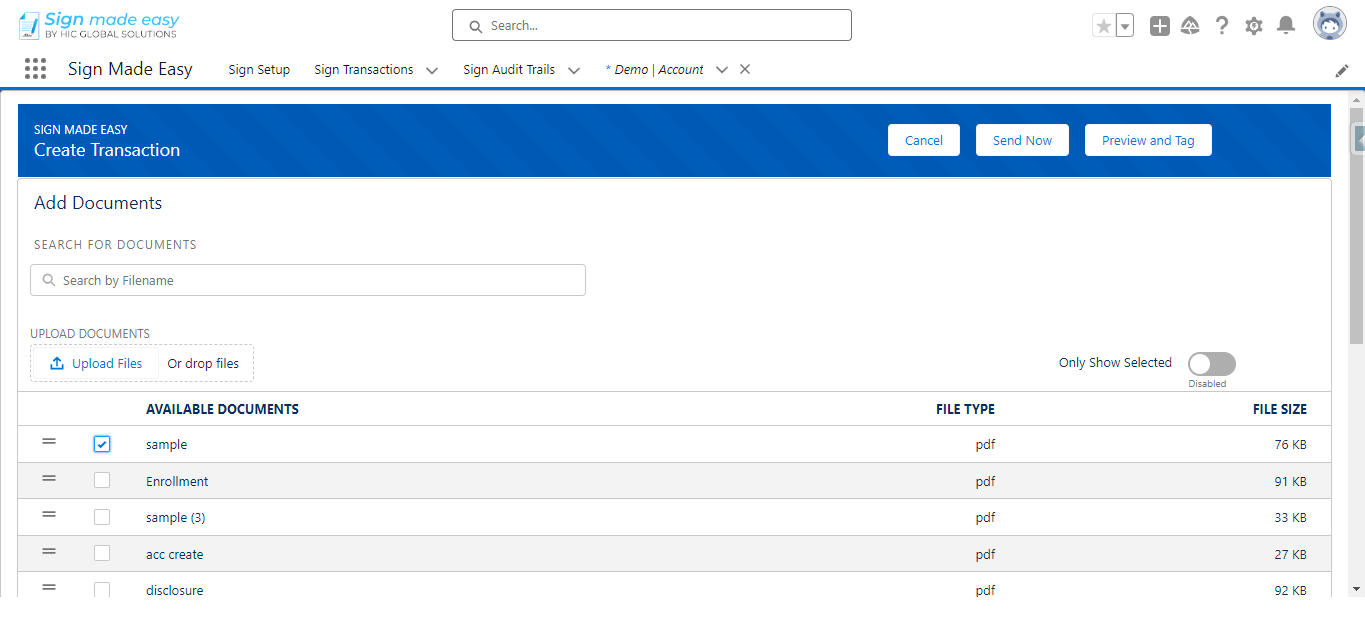
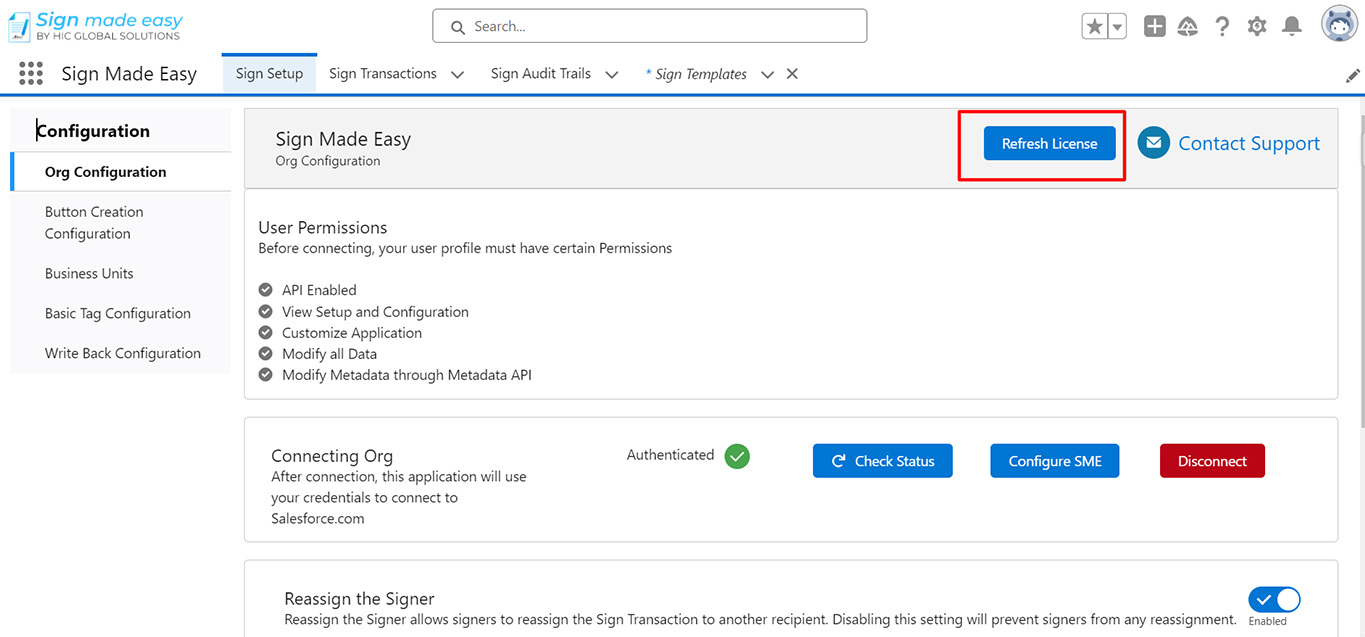
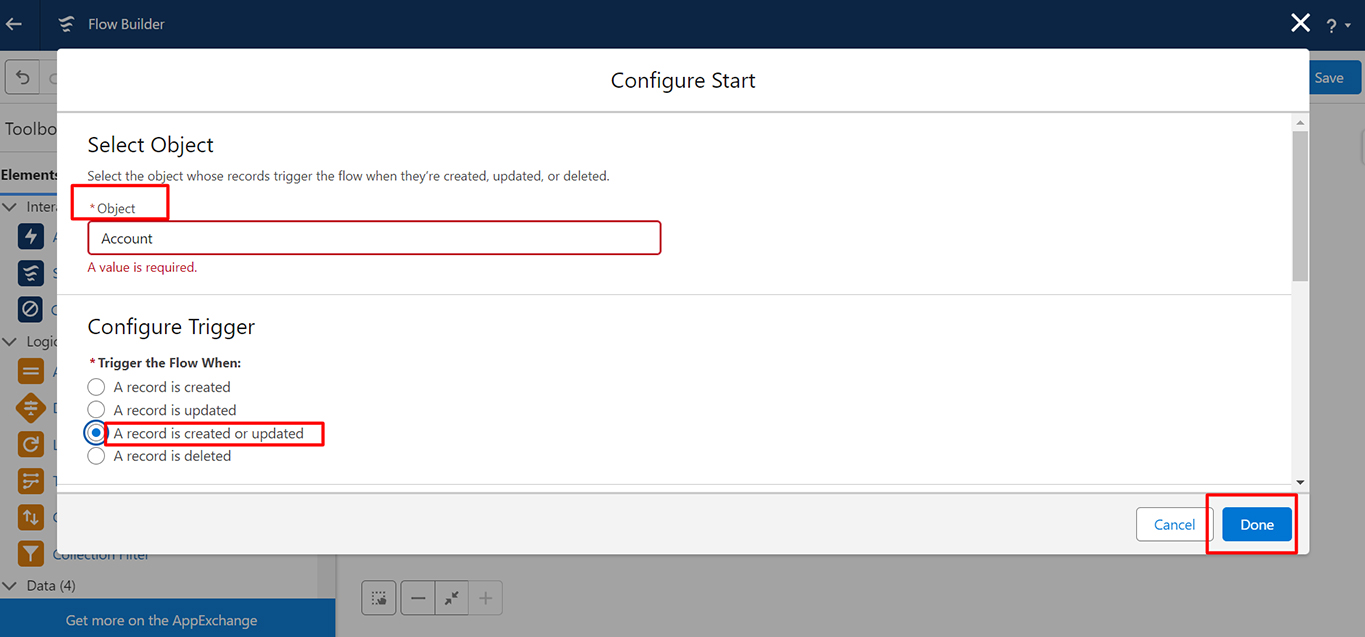
In this page First, you can Add Document
- To search for files in Salesforce and upload files like PDFs, DOCs, or DOCXs, file you can also drag and drop the files.
- Now, You can show all documents lists and you can select multiple documents you want for eSignature.
Now click on the toggle button to only show selected available documents
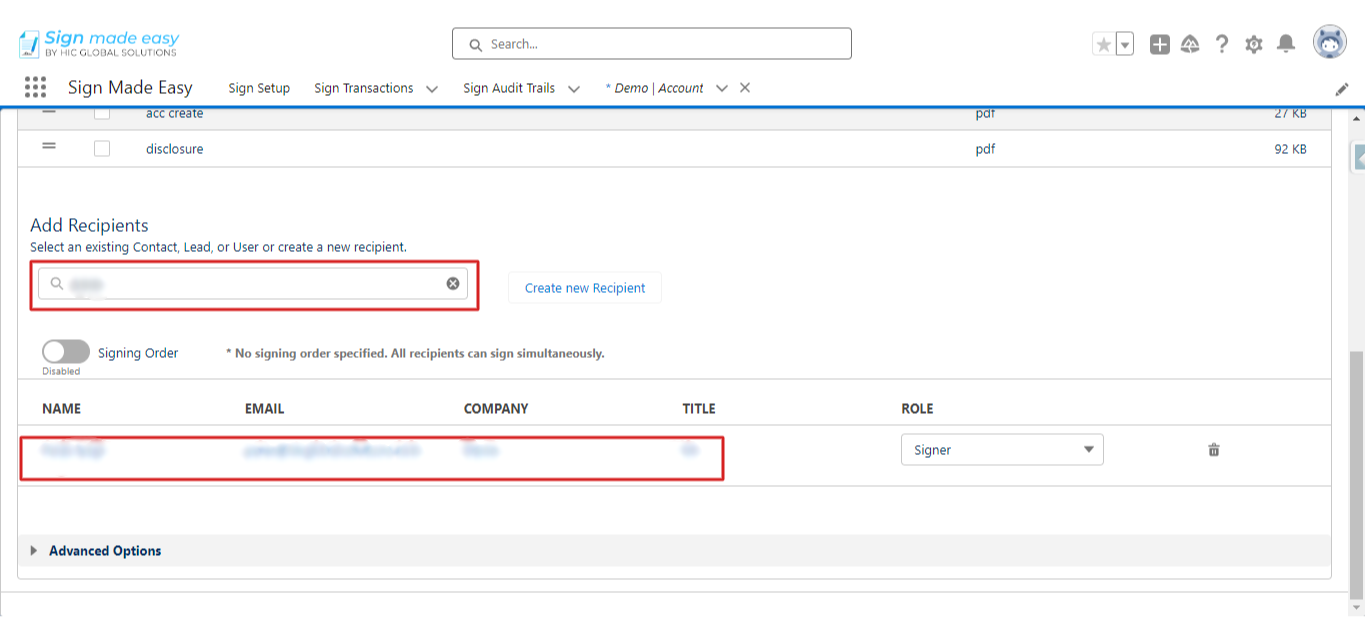
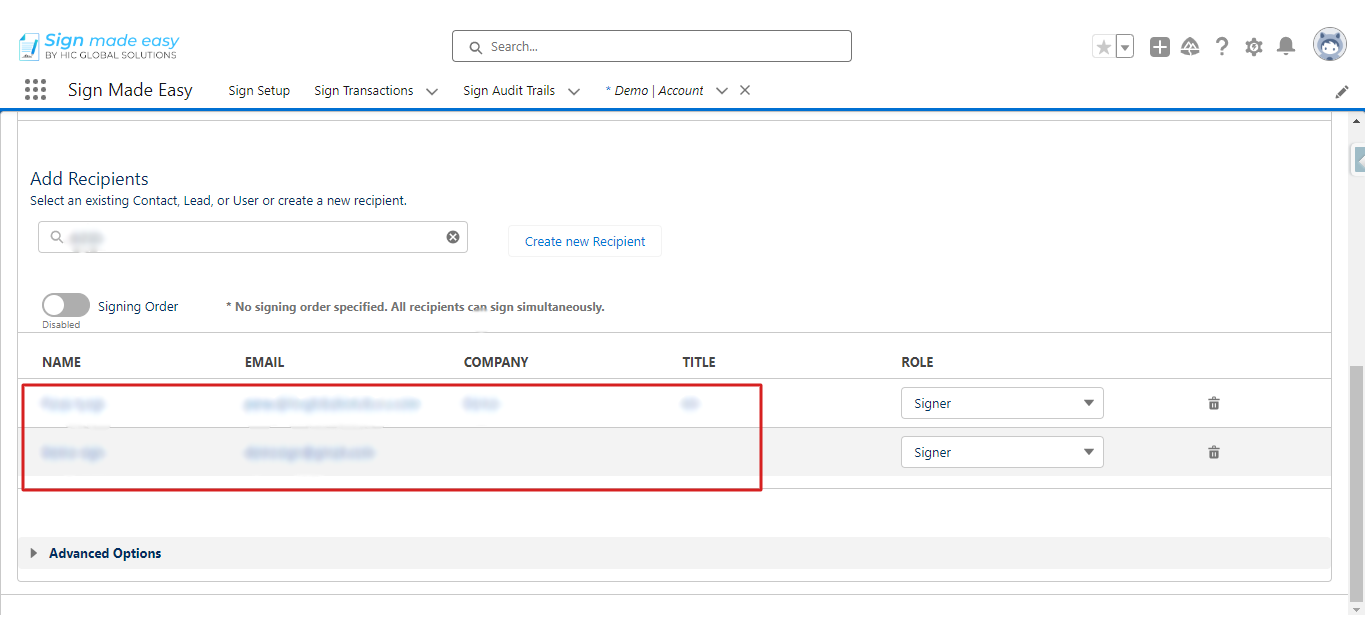
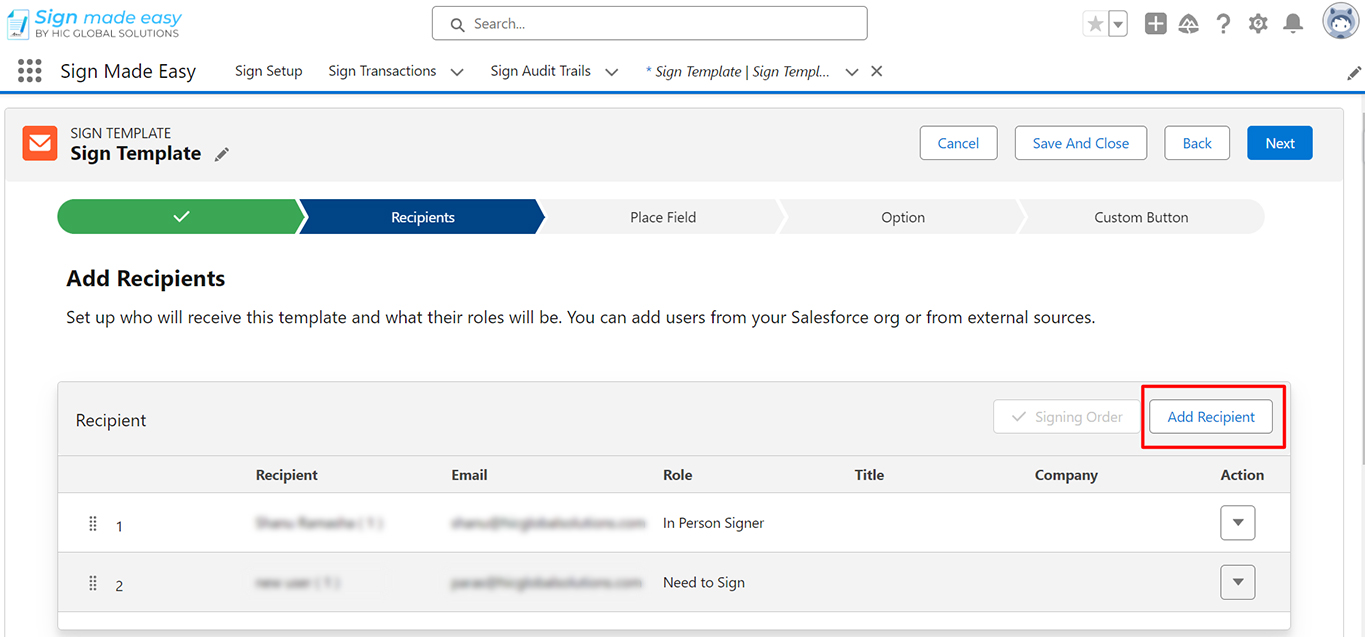
Now the second Option is Add Recipients:
- Search the Salesforce object Contact.
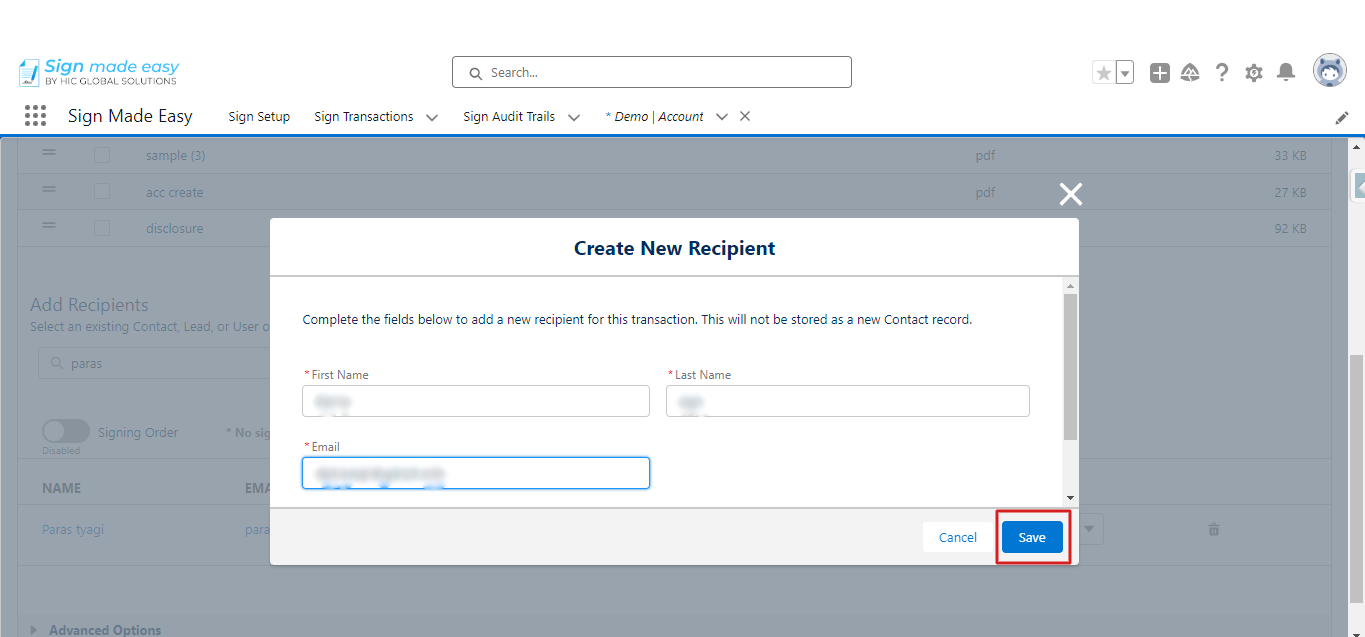
- If the Recipient is not a contact user in salesforce, Click on Create new recipient and complete the required fields to add a non-salesforce Recipient.
If you have not added the tags you can directly send the document in the Email from the add document page. Click on the Begin In person.
CC : You can select multiple CCs, But you need to Add one Signer or One In Person.
In the CC only Complete sign email is sent . two Signers and click on the Preview and tag button.