Note:- For assistance with SME PRO installation, please contact the Support Team. They will provide the SME Pro installation package and guide you through the setup process.
Once you have received the SME PRO package, proceed with its installation in your org. The steps for a successful installation are outlined below :-
Note:- To install the SME PRO package, you must sign in or sign up with your Salesforce account. Ensure you have System Administrator access in the org where the package will be installed.
Step 1 :- Select Installation Scope: select one of the following options:
- Install for Admins Only – Recommended for initial setup and testing.
- Install for All Users – Grants access to all users in your org.
- Install for Specific Profiles – Allows you to select specific user profiles for access.
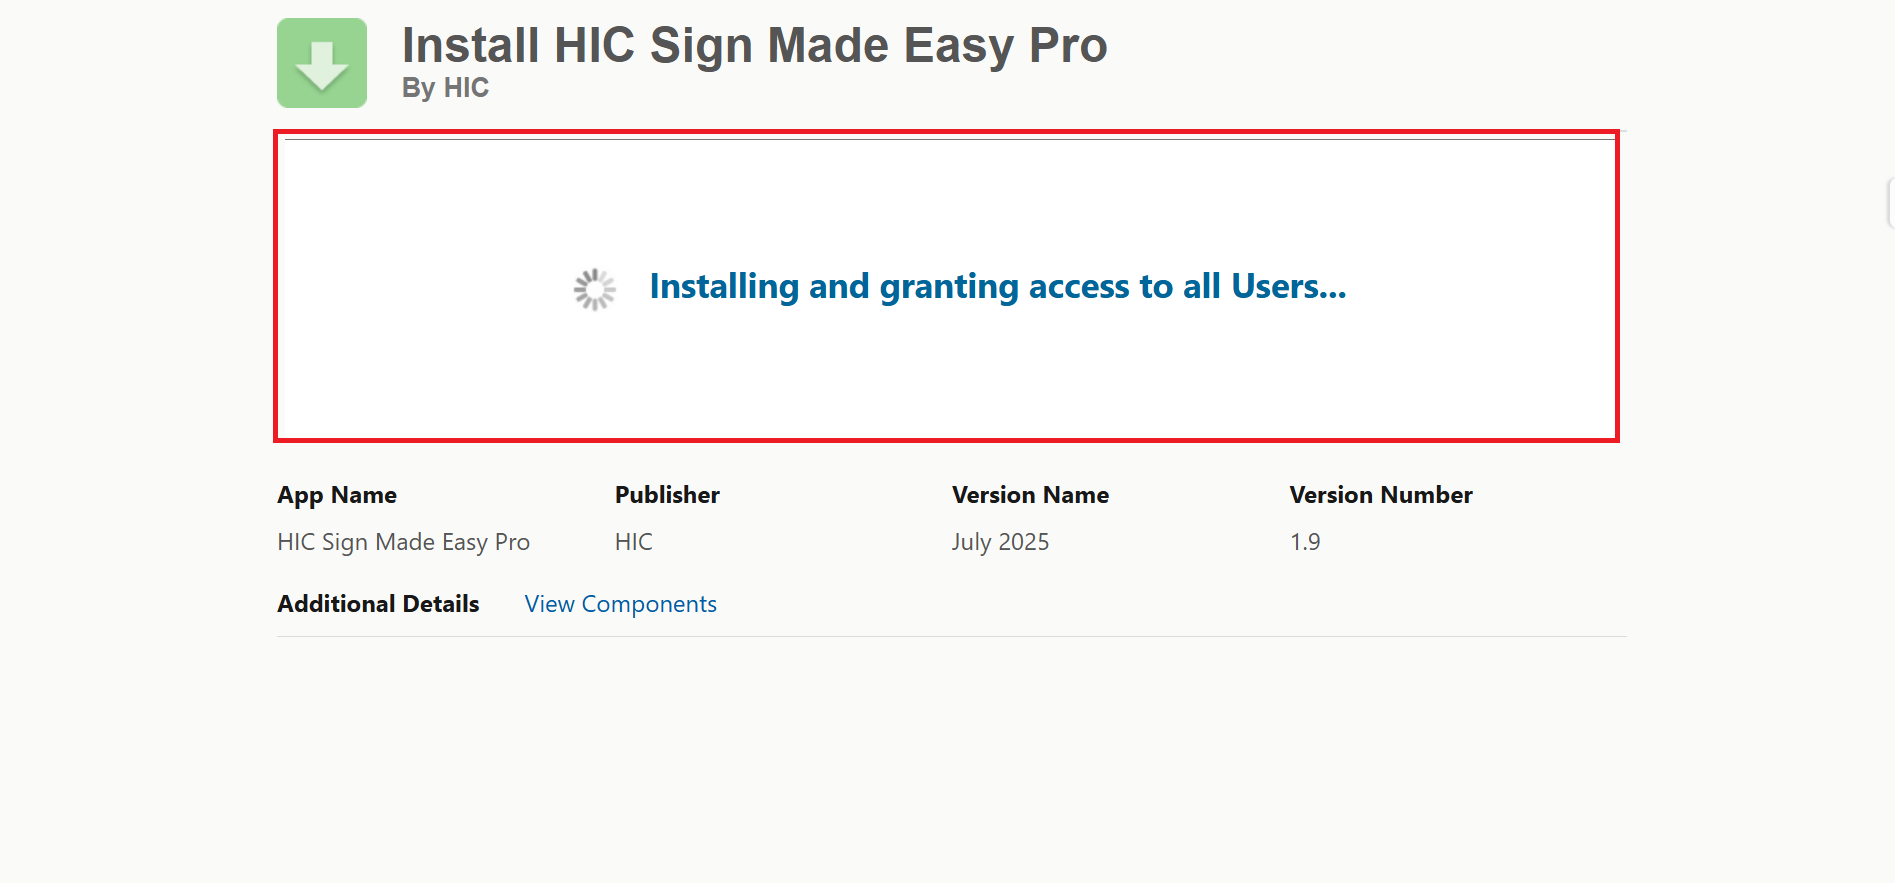
Click Install to continue.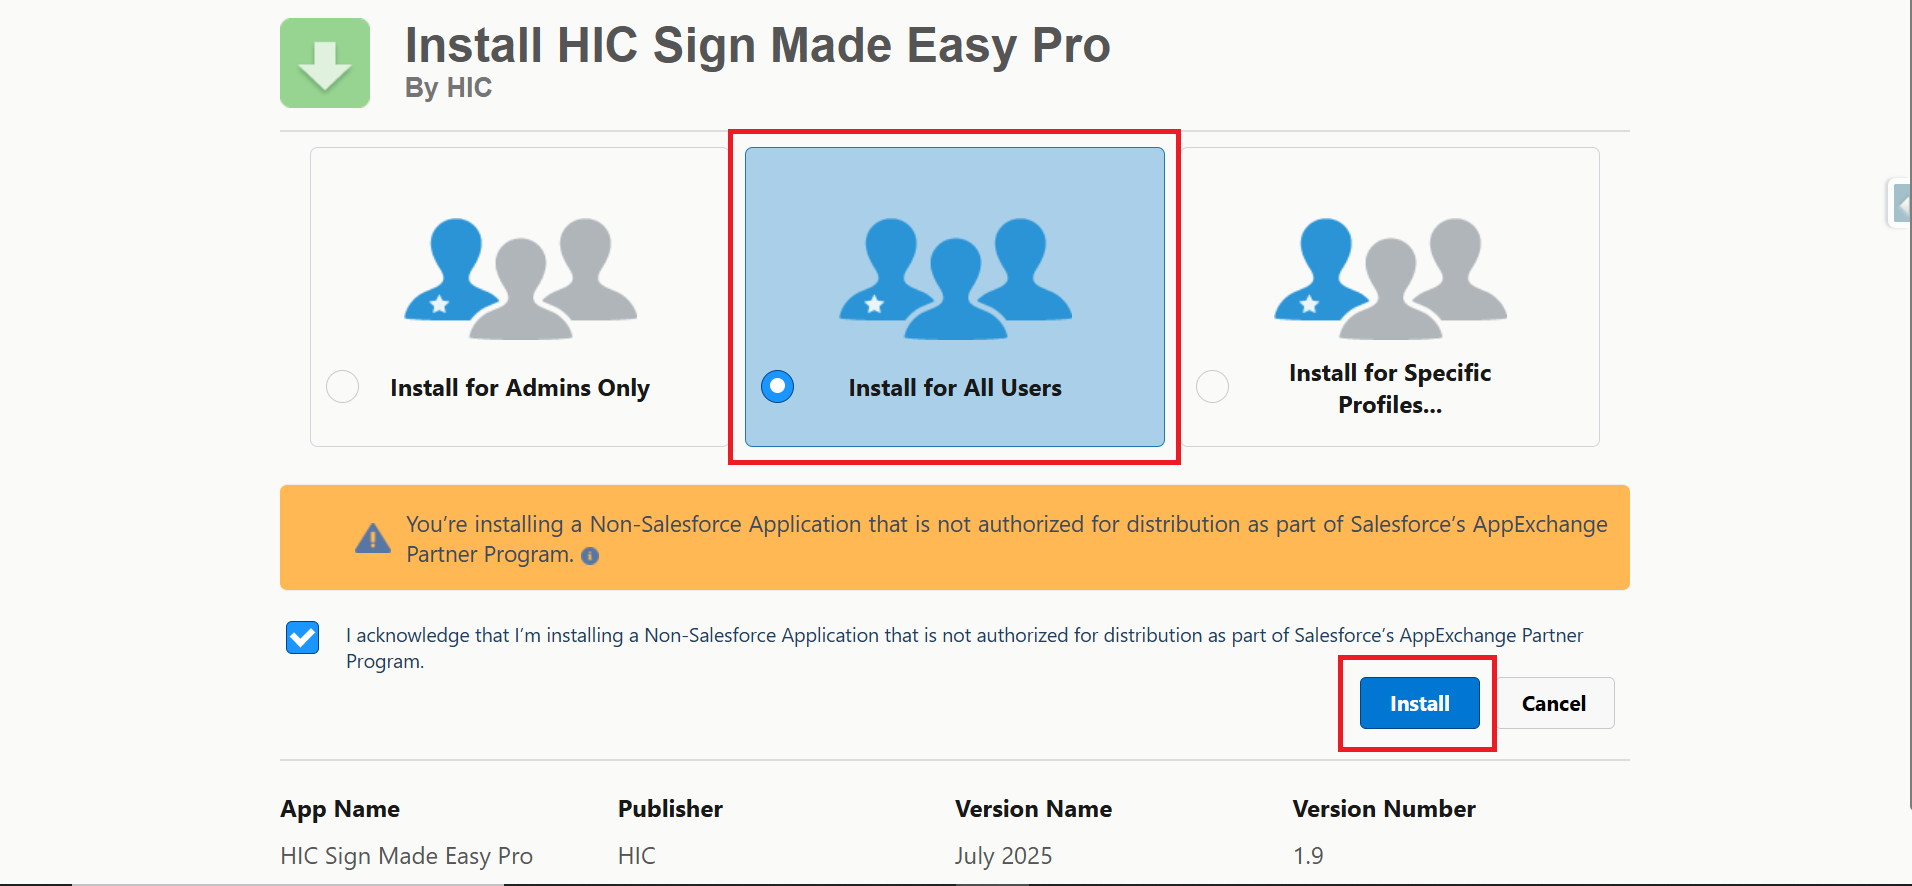
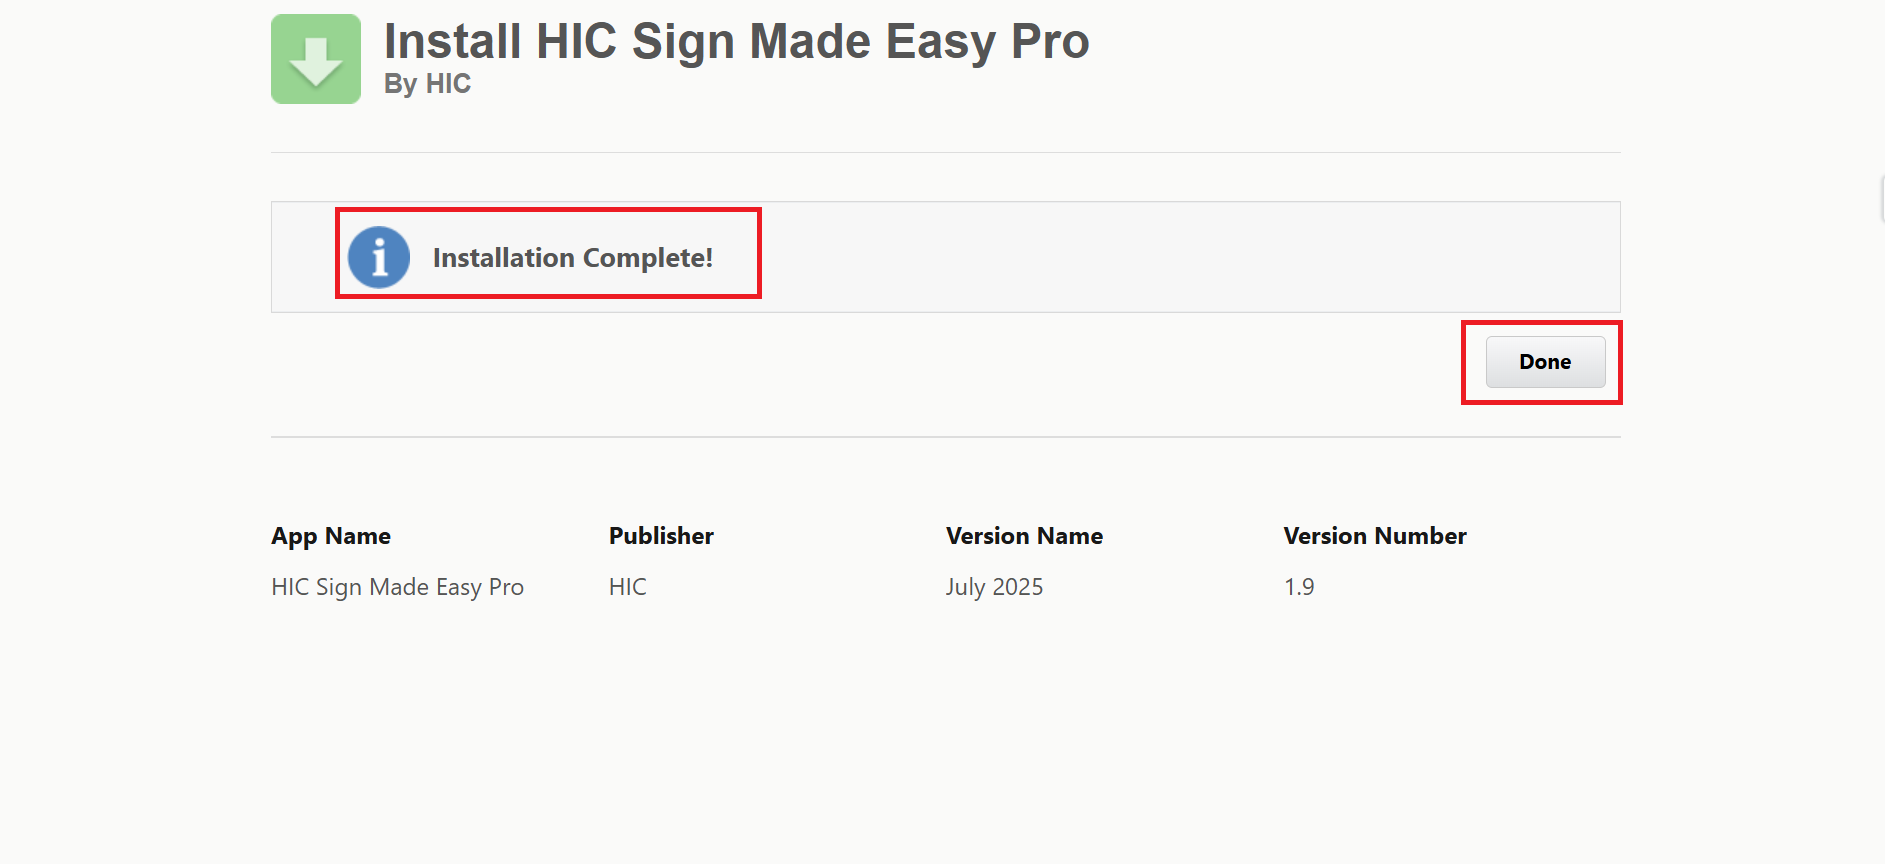
Step 2 :- After the installation is complete, the app will be visible in Salesforce under Setup → Installed Packages.

Step 3 :- Click the App Launcher (nine-dot icon) at the top-left corner of the Salesforce interface. In the search bar, enter “Sign Made Easy” and select the application to open it.

Step 4 :- You will now be directed to the home page of the Sign Made Easy application.
Step 5 :- Once the SME Pro package installation is complete, check the authentication status by clicking the Check Status button. If the status shows Authenticated, no further configuration is required. Otherwise, you will need to configure Sign Made Easy to initiate the connection with the SME server for e-signature functionality and to enable SME Pro features.
Note:- Once the SME configuration is complete, please contact the Support Team to enable SME Pro features in your org. You will need to provide your Org ID to the Support Team for this process.
Follow the steps below to locate and retrieve your Salesforce Org ID. This information is required when contacting the Support Team for enabling SME Pro features.
Step 1:- Click on the Setup icon (gear) in the top-right corner.
Step 2 :- In the Quick Find Search bar on the left-hand side, type Company Information and press. Enter.
Step 3 :- Click on Company Information under the Company Settings section.
 Step 4 :- The Company Information page displays details such as your Org ID, Company name, Salesforce edition, and other relevant organizational information. Copy your Salesforce Org ID and provide it to the Support Team to enable SME Pro features in your org.
Step 5 :- Once the SME Pro features have been enabled by the Support Team, you can verify the enabled features by clicking the View Feature button on the Sign Made Easy Setup page, as shown in the image below.

Note :- After enabling SME Pro features, assign the SME Pro permission set to users according to their profiles to provide access to SME Pro functionality. For detailed instructions on assigning the Pro permission set, please Click Here.
Was this article helpful?
That’s Great!
Thank you for your feedback
Sorry! We couldn't be helpful
Thank you for your feedback
Feedback sent
We appreciate your effort and will try to fix the article