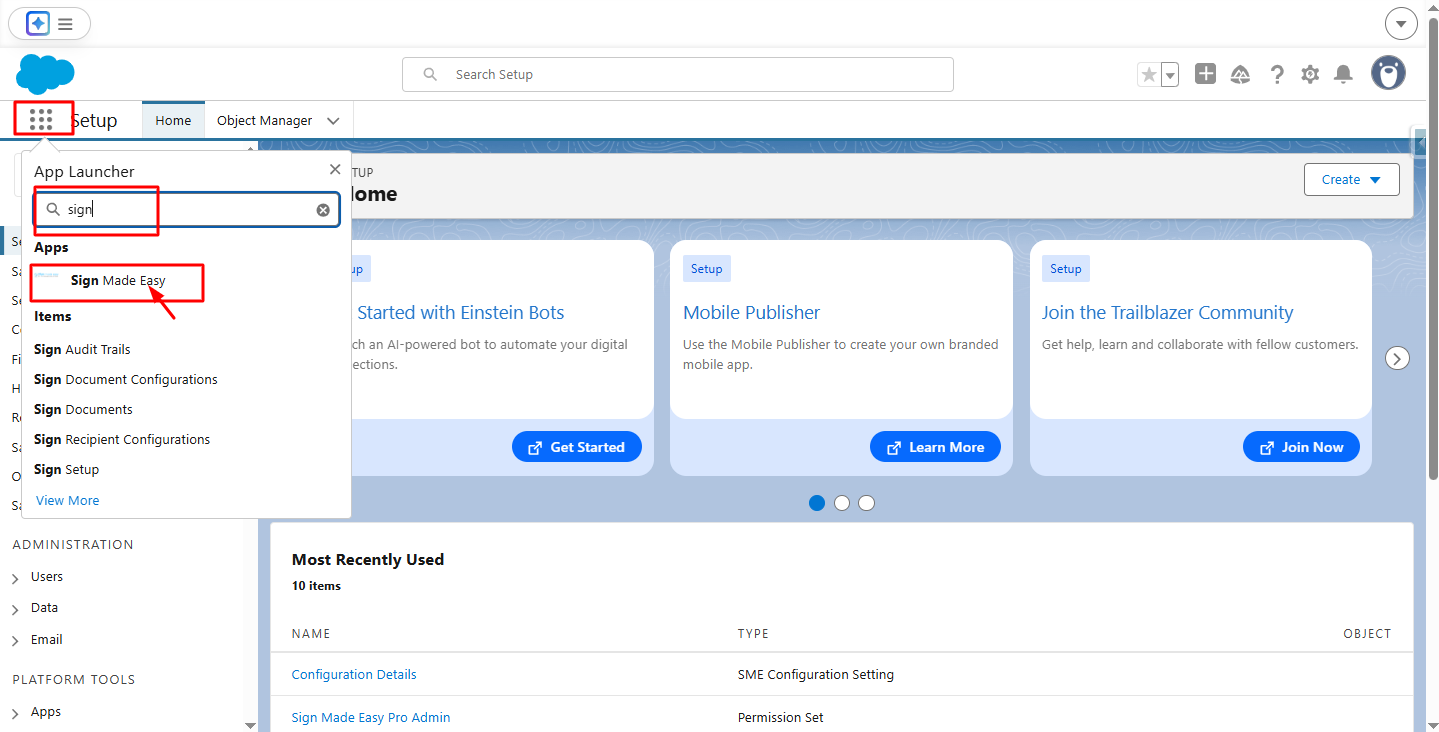
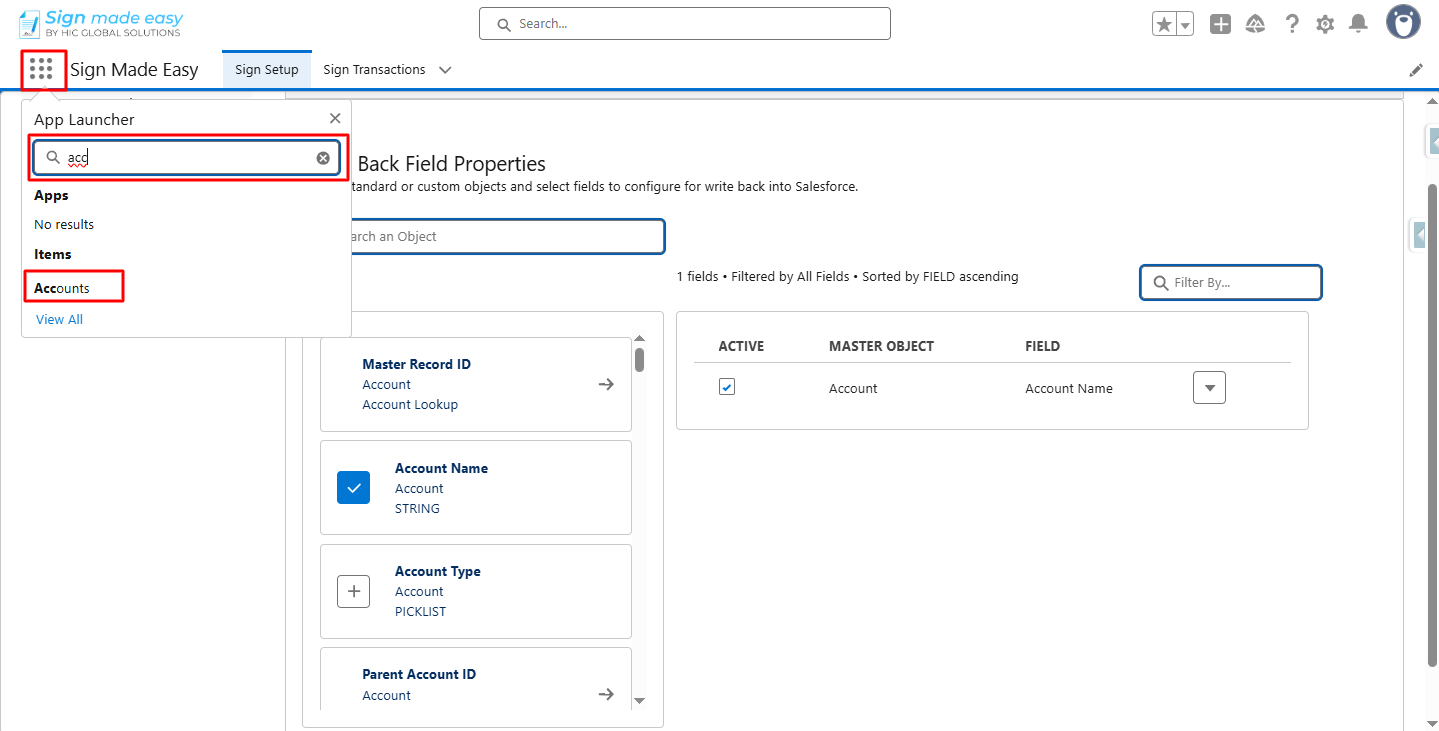
Step 1:-Navigate to App Launcher and in the quick find box search and then select the Sign Made Easy App.
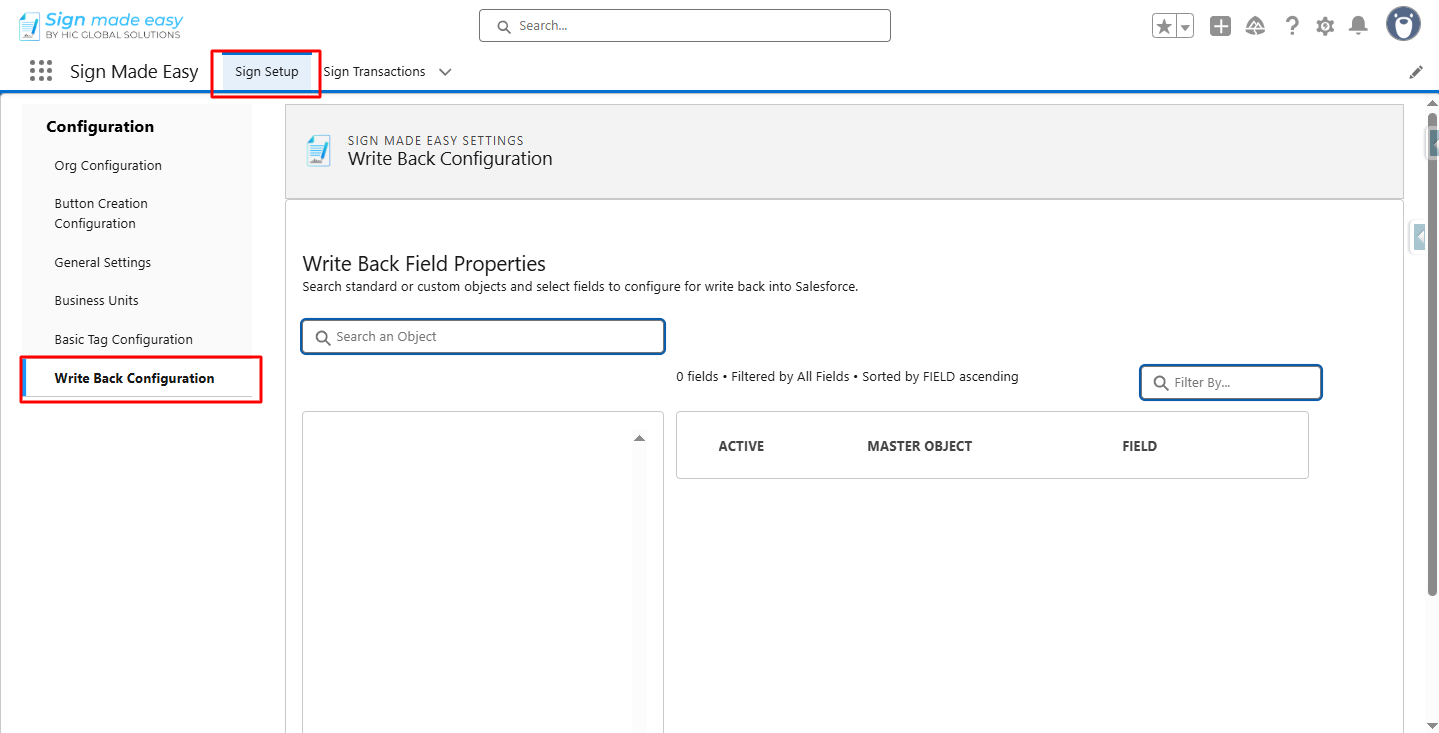
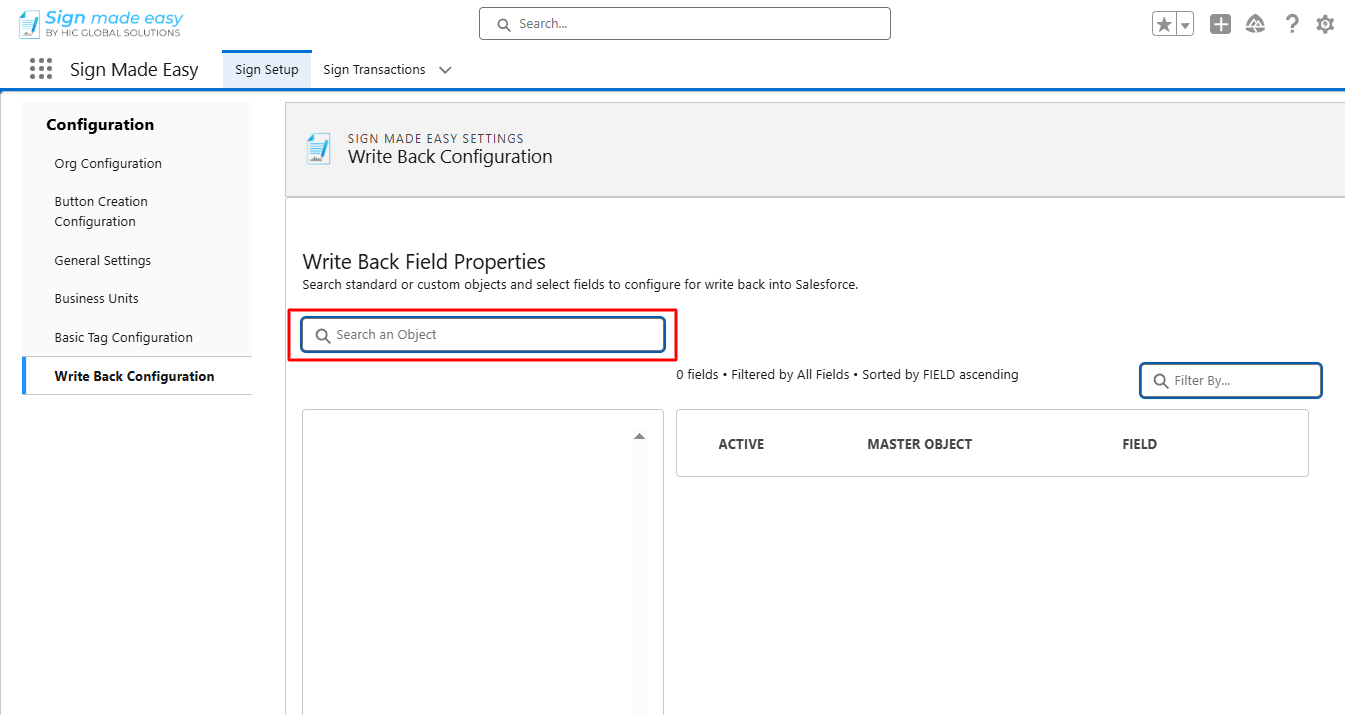
Step 2:- In the Sign Setup tab, select the Write Back Configuration.
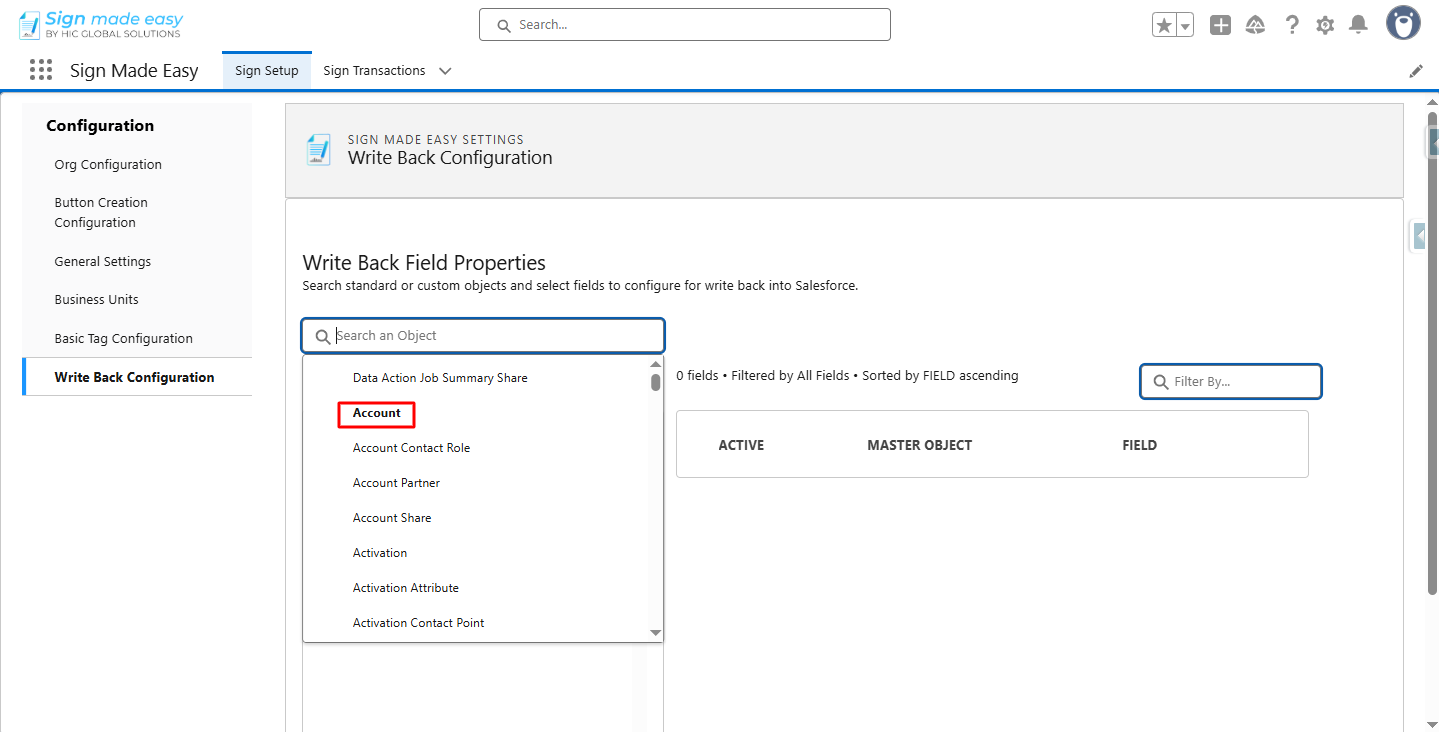
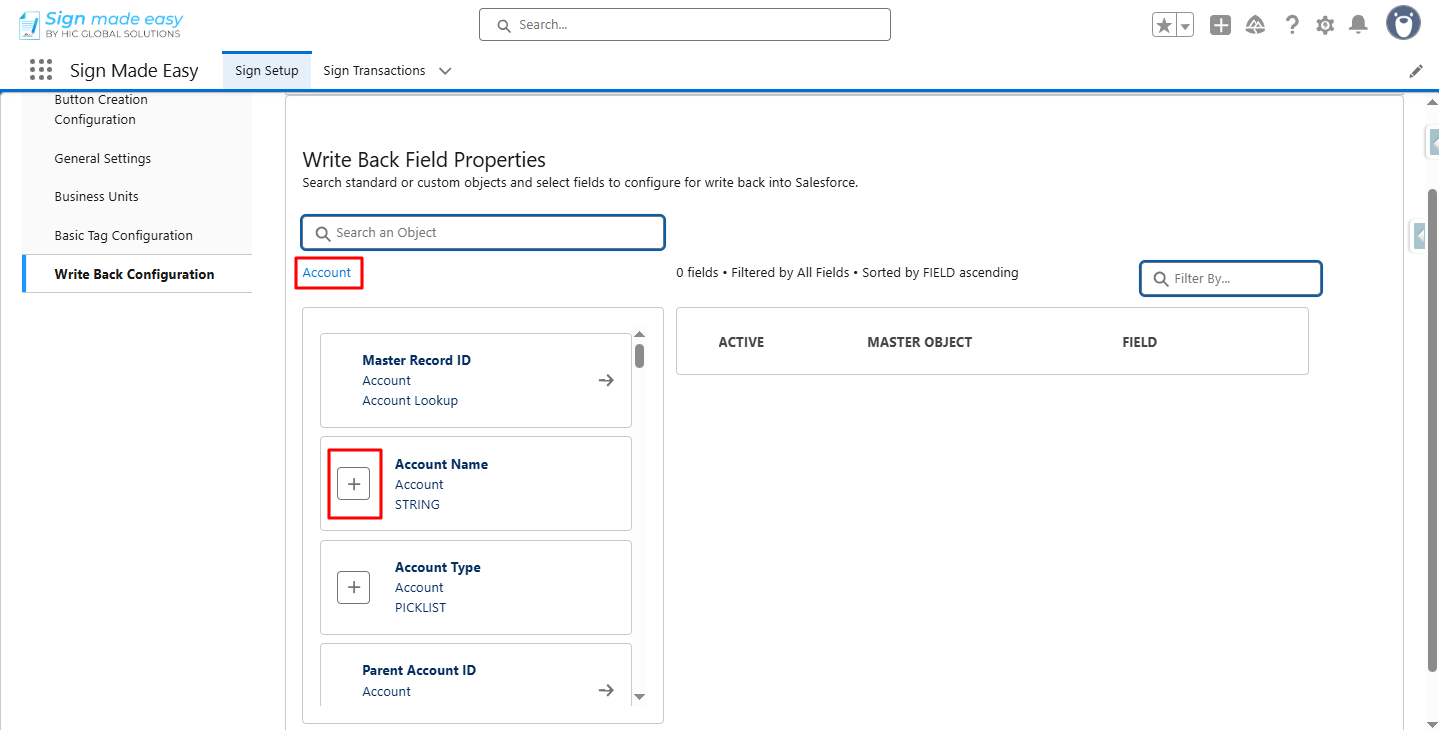
Step 3:- Select Object.
Step 4:- Select the field to be made available for writeback by clicking the Add (+) button.
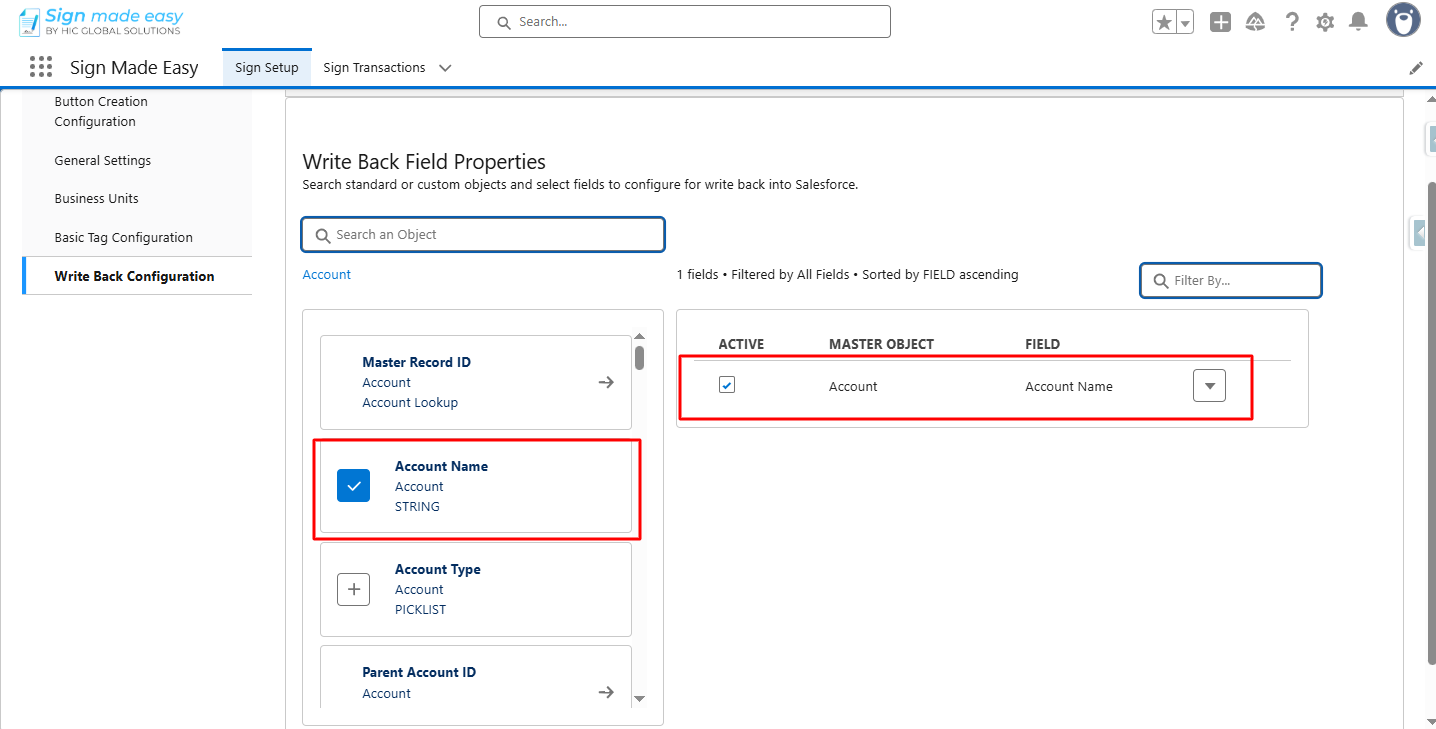
Step 5:- Define the basic properties of those fields.
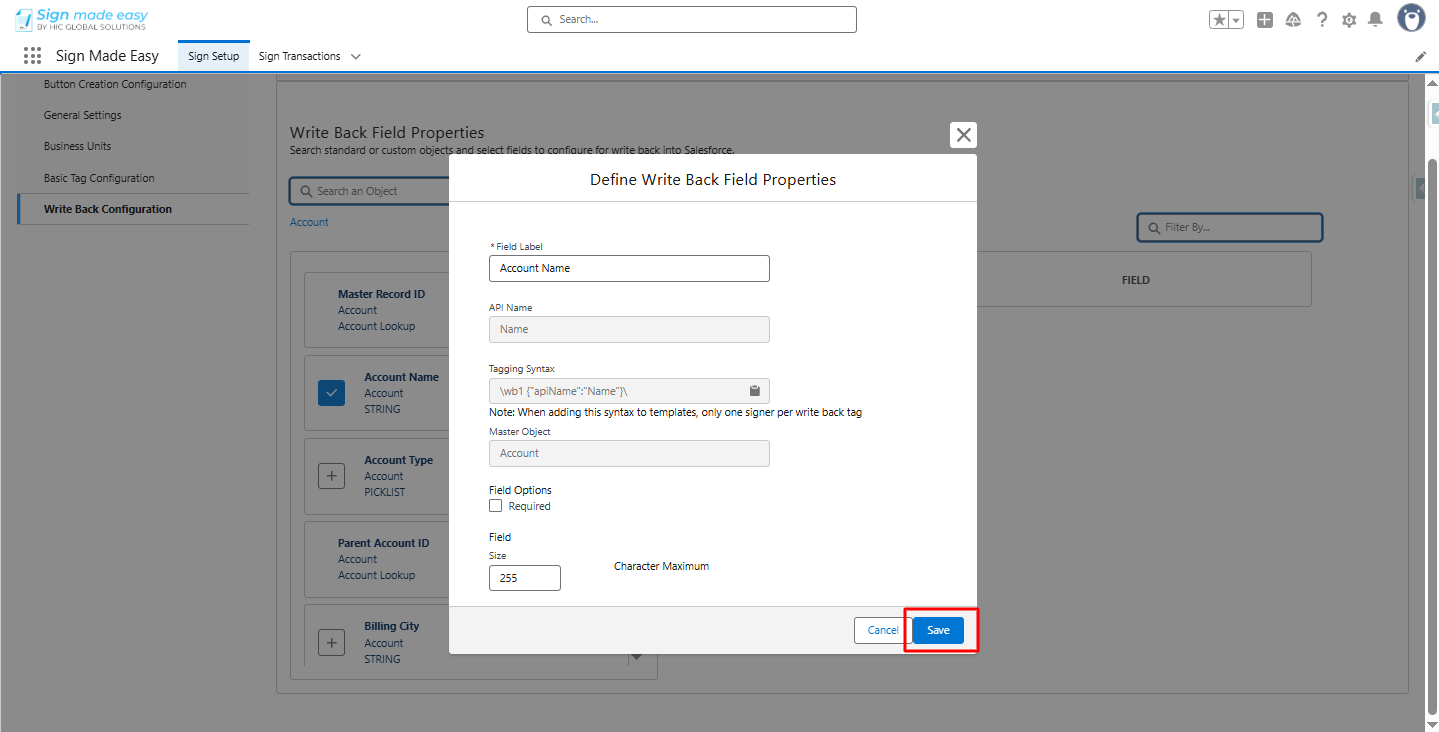
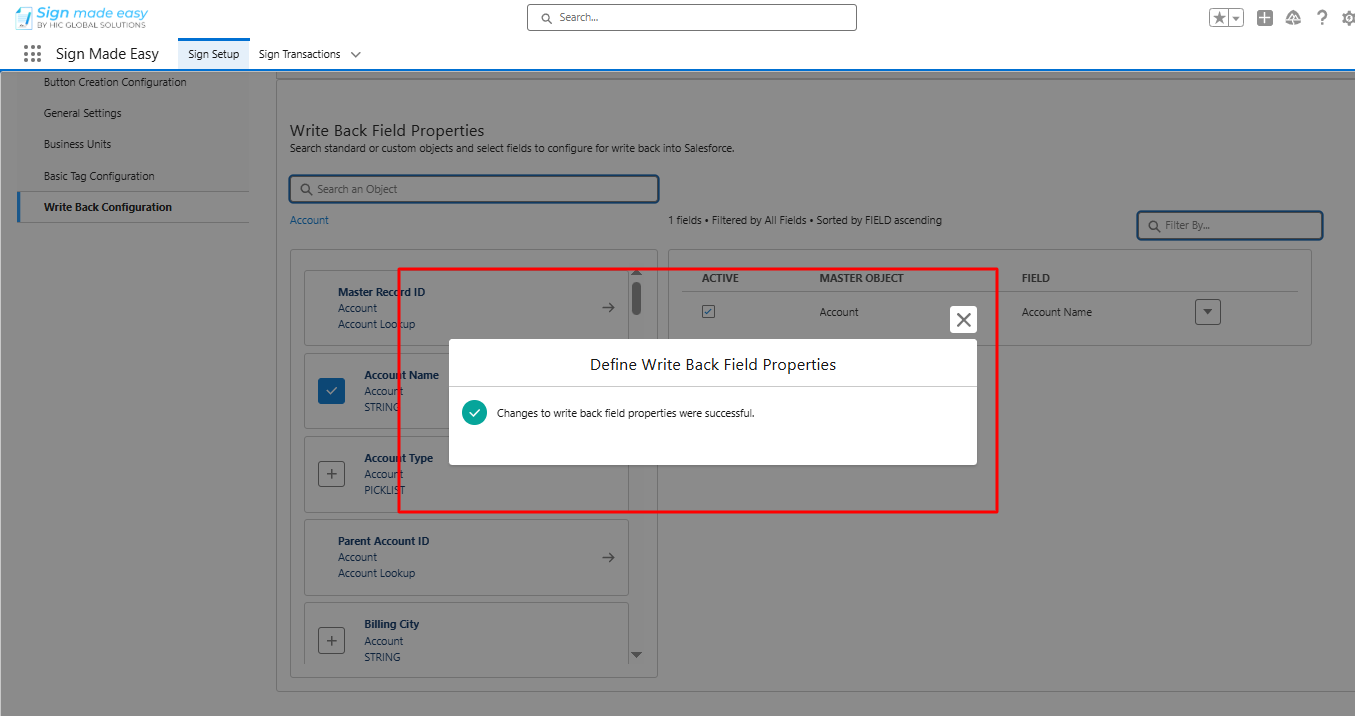
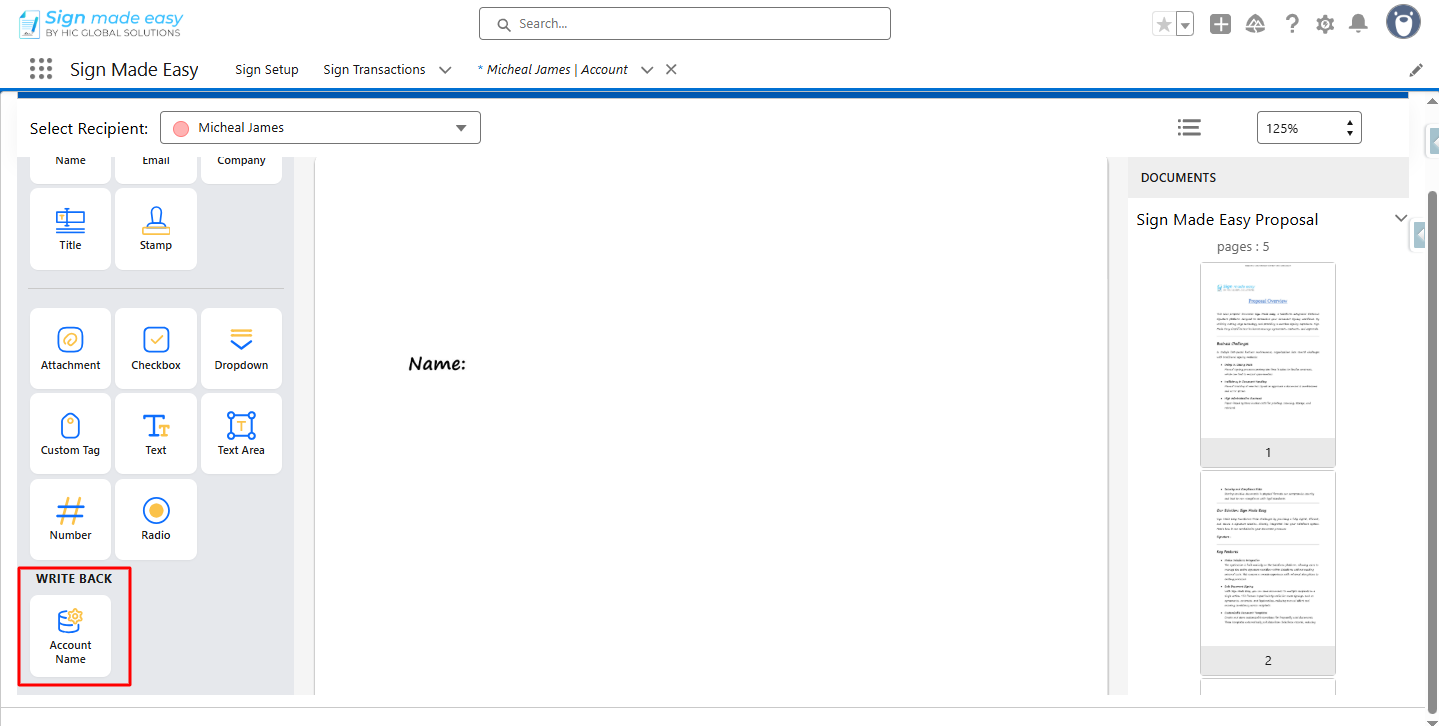
Once configured, these fields can be used as tags within the documents.
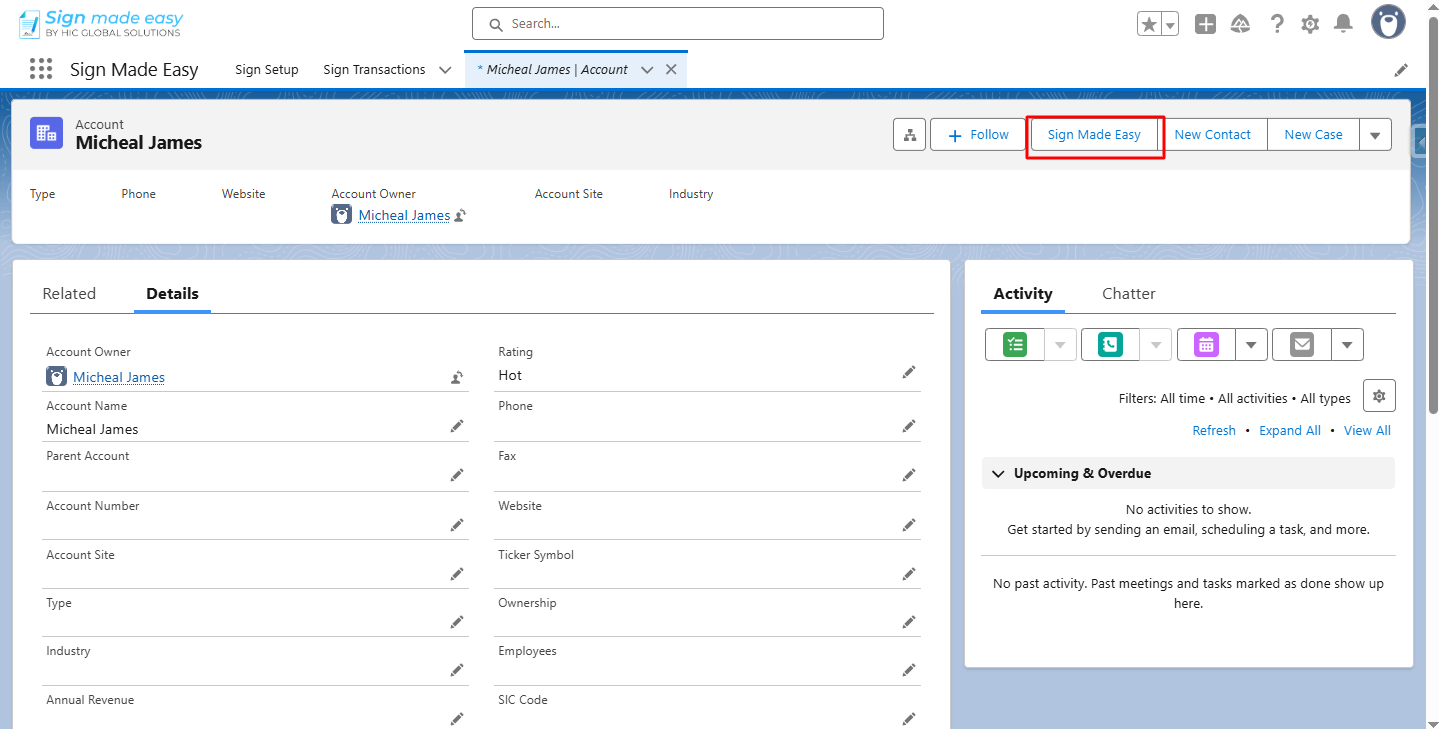
Step 6:- Open the App Launcher, search for the object, and go to its record page.
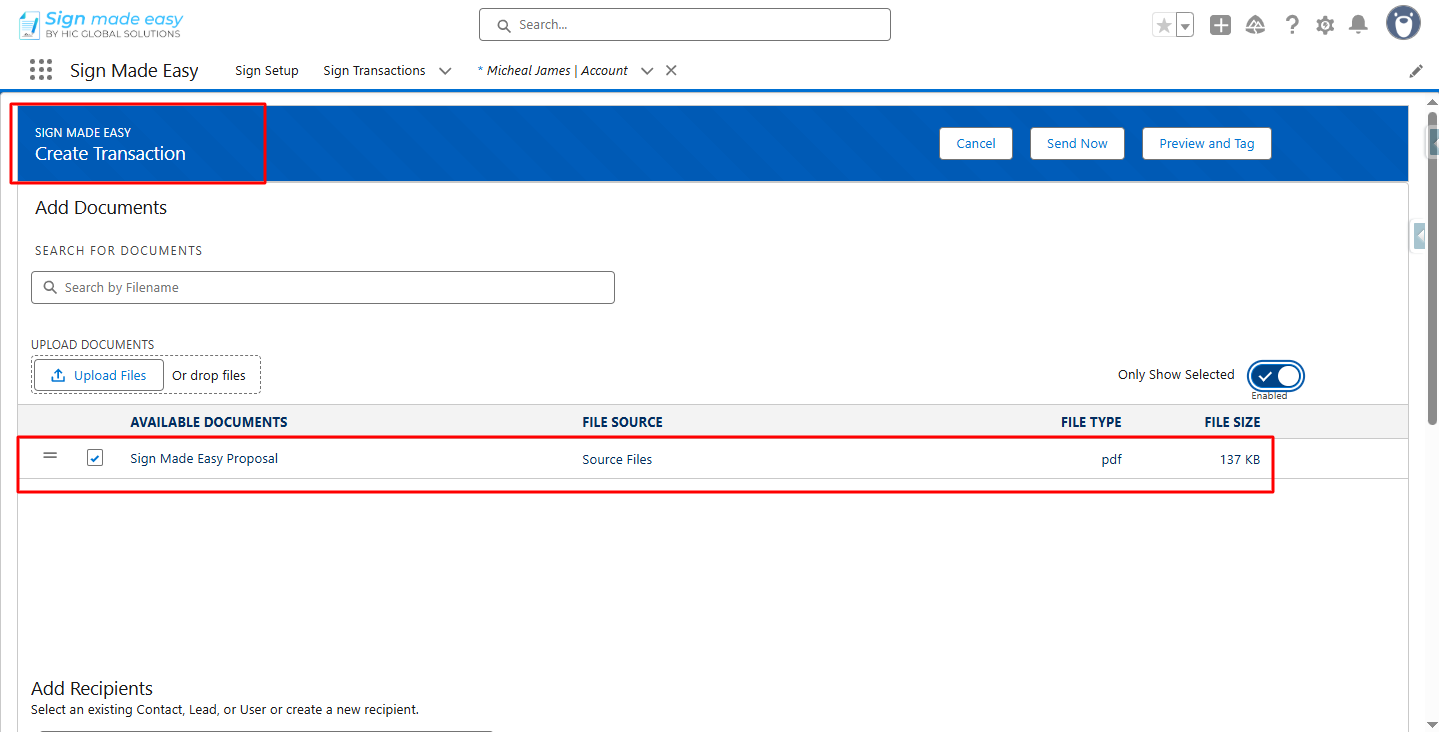
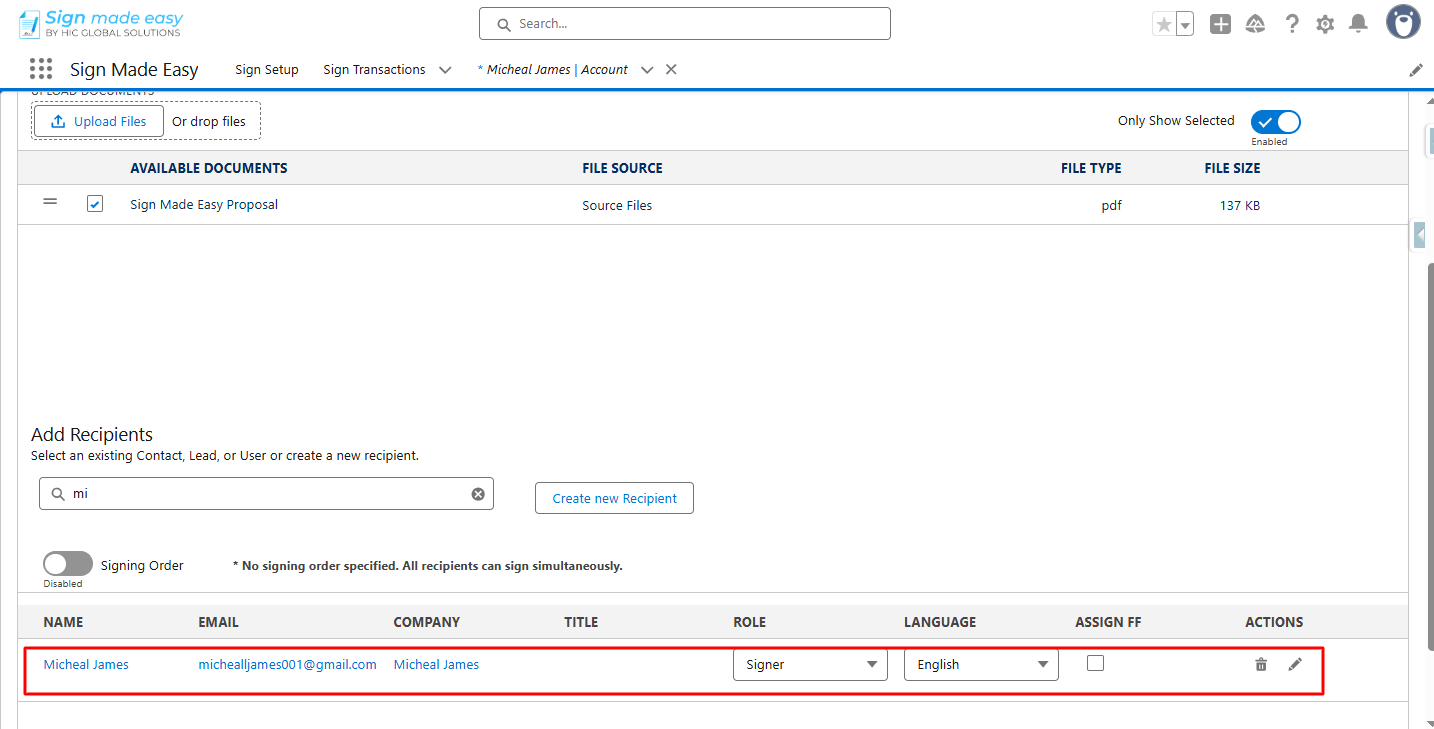
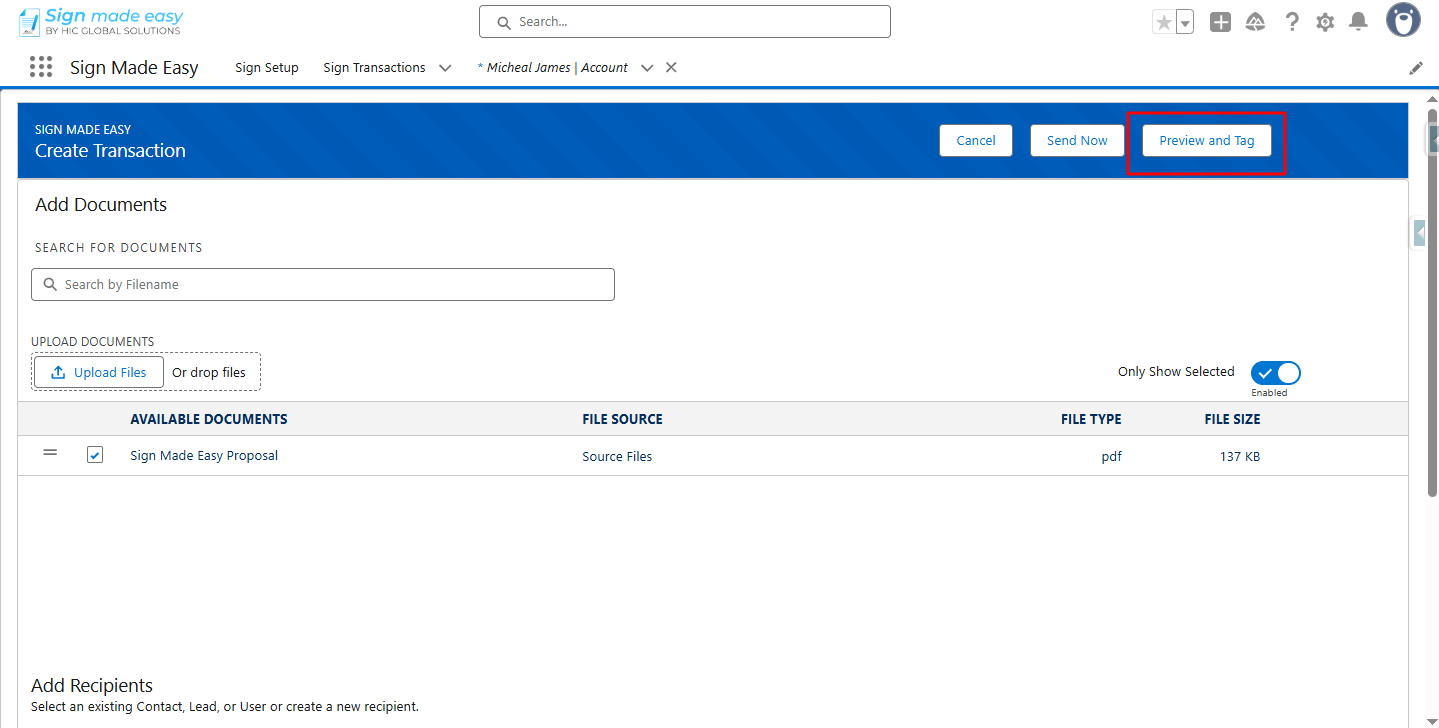
Step 7:- Click the button you created. The Create Transaction interface will appear, allowing you to add documents and recipient details.

Step 8:- Click the Preview and Tag button to add the necessary tags to the document.
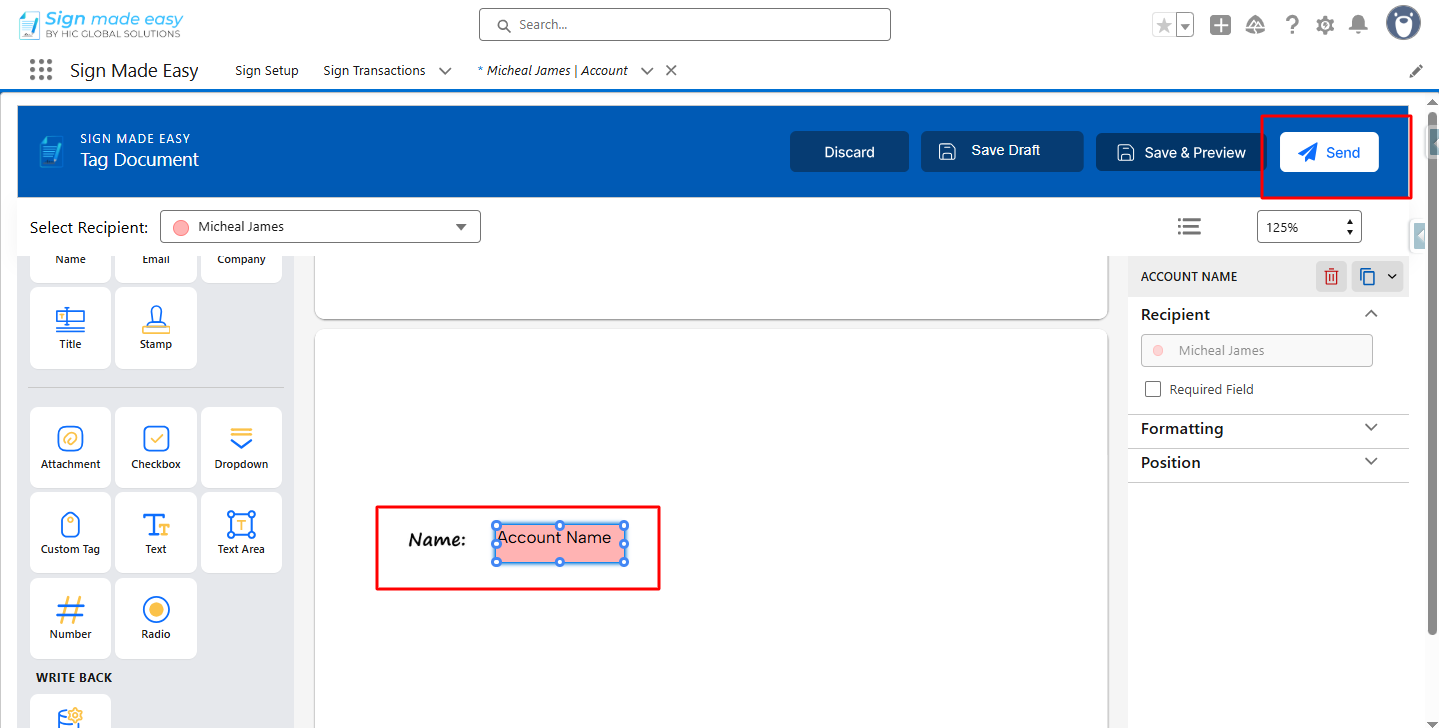
Step 9:- Now, drag and drop the writeback tag onto the documents at the desired locations.
Step 10: Now, click the Send button to send the email to the recipients.
Note: Each writeback tag must be linked to a single signer to prevent conflicts.
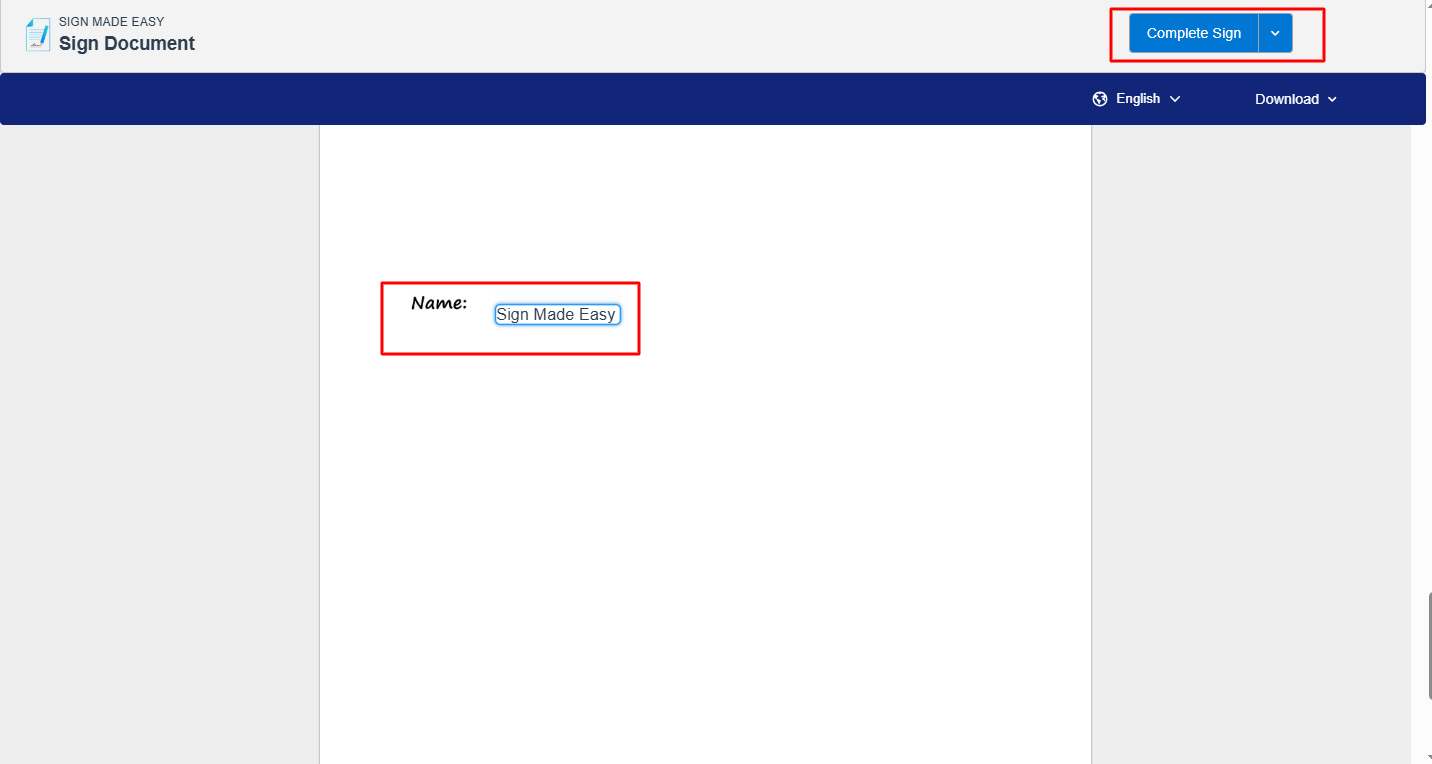
Step 11:- To complete the transaction, click on each tag and enter the required information to complete the transaction.
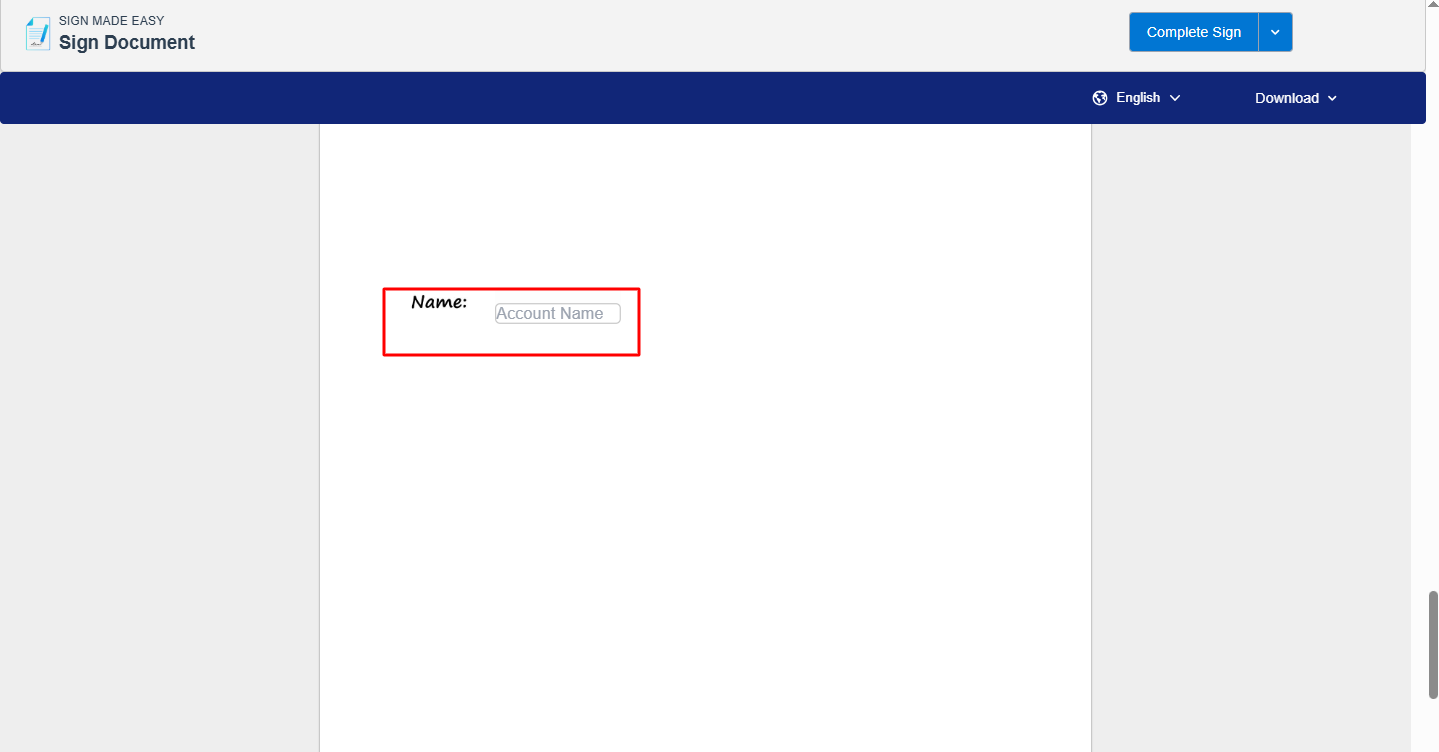
Step 12:- After signing, open the originating object record and confirm that the tagged data has updated the correct fields.

Was this article helpful?
That’s Great!
Thank you for your feedback
Sorry! We couldn't be helpful
Thank you for your feedback
Feedback sent
We appreciate your effort and will try to fix the article