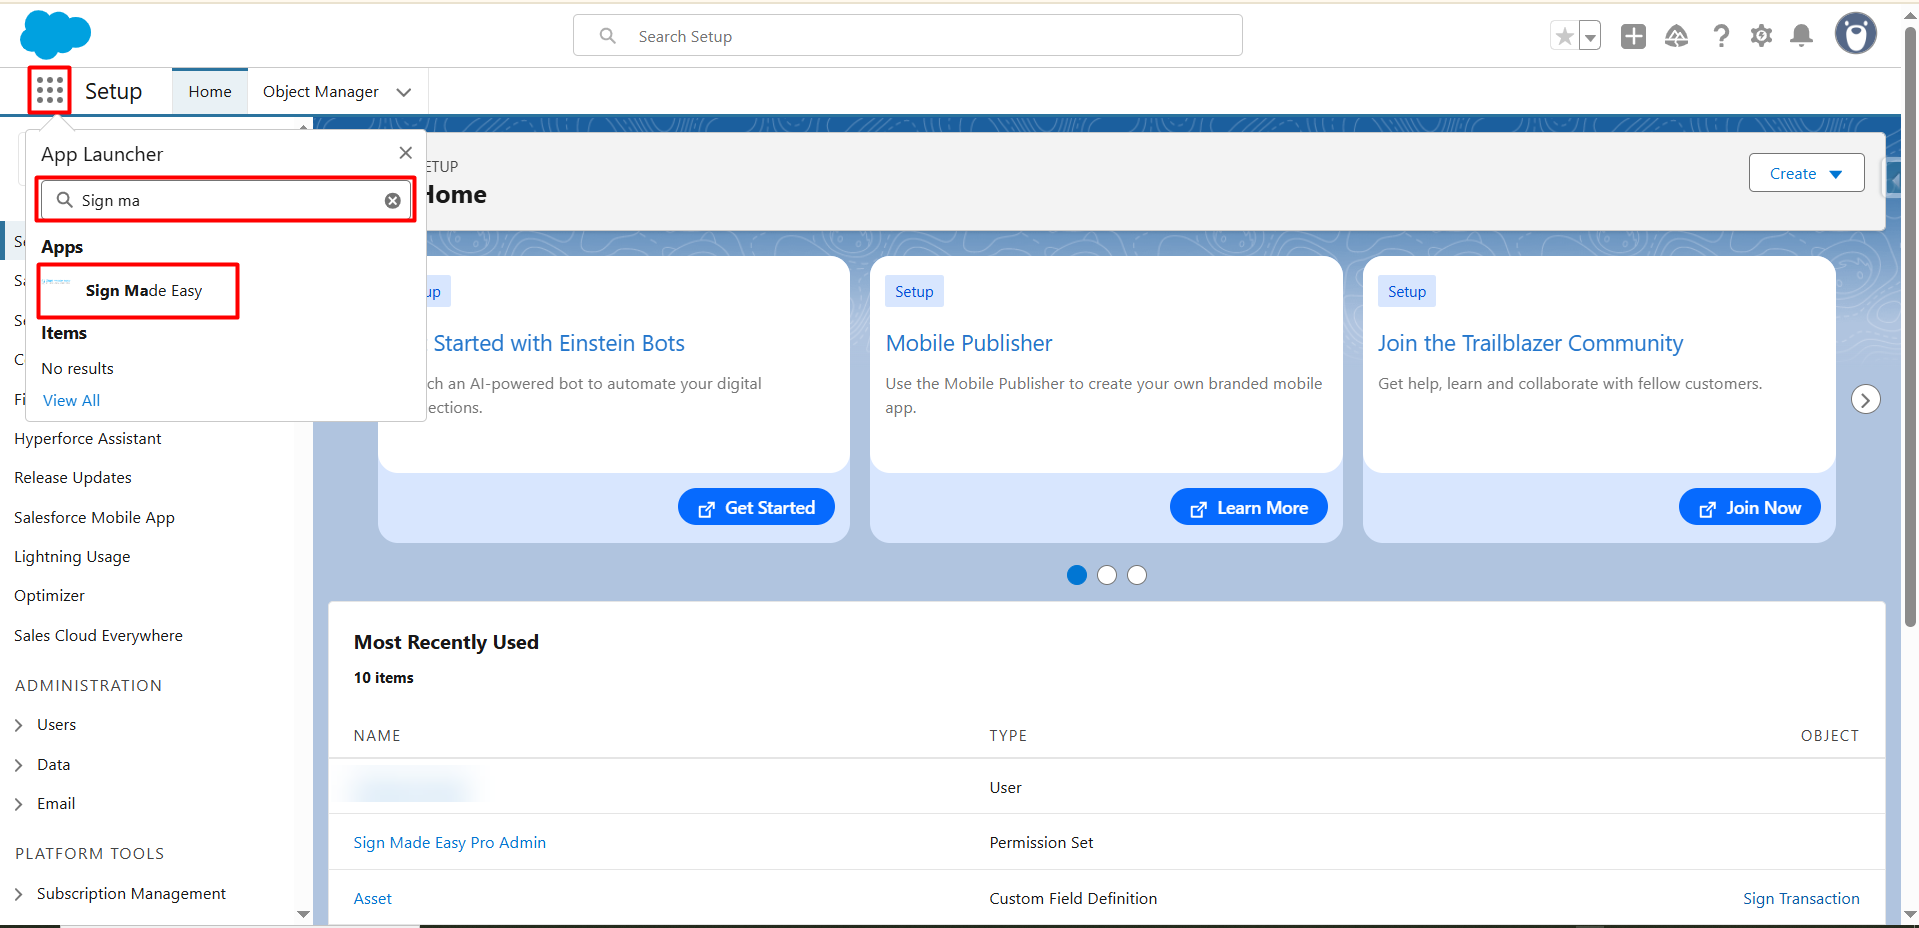
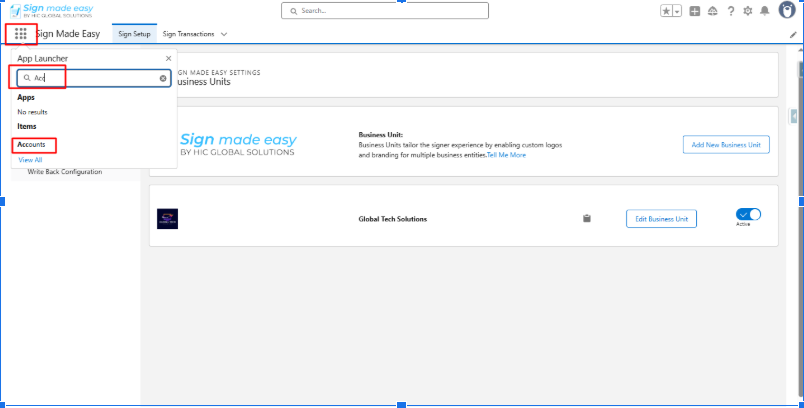
Step 1: Navigate to App Launcher. Search & select the Sign Made Easy app
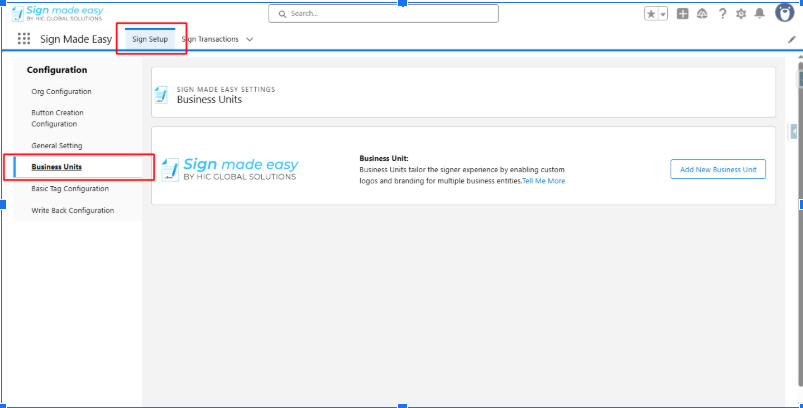
Step 2:- In the Sign Setup tab, navigate to the Business Units component.
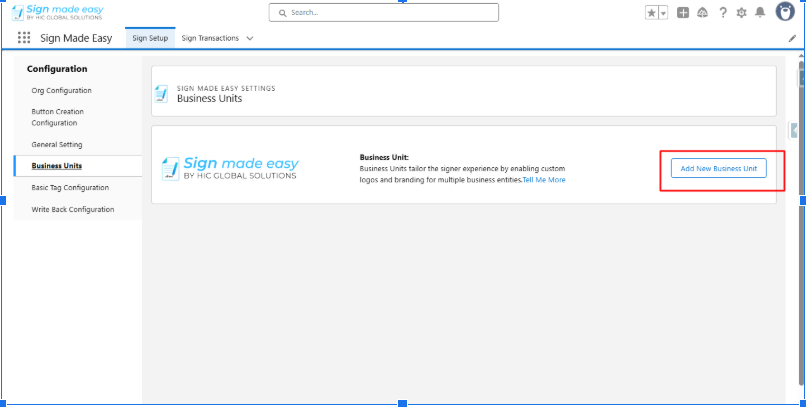
Step 3:- Click Add New Business Unit.
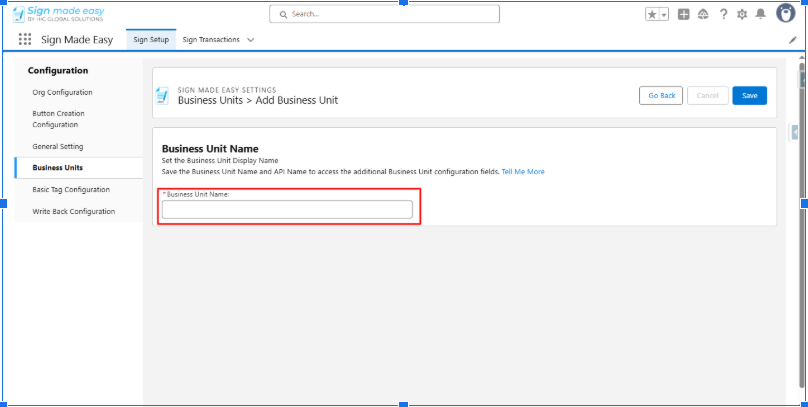
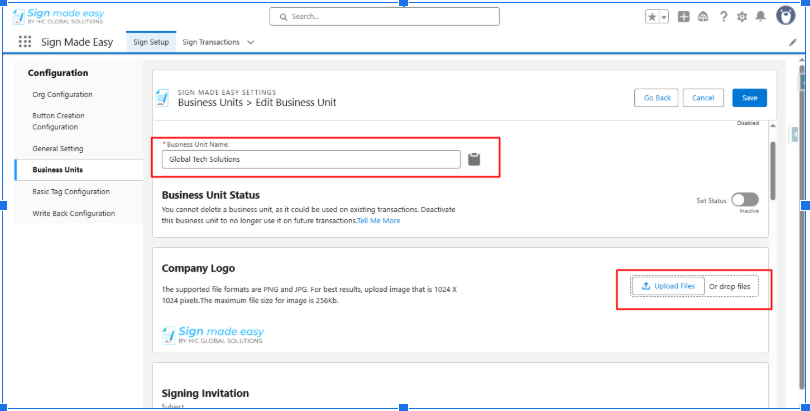
Step 4:- Enter Business Unit Name.
Step 5:- Upload Company Logo.

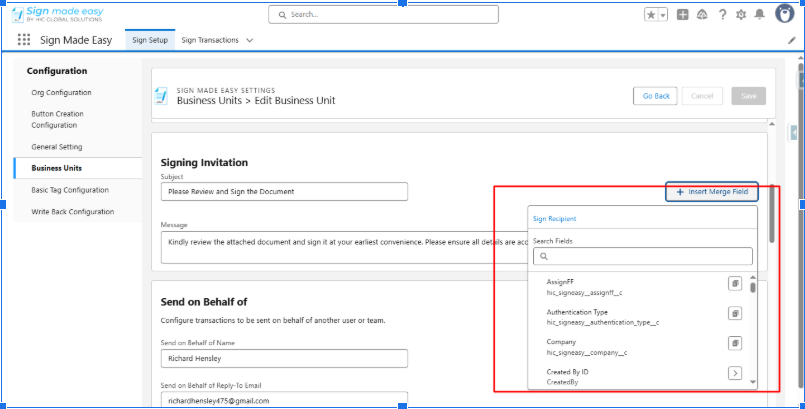
Step 6:- Enter Signing Invitation details.
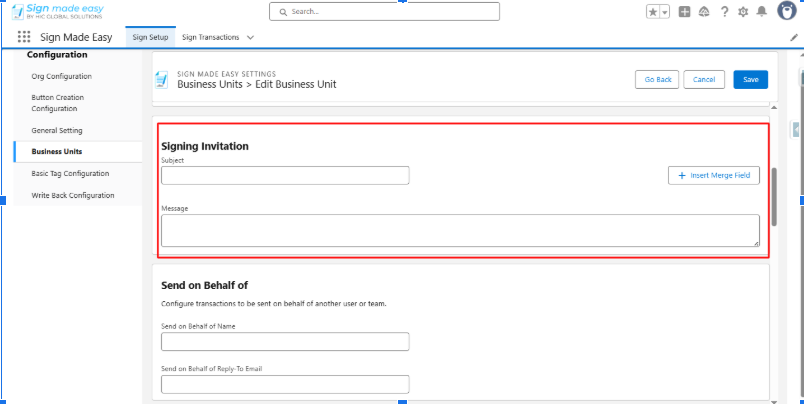
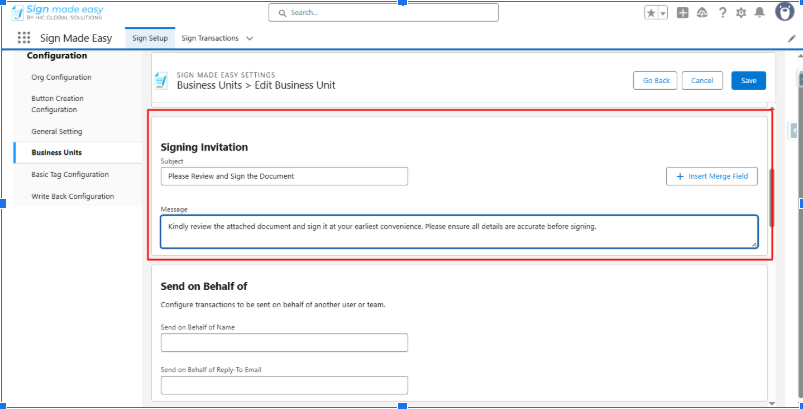
Note:- You can dynamically insert field data into the subject and message fields by using the Insert Merge Field option. Simply copy and paste the desired field to automatically populate it with the relevant data.
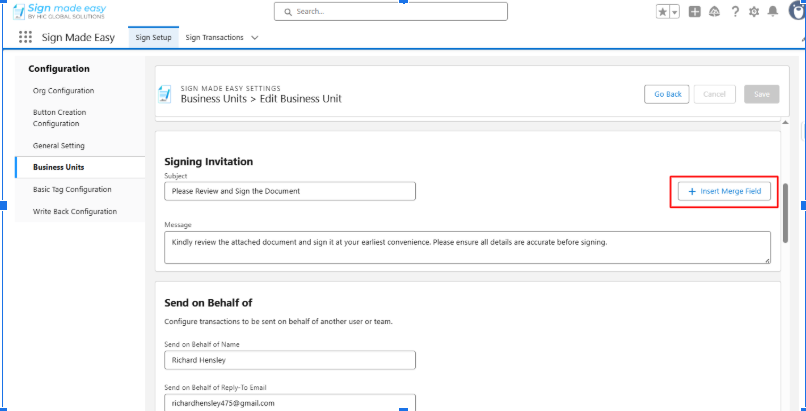
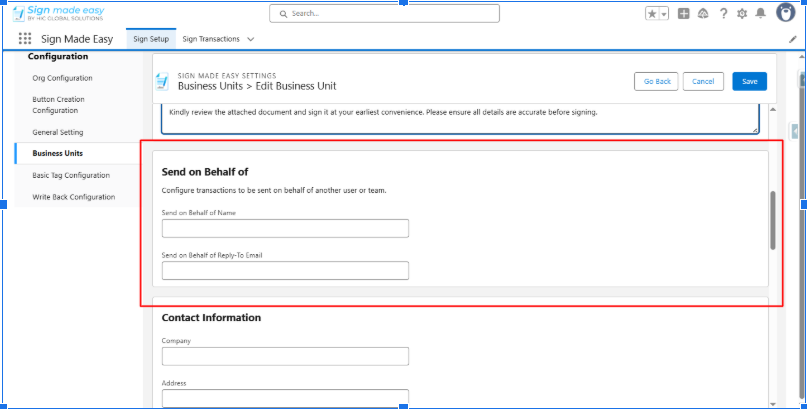
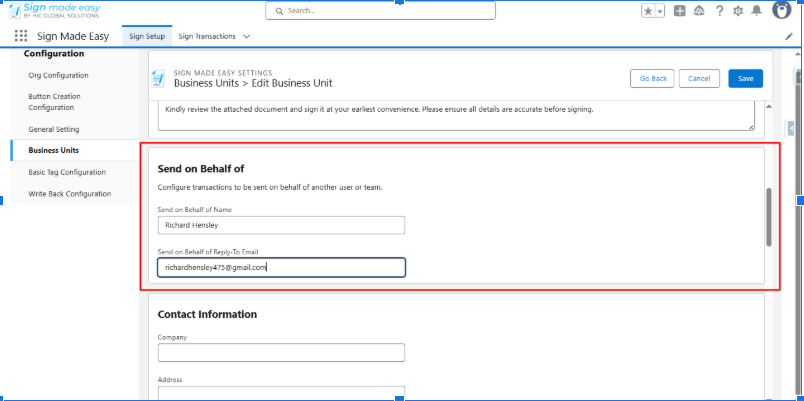
Step 7:- Enter Send on Behalf of Name and Email.
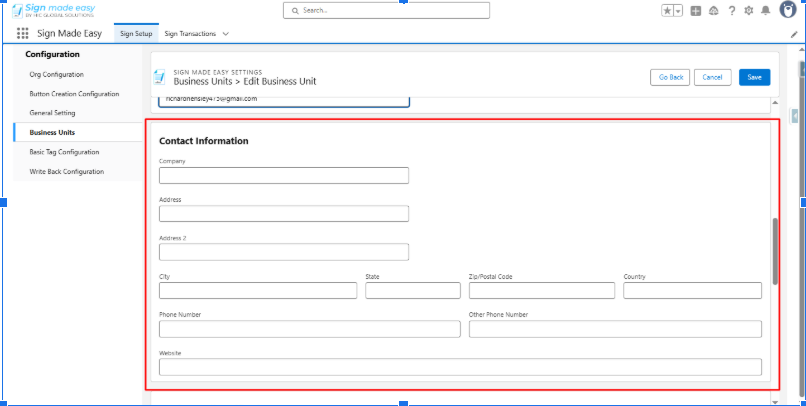
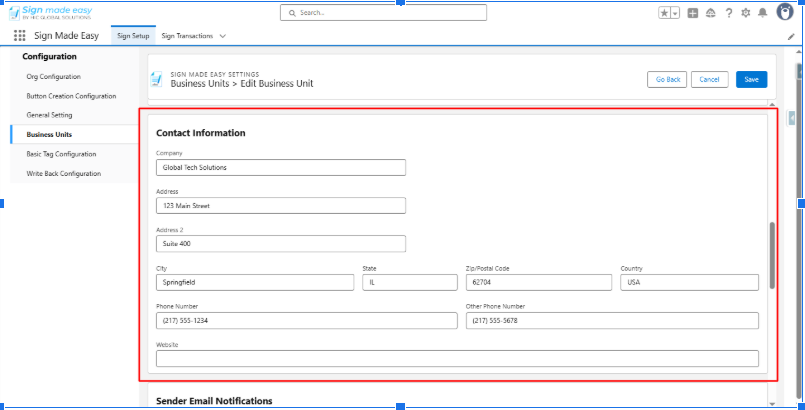
Step 8:- Enter Contact Information.
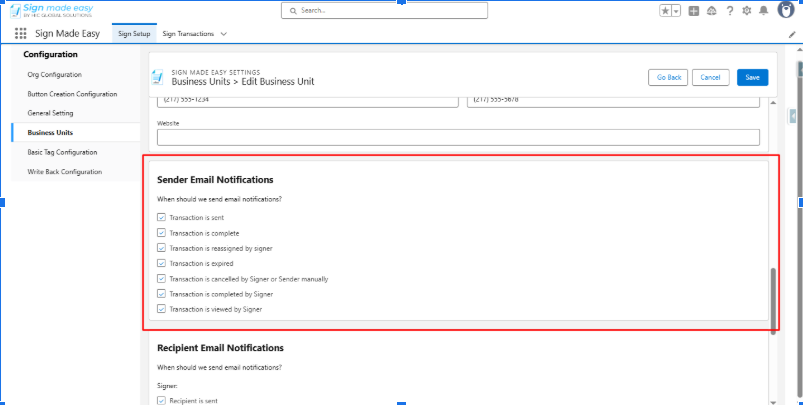
Step 9:- Manage Sender Email Notification.
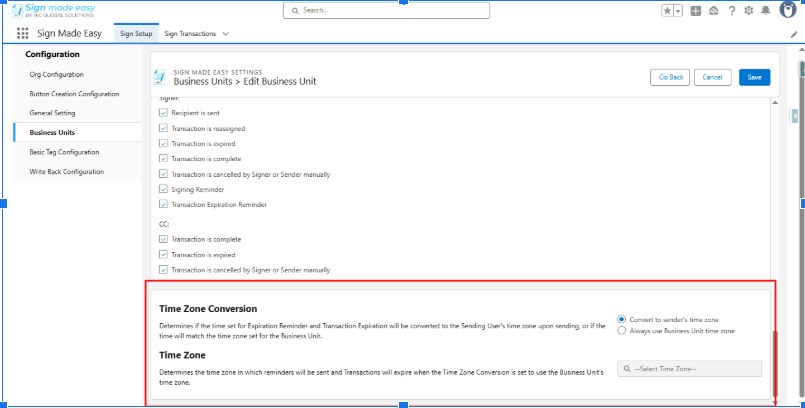
Step 10:- Manage Recipient Email Notifications.

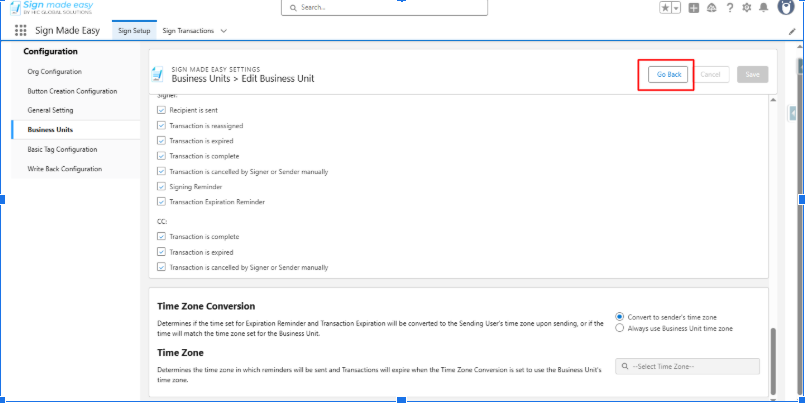
Step 11:- Specify the relevant Time Zone.
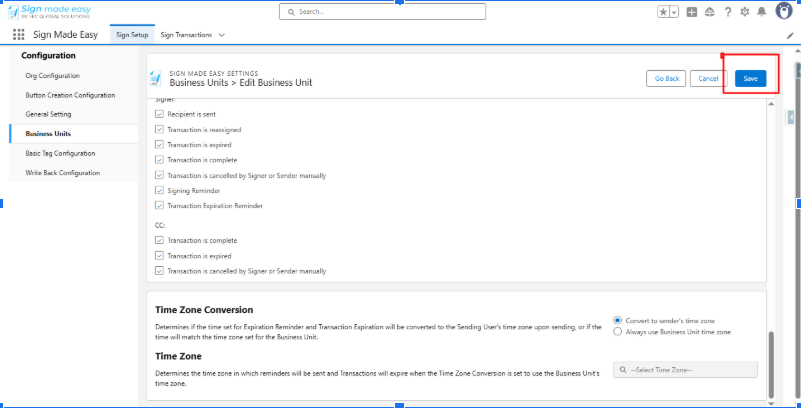
Step 12:- You have successfully configured the Business Unit record. Click the Save button to apply and save all changes.
Step 13:- Click Go Back.
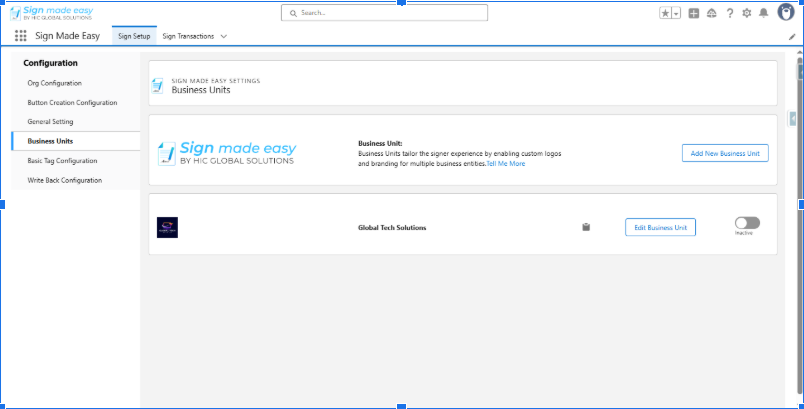
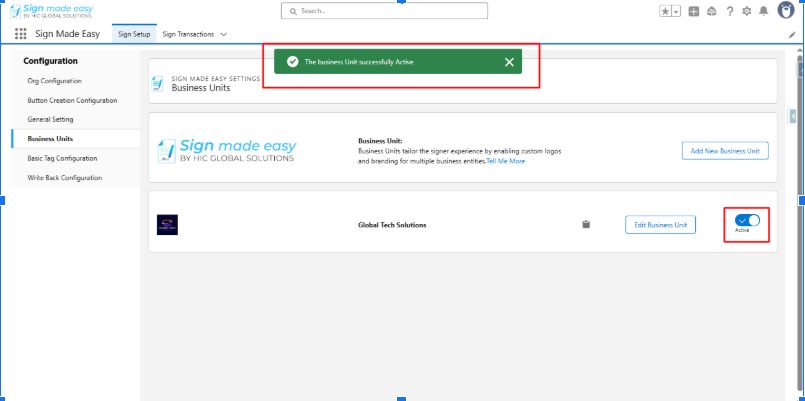
Step 14:- Enable Business Unit Status to Active.
Steps to Send a Document for eSignature with a Business Unit
After successfully configuring the Business Unit, the next step is to send a document with the Business Unit for eSignature for Salesforce.
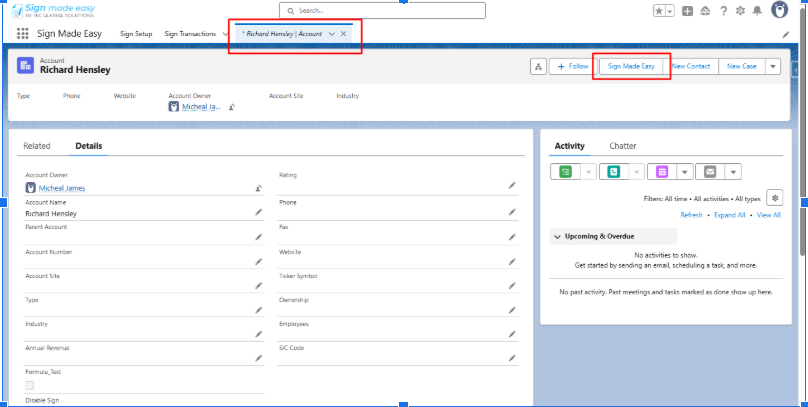
Step 1:- Open the App Launcher, select the object with the button, and go to its record page.
Step 2:- Next, click the button you created. The Create Transaction interface will appear, allowing you to add documents and enter recipient details.
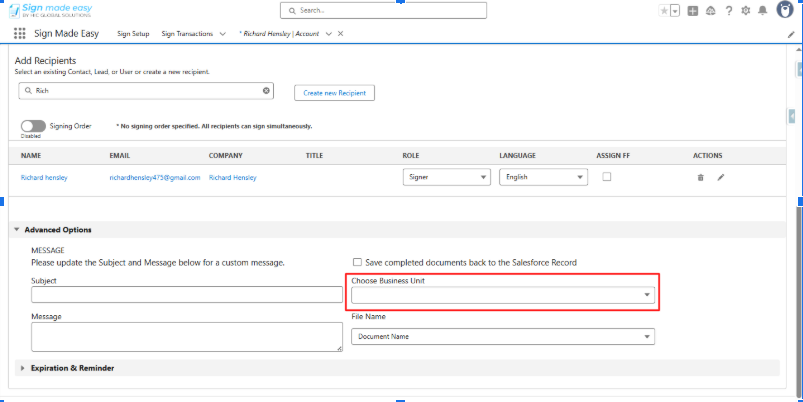
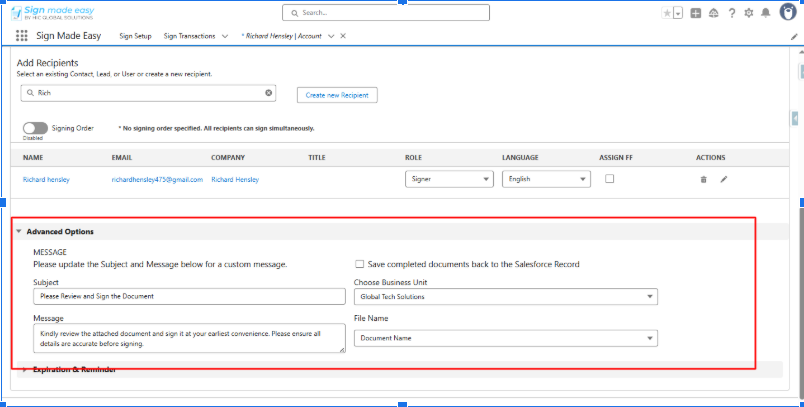
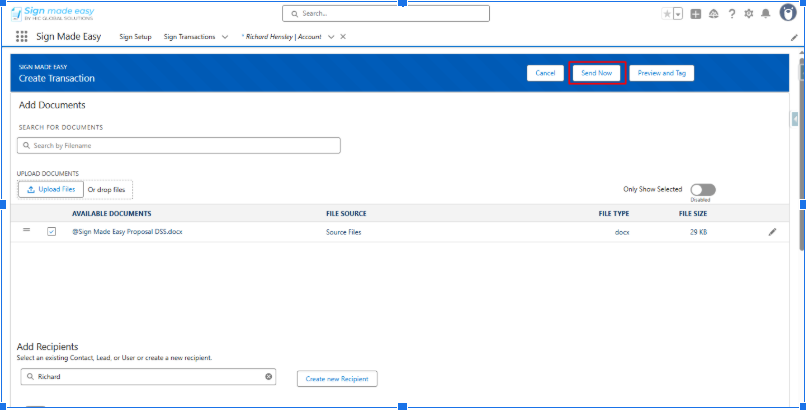
Step 3:- Upload Document and add Recipient.

Step 4:- In Advanced Options, choose Business Unit.
Step 5:- Now, click the Send Now button to email the document directly to the recipient.
Step 6:- After the document is sent, recipients will receive an email notification. To complete the eSignature process, they must open the email and click the View Document button.

Step 7:- To complete the signing process, click the Complete Sign button after filling in all required tags.

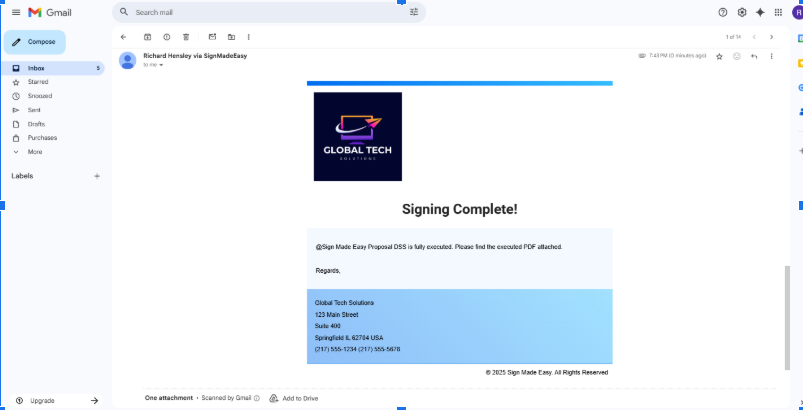
Hence, the eSignature process for the documents has been successfully completed.
Was this article helpful?
That’s Great!
Thank you for your feedback
Sorry! We couldn't be helpful
Thank you for your feedback
Feedback sent
We appreciate your effort and will try to fix the article