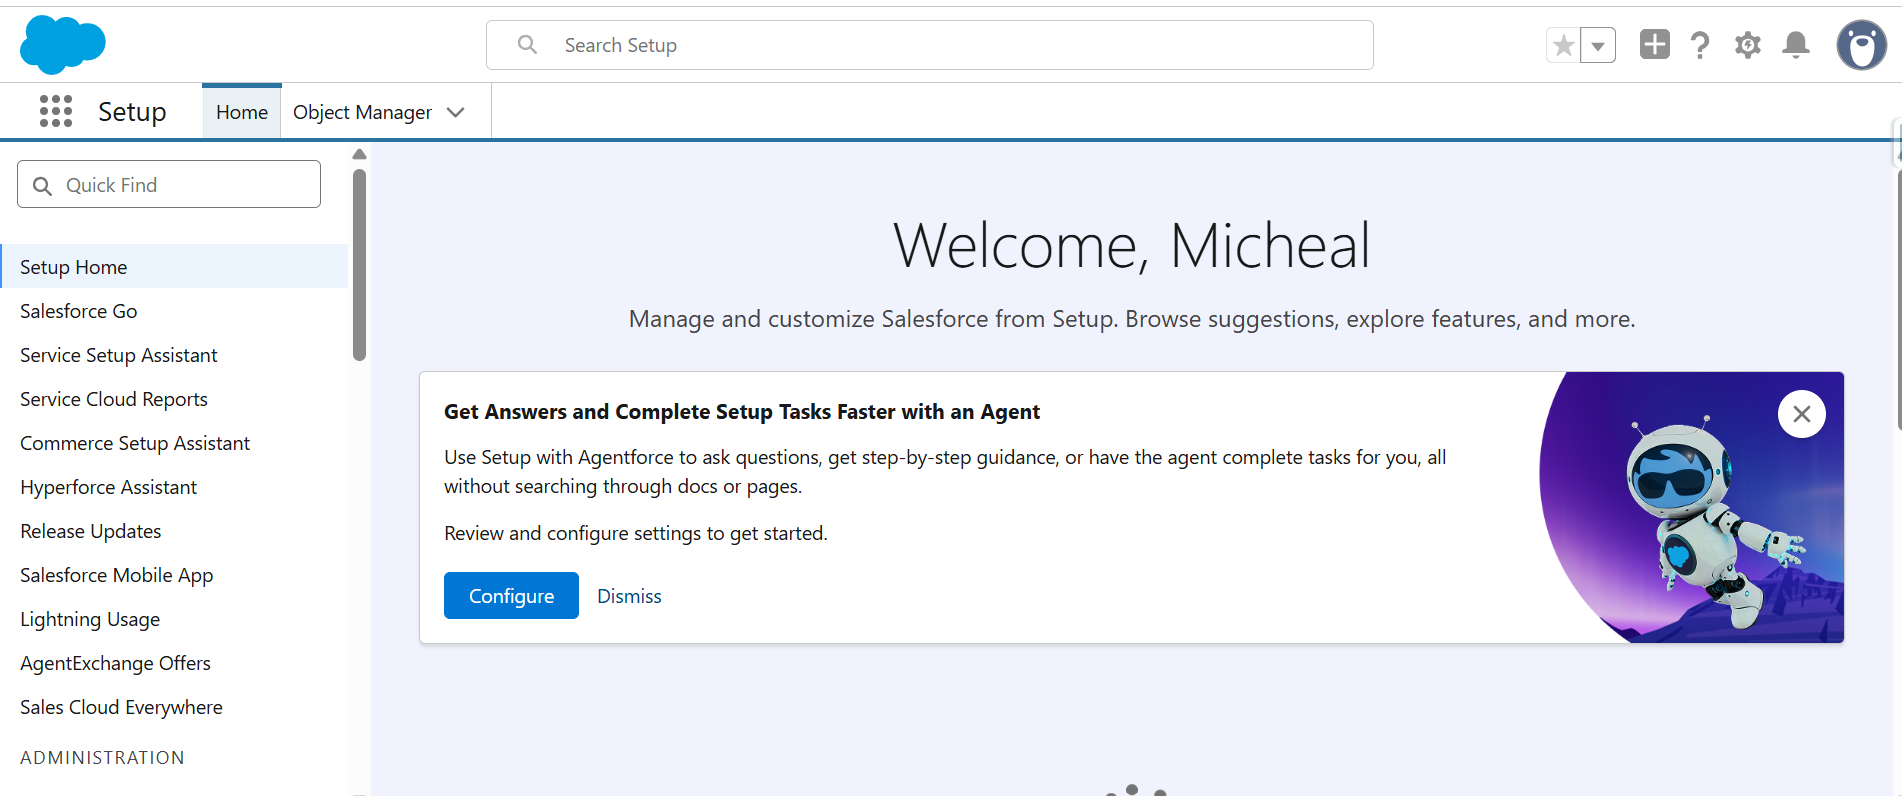
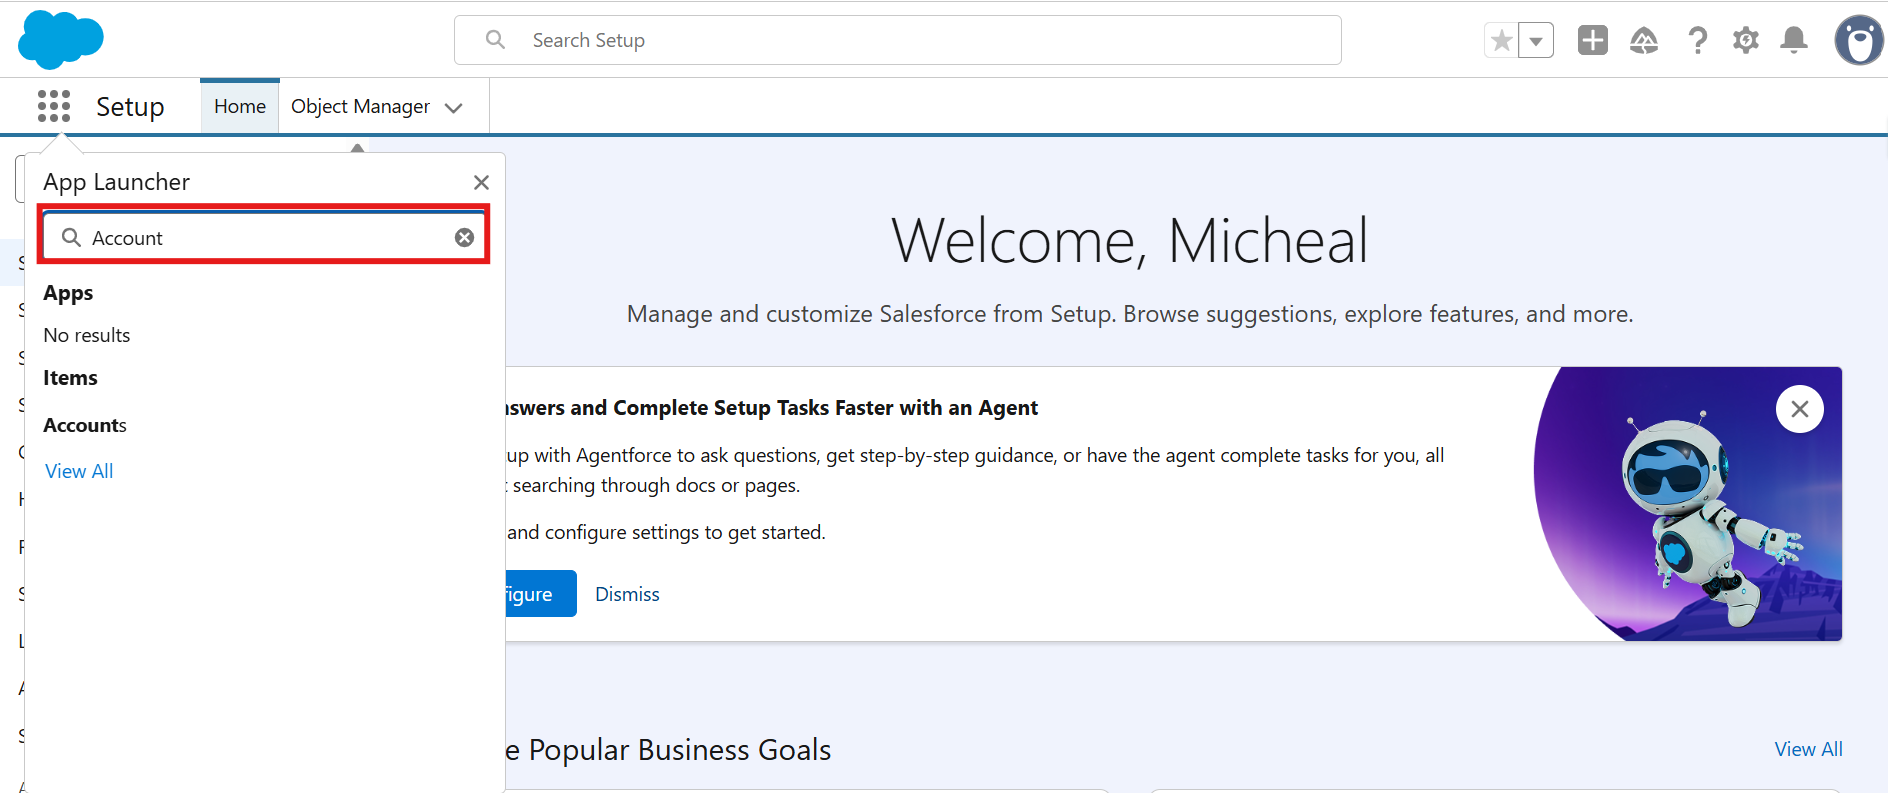
Step 1: Open the App Launcher, search for the object where the SME button was created, and select it to proceed.
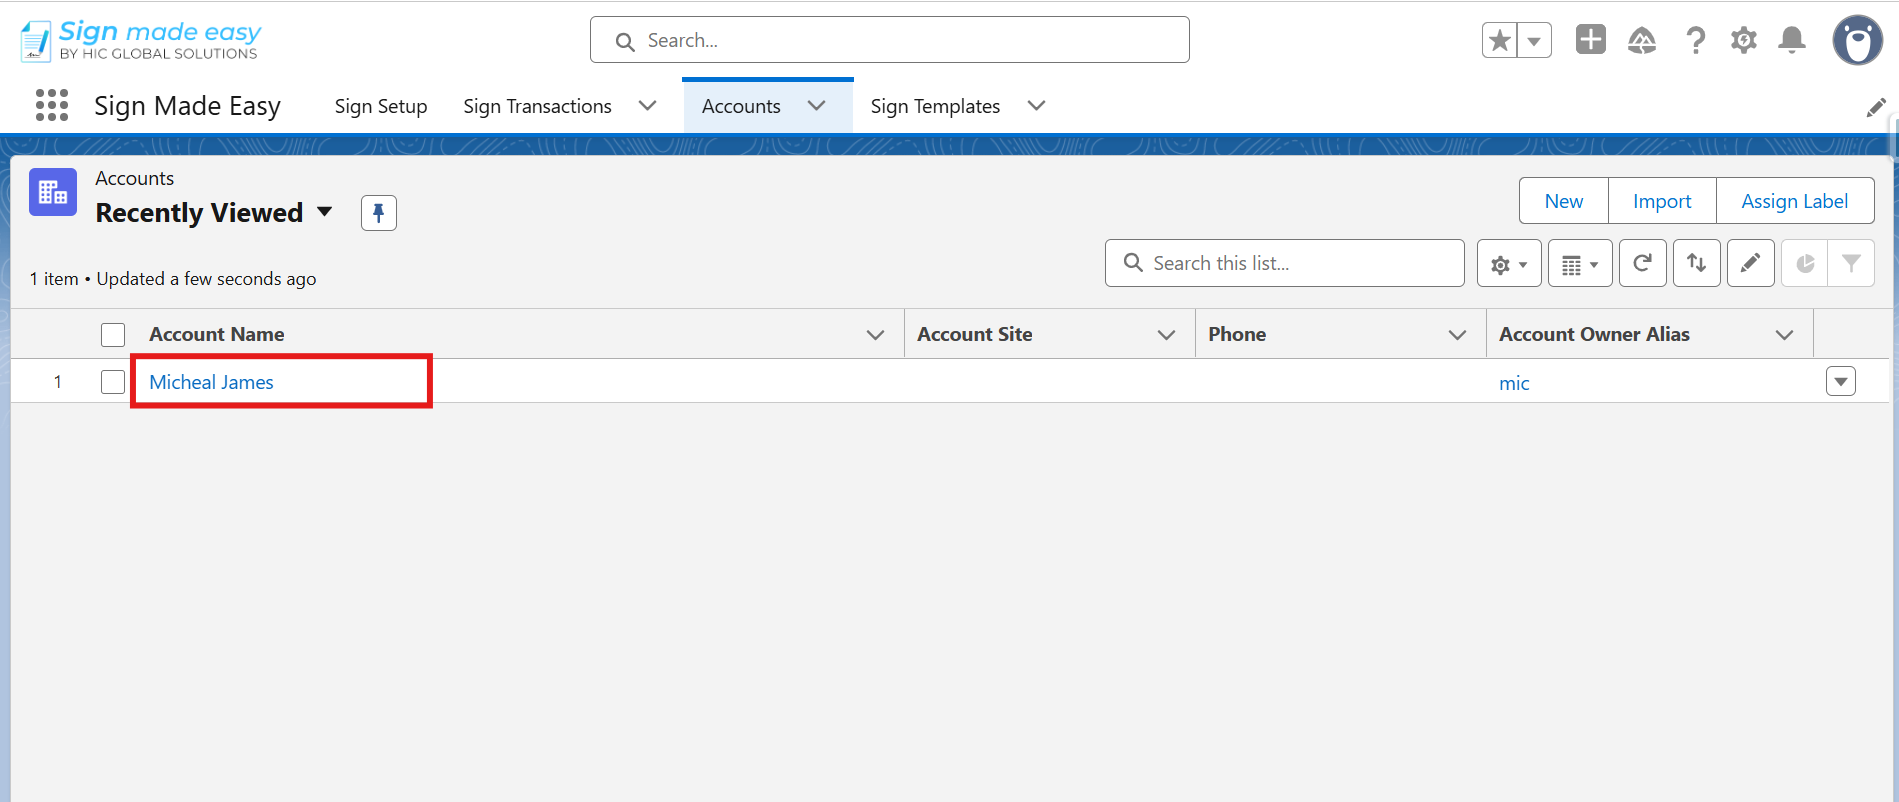
Step 2: Navigate to the Record Page of the selected object from which you intend to initiate the SME process. If no record exists, create a new one by clicking the New button before proceeding.
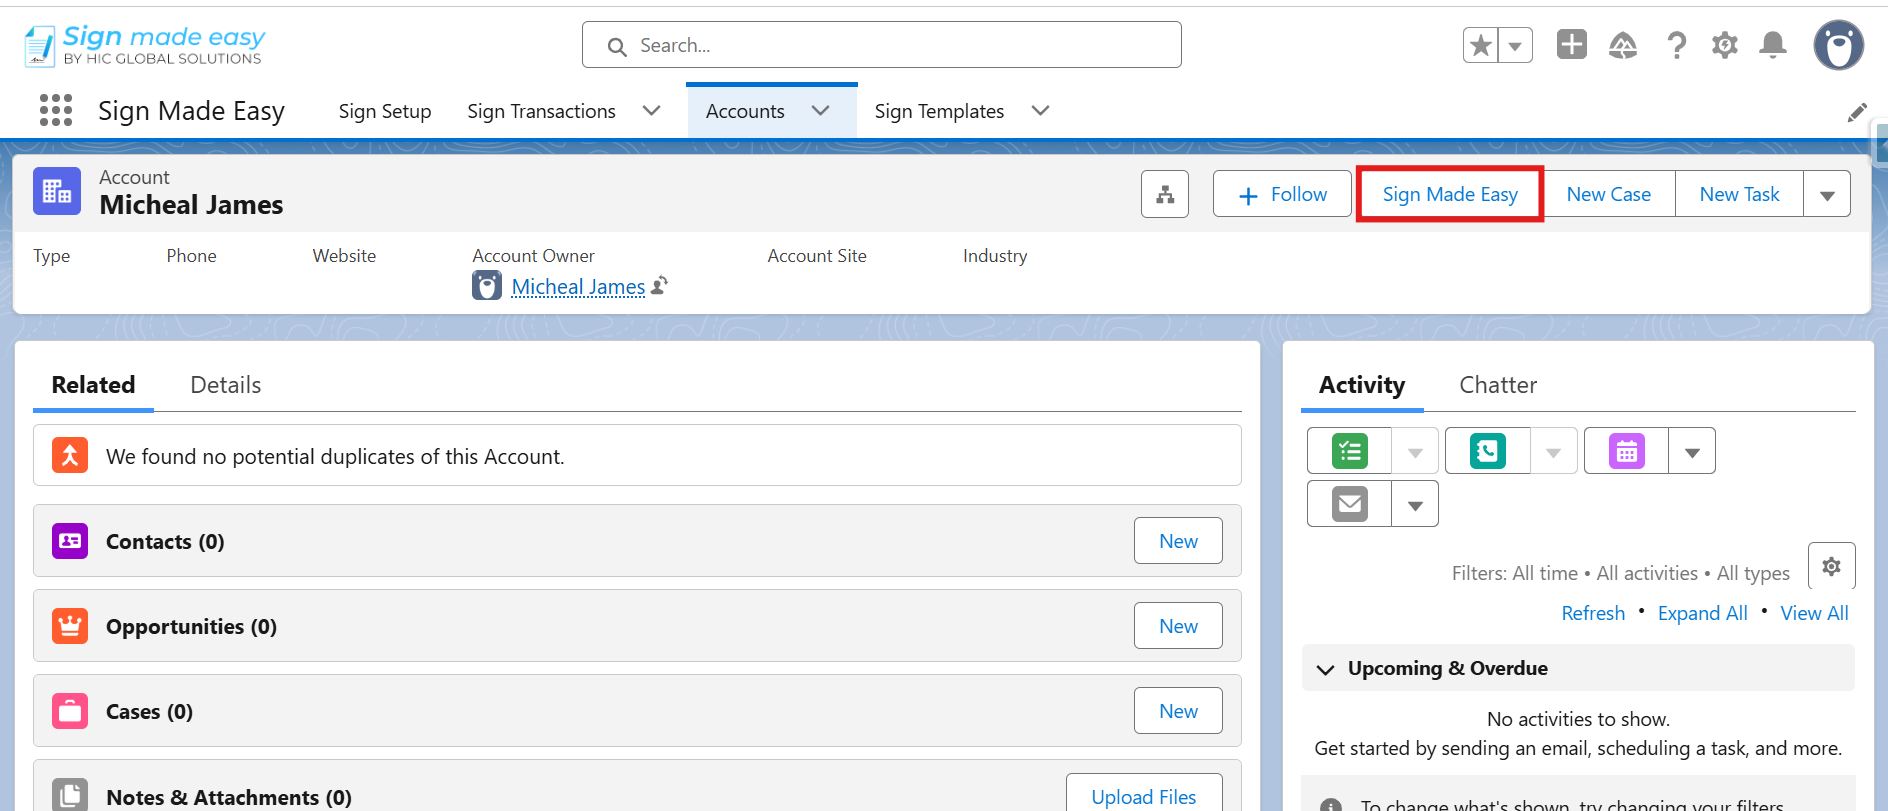
Step 3: Click the Sign Made Easy button available on the record to initiate a new signature request.
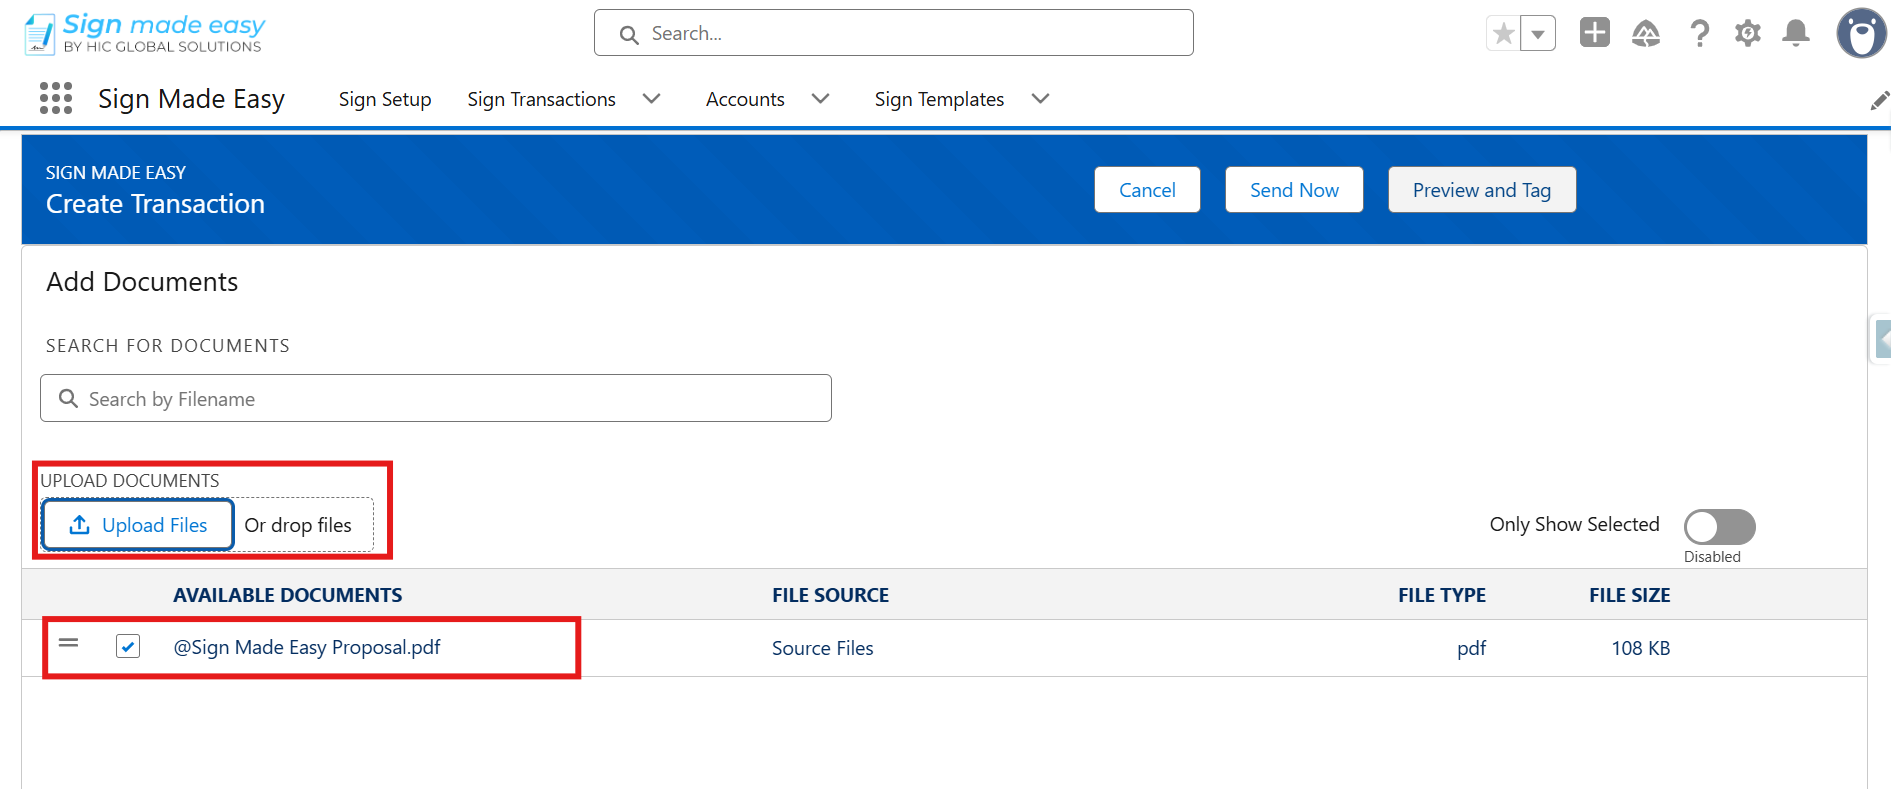
Step 4: Add Documents
- You can upload a new document or select documents already associated with the parent record’s Notes and Attachments.
- You can search for a document by its name using the Add Documents search bar.
- Supported file formats include PDF, DOC, and DOCX.
- You may also add documents using the drag-and-drop functionality.
The maximum supported file size for each transaction record in Sign Made Easy is 15 MB. - To view only the selected documents, enable the Show Only Selected toggle.
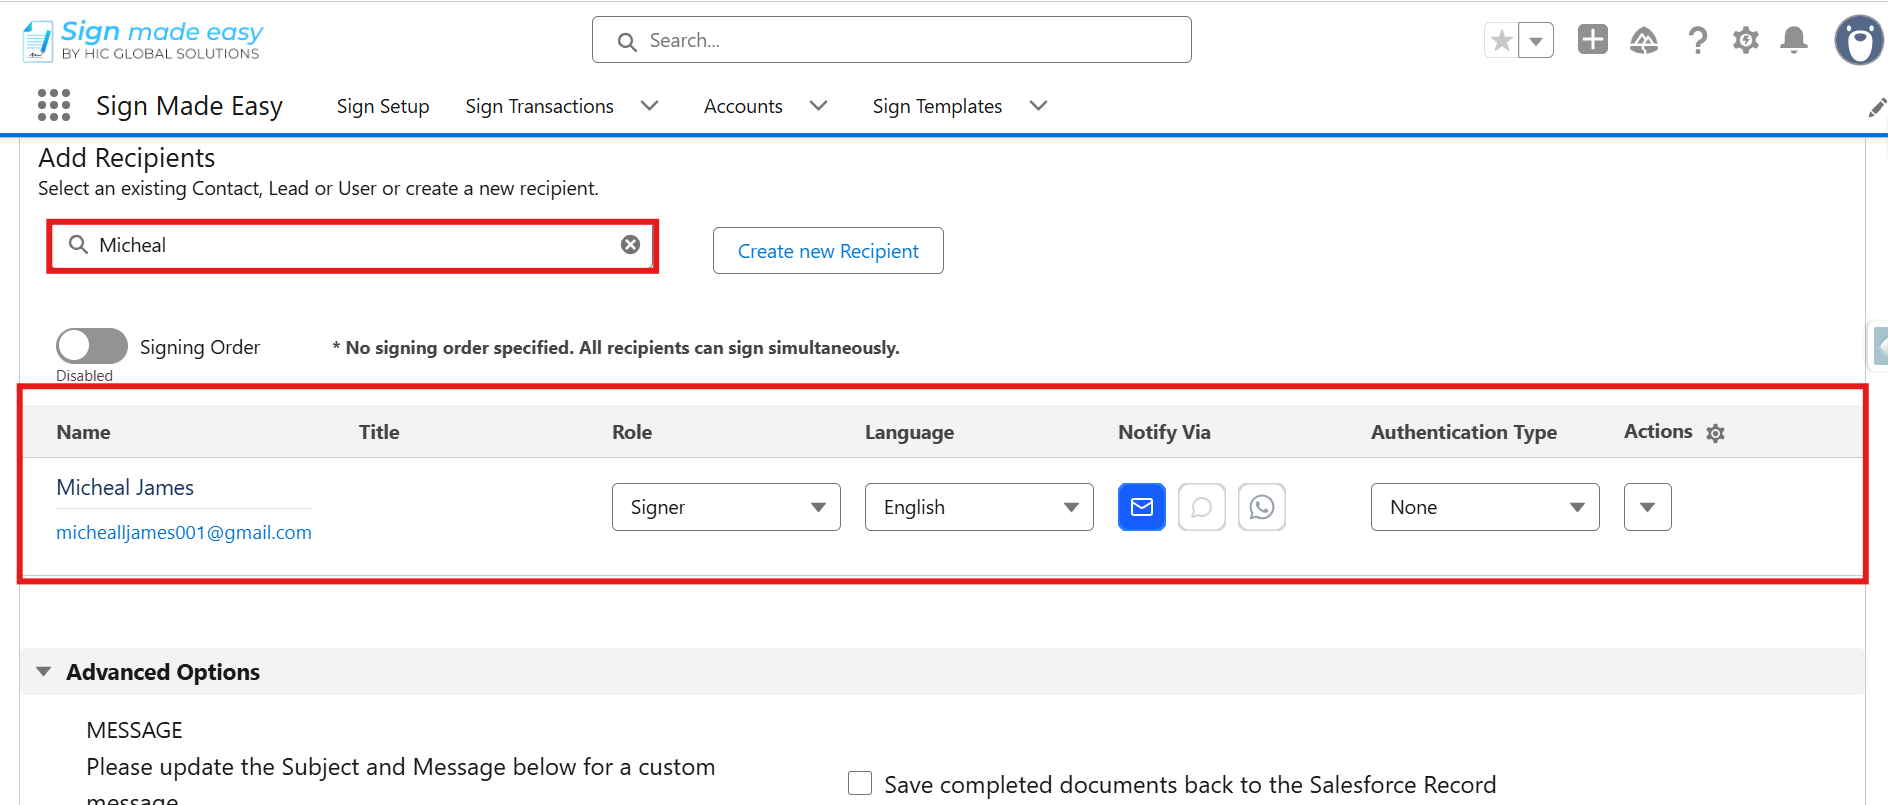
Step 5: Add Recipients
- You can add recipients by selecting existing Lead, Contact, or User records through the Add Recipient search bar. If the required recipient does not exist, you can create a new one using the Create New Recipient button.
- The Create New Recipient button does not create Contact, Lead, or User records in Salesforce; it only creates Sign Recipient records.
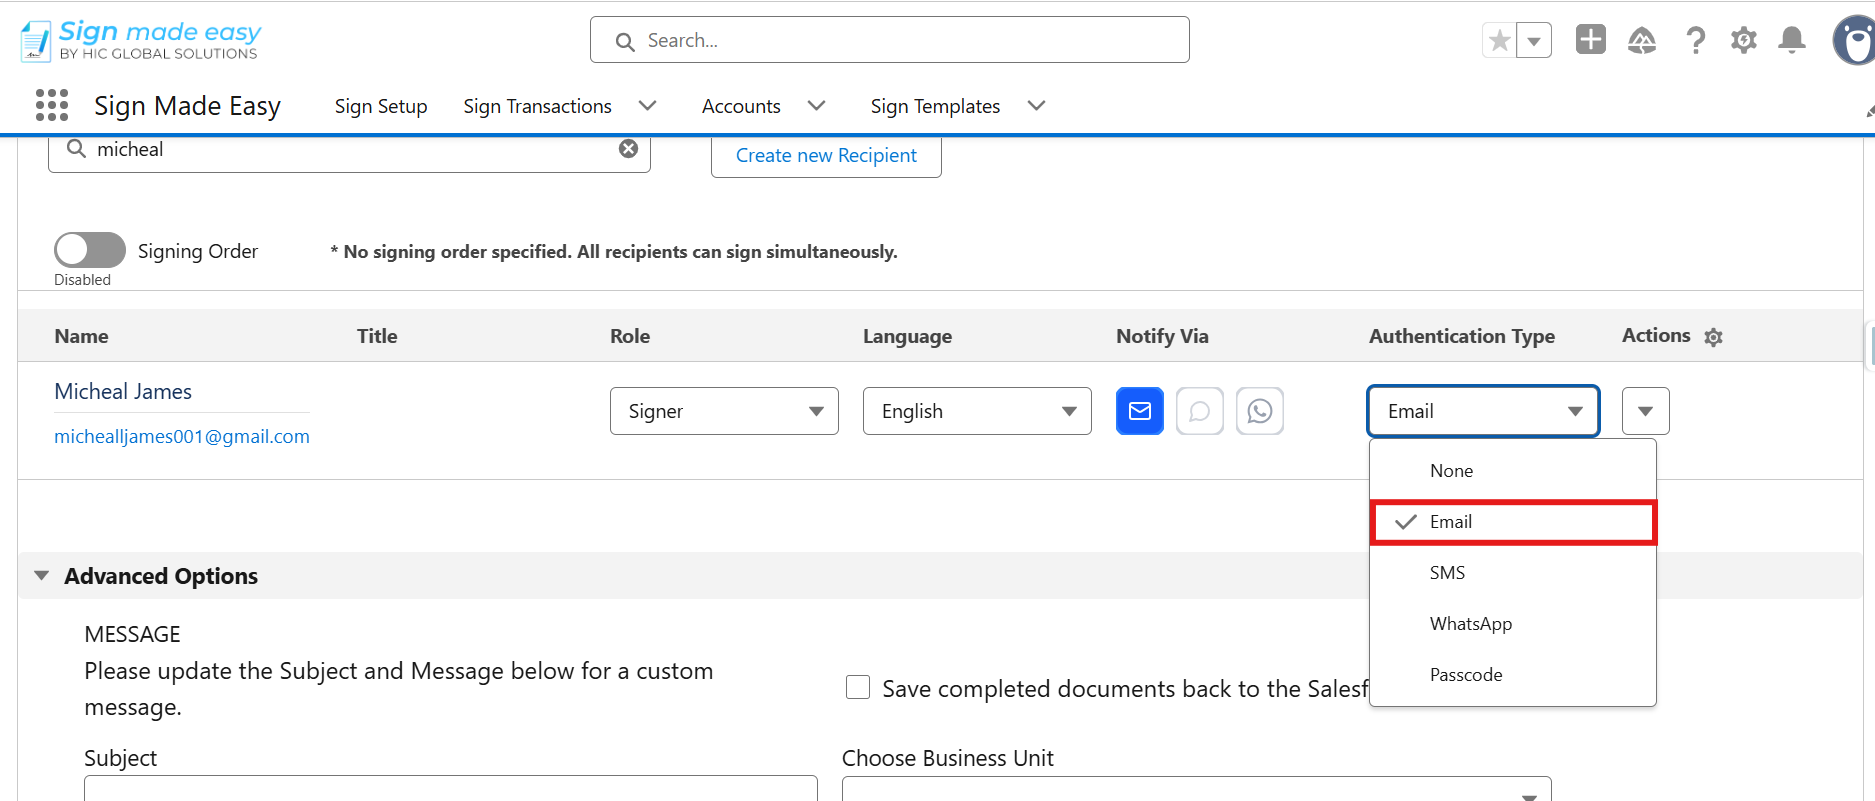
Step 6: From the Authentication Type dropdown, select Email to enable email-based recipient verification.
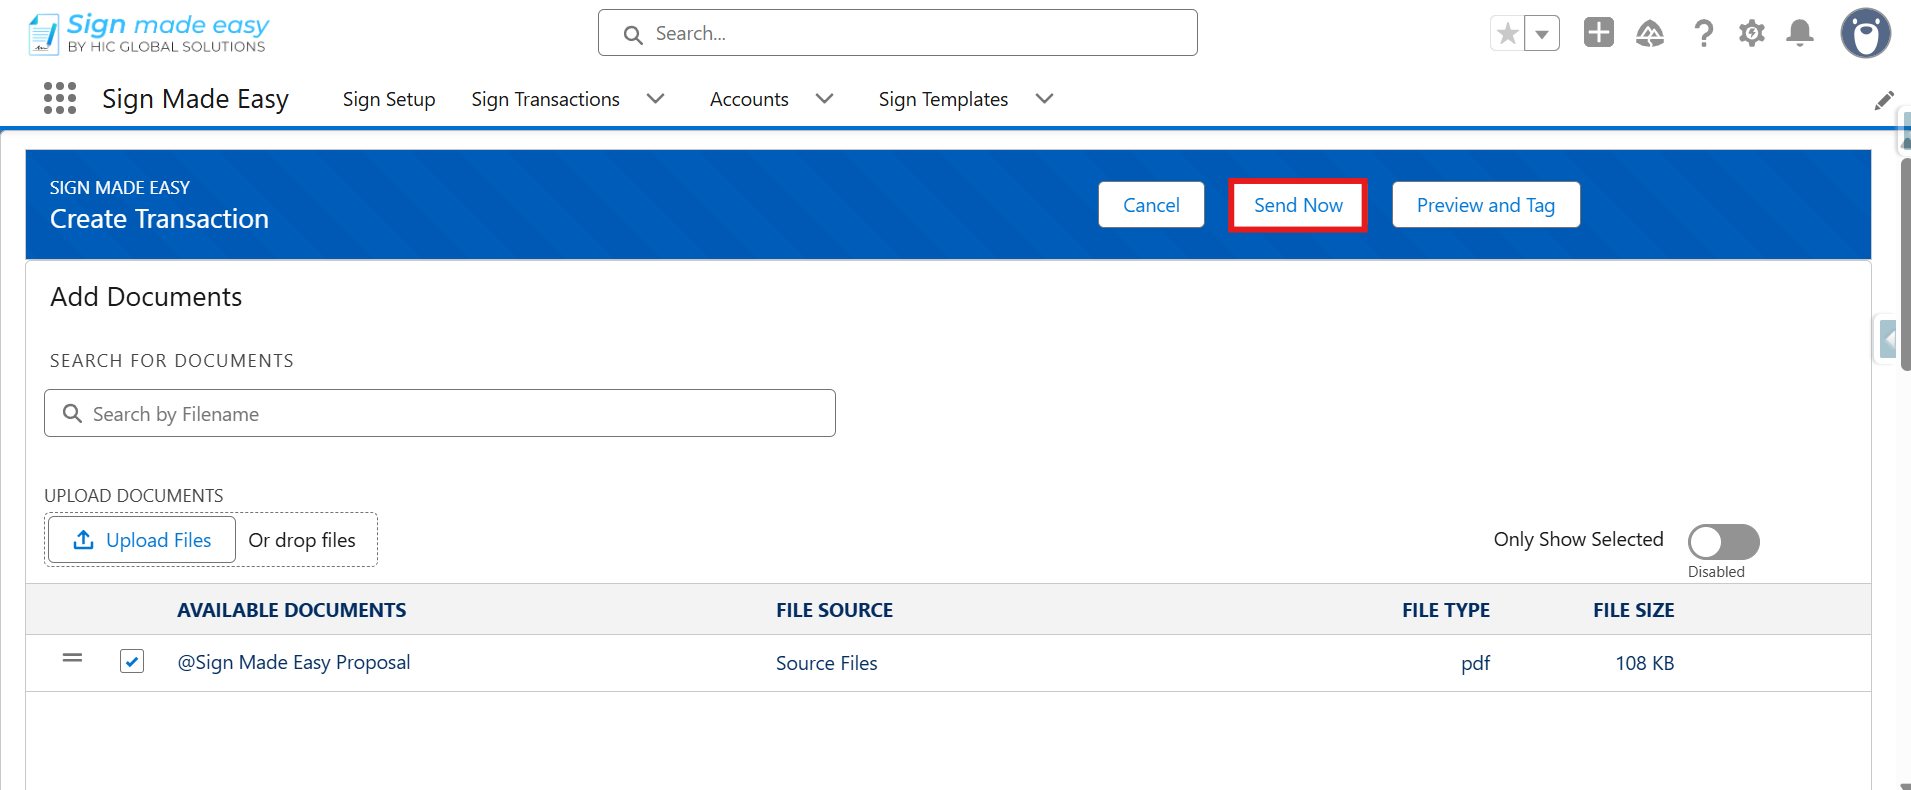
Step 7: If the required tags have already been added to the document through the sign parameter, you can proceed directly with in-person signing by clicking the ‘Send Now’ button. Otherwise, click the ‘Preview and Tag‘ button to add the necessary tags to the document before proceeding.
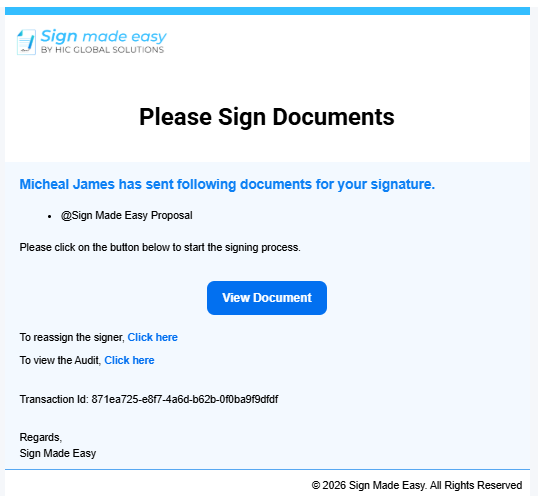
Step 8: After the document is sent, recipients will receive an email notification. To complete the eSignature process, they must open the email and click the View Document button.
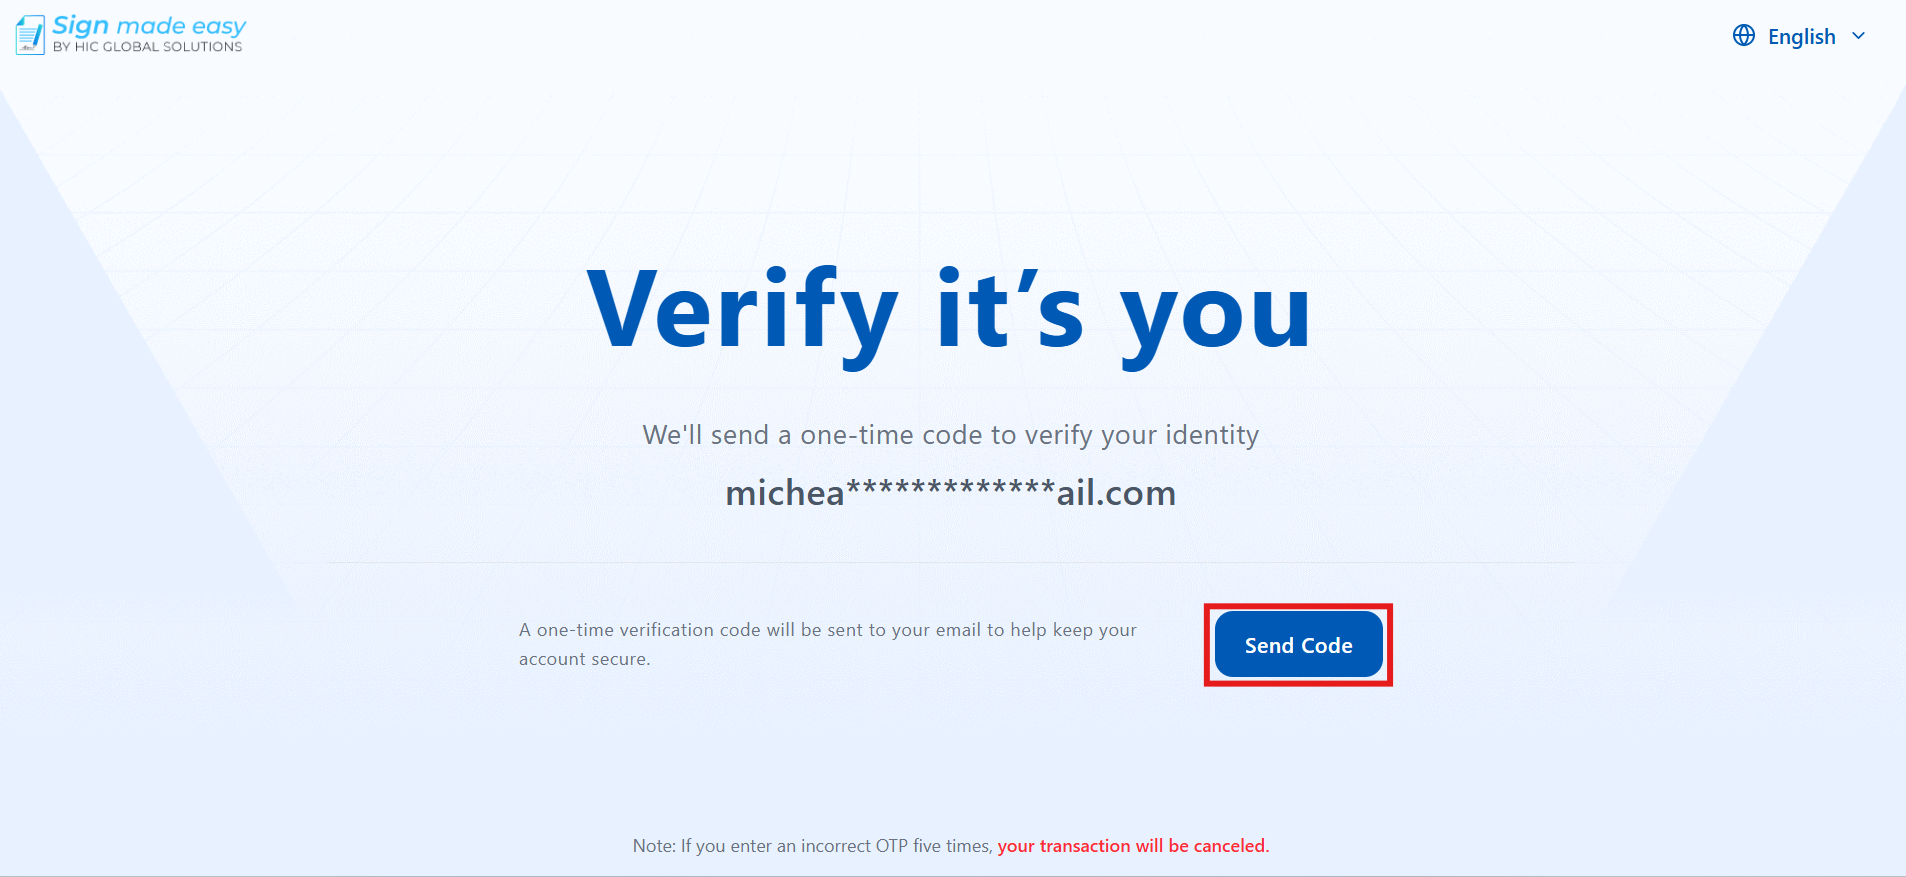
Step 9: Click the Send Code button to generate and send a One-Time Password (OTP) to the recipient’s registered email address. The recipient will receive an email containing the OTP required for authentication.
Notes:
- If the recipient enters an incorrect OTP five consecutive times, the transaction will be cancelled.
- If the recipient requests to resend the OTP three times, they must wait 5 minutes before they can generate and receive a new OTP.
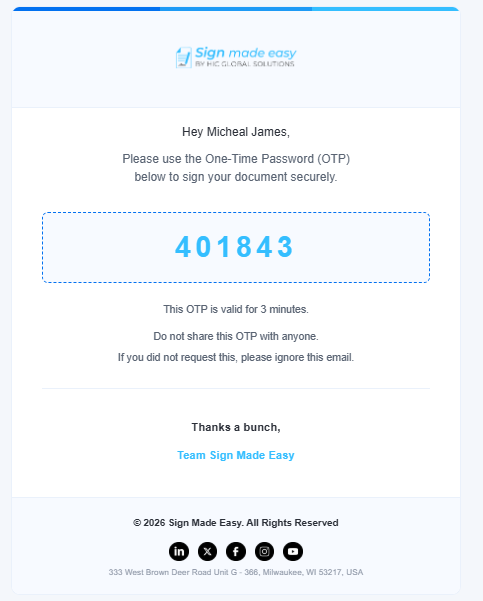
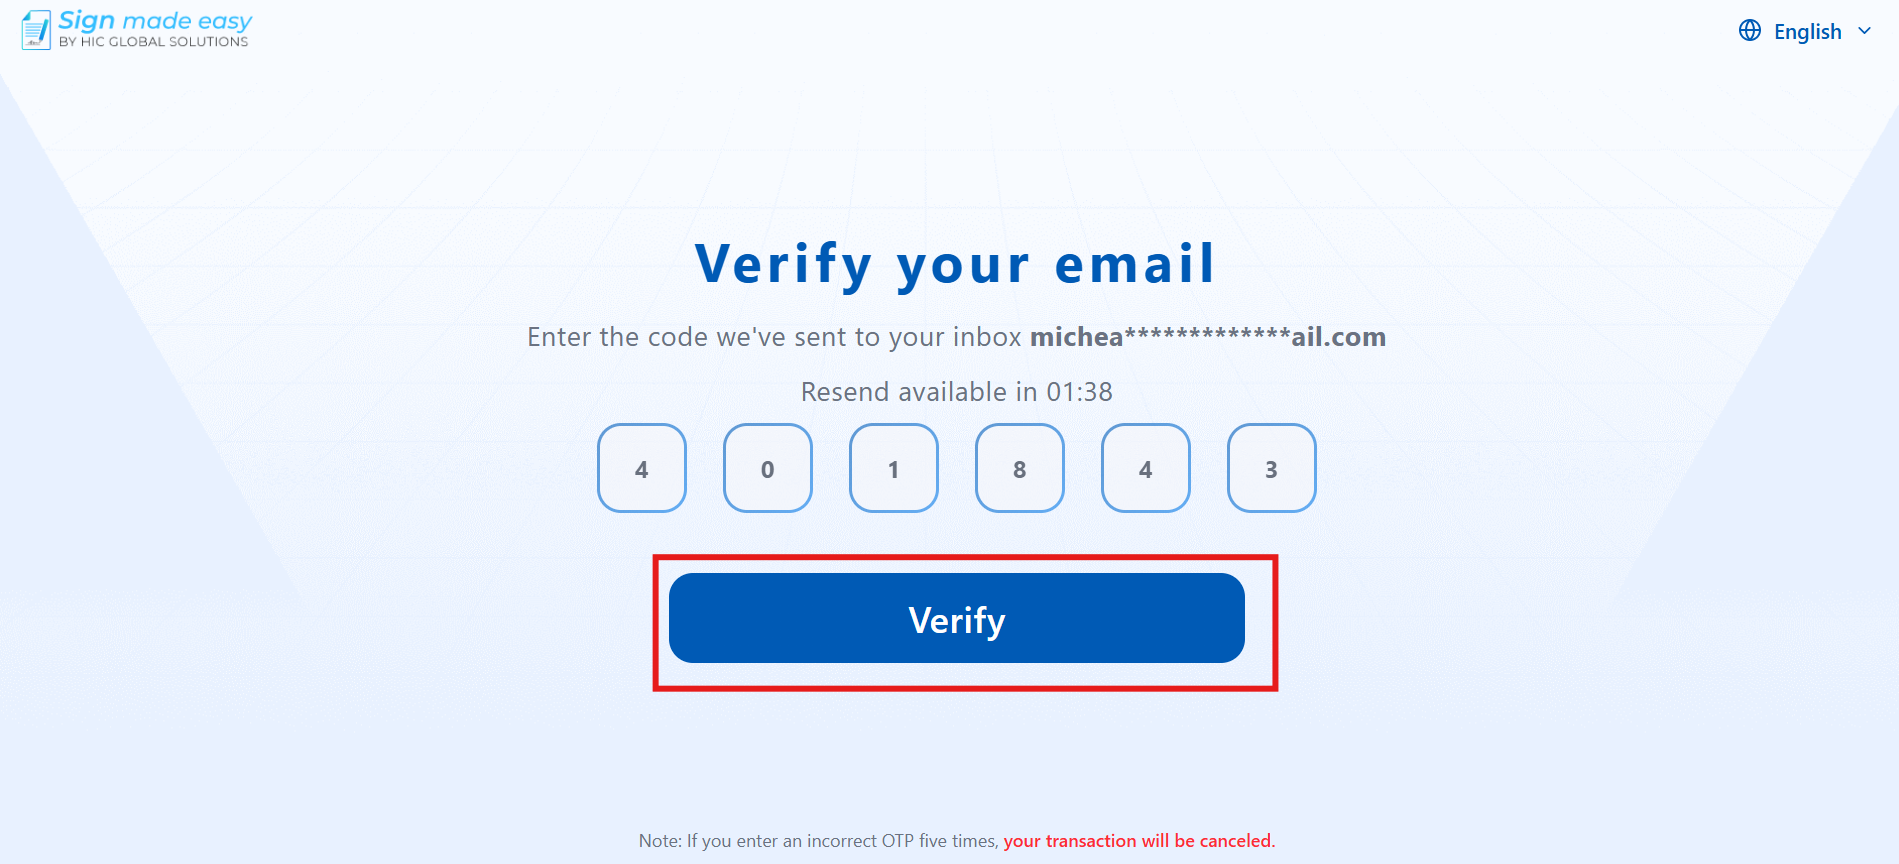
Step 10: Enter the OTP received in the recipient’s email and click Verify to authenticate the recipient. Once the OTP is successfully verified, the recipient can access the signature document and proceed with the signing process.
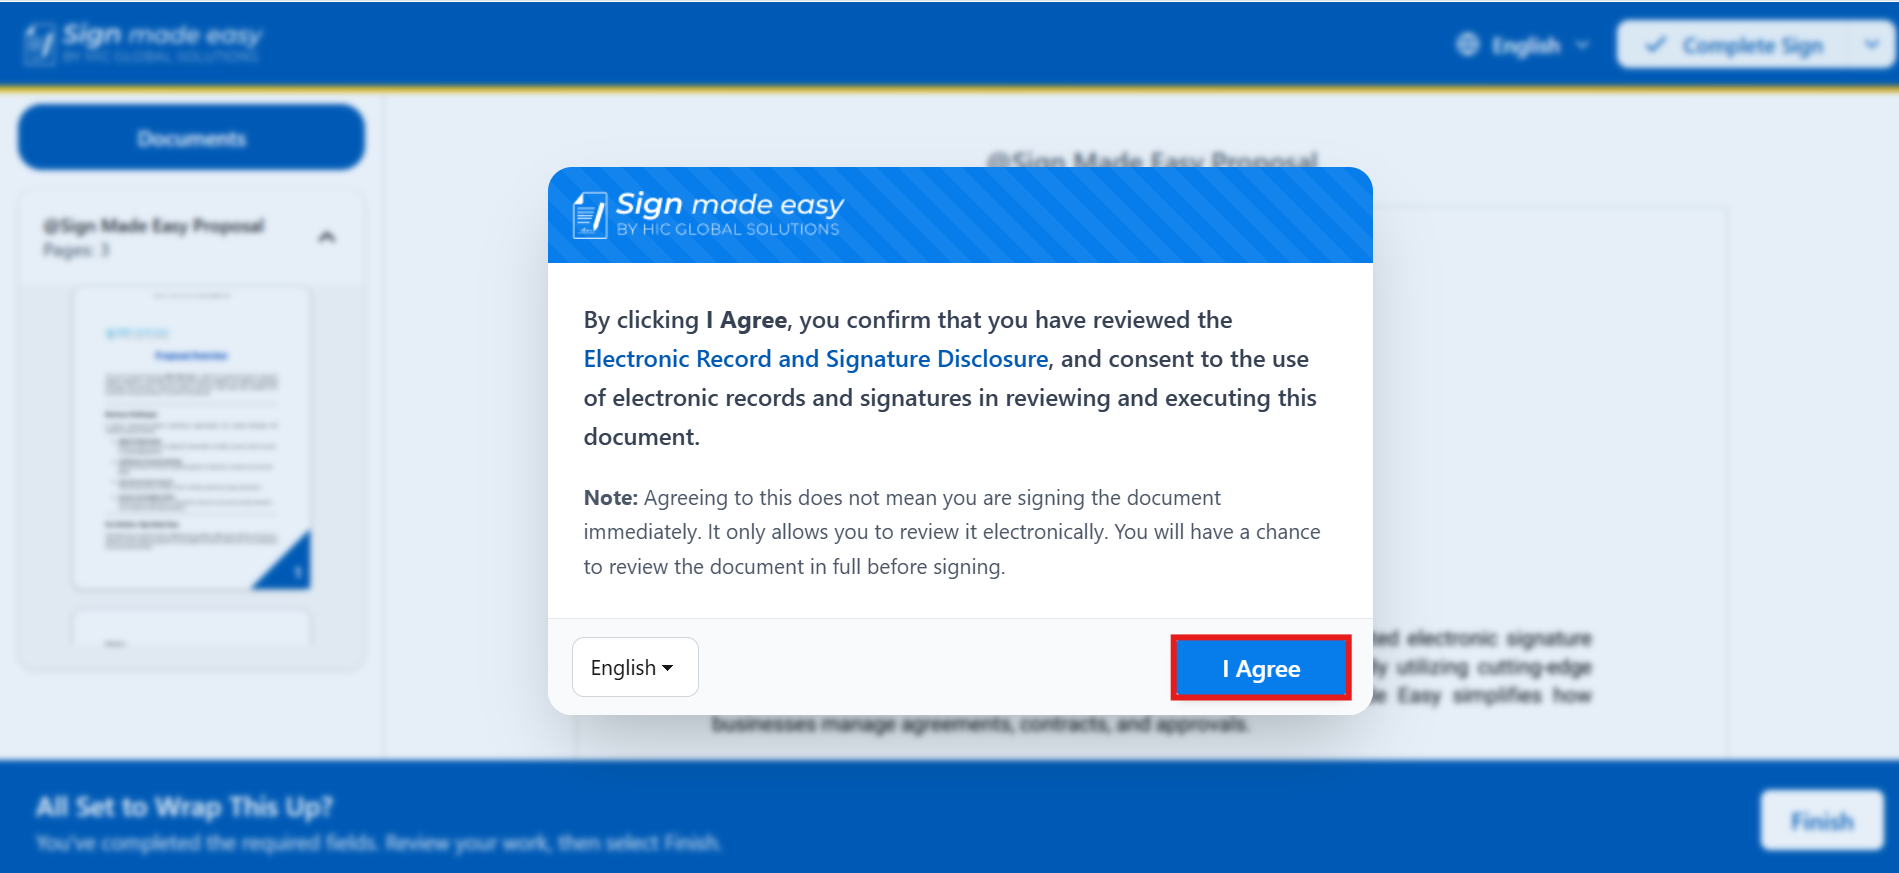
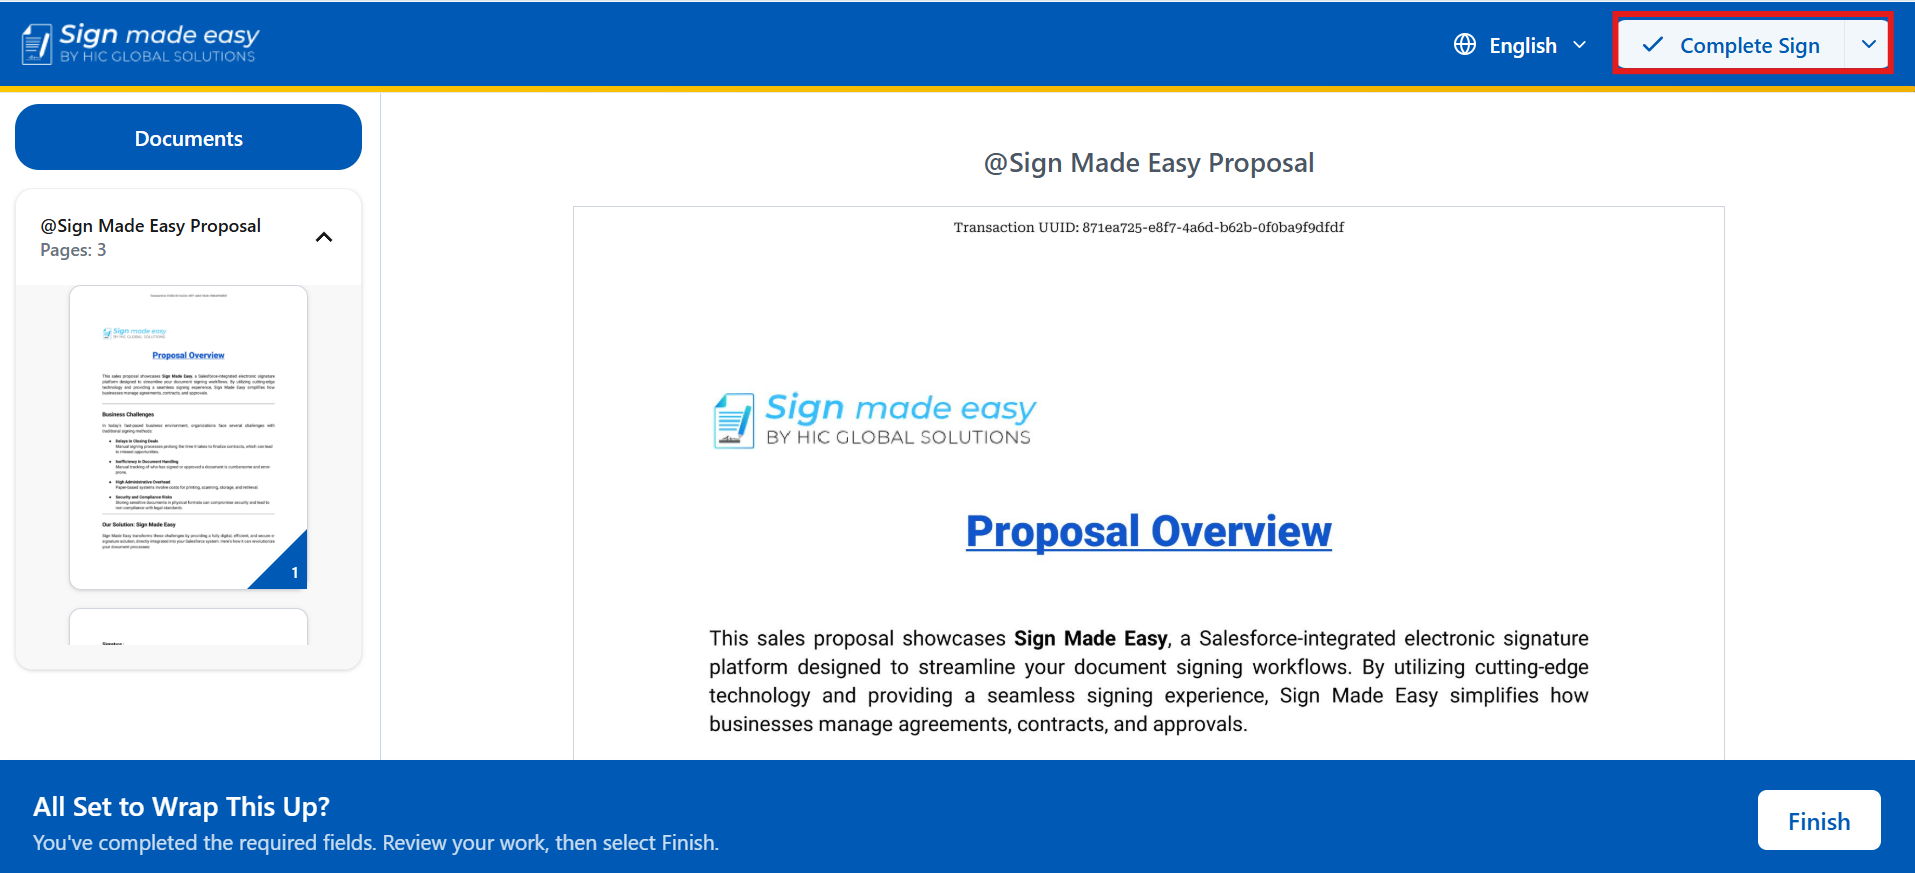
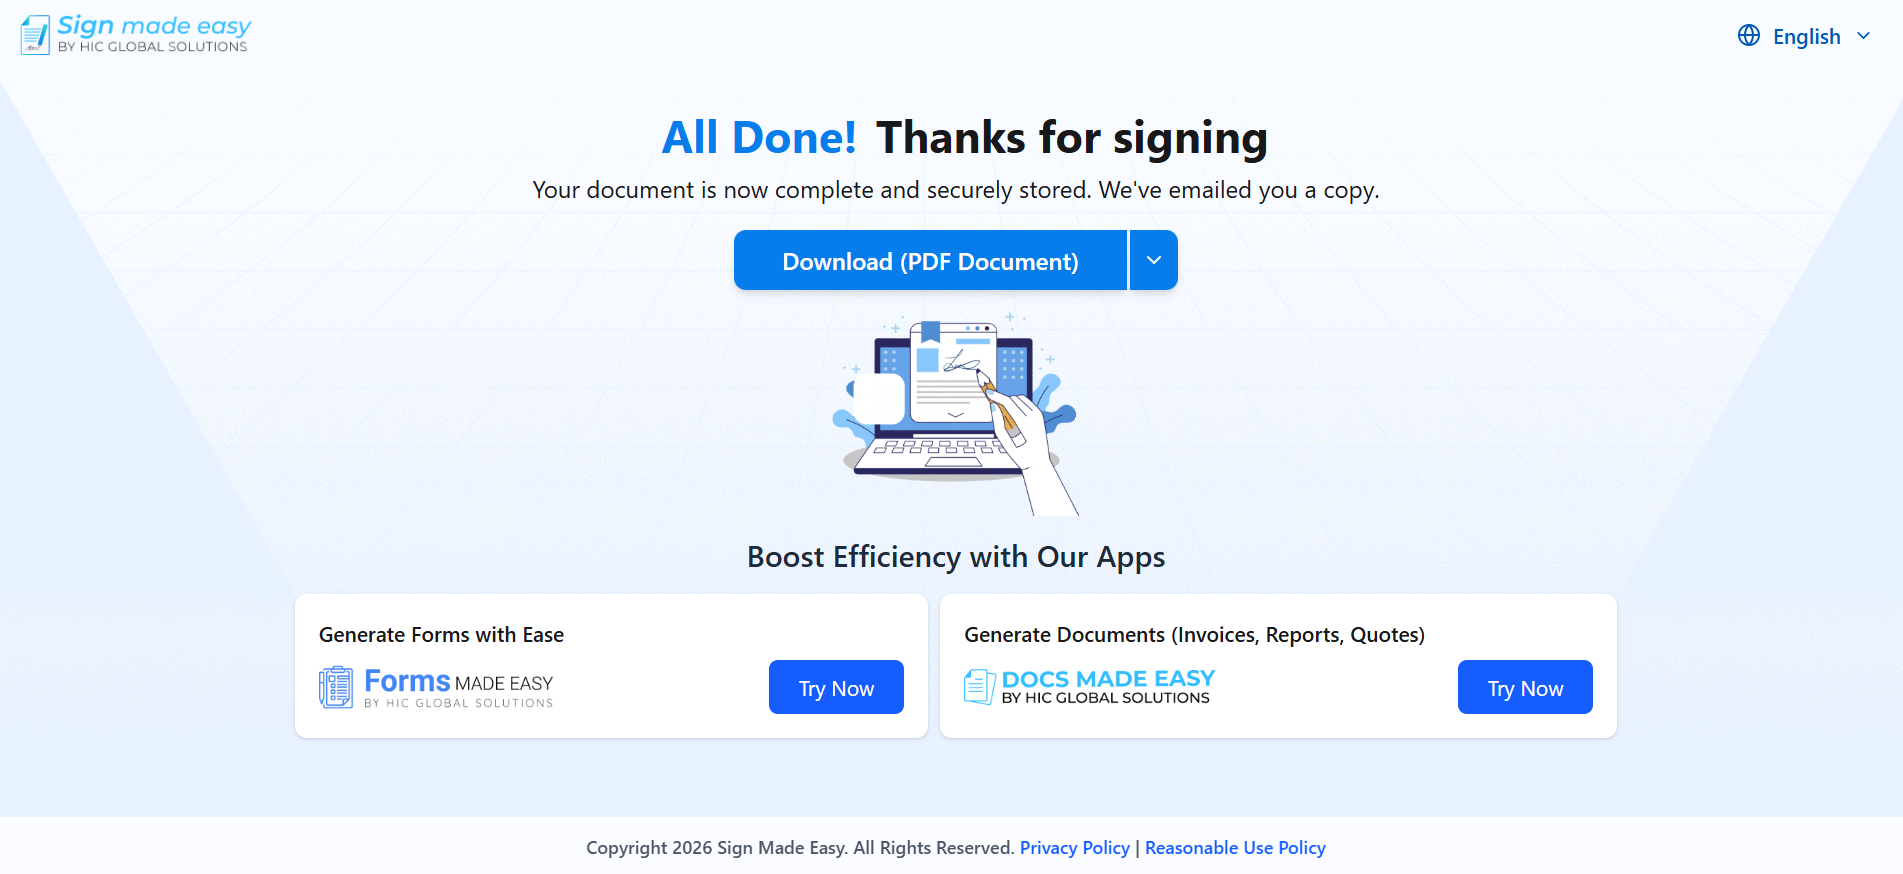
Step 11: Review and accept the Terms & Conditions, complete the required signature, and click Complete Sign to finalize the signing process.
Was this article helpful?
That’s Great!
Thank you for your feedback
Sorry! We couldn't be helpful
Thank you for your feedback
Feedback sent
We appreciate your effort and will try to fix the article